Submit Grades with Grades Journey
Institutions with a license for the Grades Journey extension can add a grade submission step before the grades are approved to be transferred to the student information system (SIS). This submitter process might be used, for example, in a class section where one or more Teaching Assistants are added to help the faculty member grade, but it is the responsibility of the faculty member or approver to do the final approval and transfer of grades. The Submit step is an extra step in the Grade Approval and Transfer workflow.
Accessing the Grade Approval and Transfer Workflow
Original Course
Sign in to Blackboard.
Select your course.
Select Grade Approval and Transfer from Course Tools.
Ultra Course
Sign in to Blackboard.
Select your course.
Select View course & institution tools from Books & Tools.
Select Grade Approval and Transfer.
Submit Grades
The user with the submitter role should go through the process of submitting the grades, which will then be approved by the instructor or administrator with the approver role.
Submit all grades in a course
Select the checkbox for the course.
Select Submit Grades.
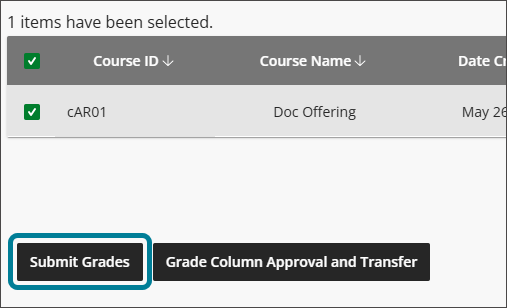
Select Submit Grades in the window that appears.
The status is updated to Submitted.
Note
It is more common to submit a specific column or specific grades, as detailed in the following steps.
Submit certain grade columns in a course
Select the checkbox for the course.
Select Grade Column Approval and Transfer.
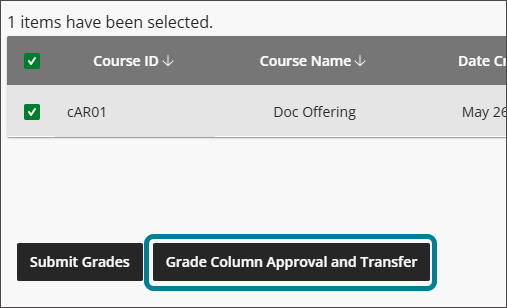
Optionally, use the search box to filter the grade columns displayed.
Select the checkboxes for the desired grade columns.
Select Submit Grades.
Select Submit Grades in the window that appears.
The status is updated to Submitted.
Submit certain grades within a grade column
Select the checkbox for the course.
Select Grade Column Approval and Transfer.
Optionally, use the search box to filter the grade columns displayed.
Select the checkboxes for the desired grade column.
Select Grade Approval and Transfer.
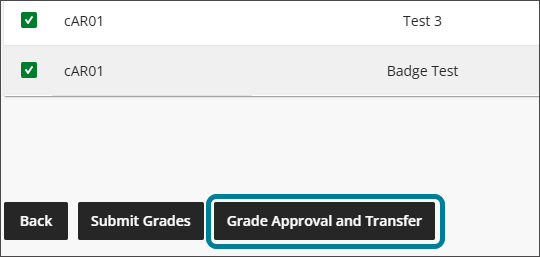
Select the checkboxes for the desired grades.
Select Submit Grades.
Select Submit Grades in the window that appears.
The status is updated to Submitted.
An email or course message will be sent to the grade Approvers for the course. The Approver will either approve or unapprove the submitted grades. Either action may generate an email, course message, or both based on the configuration set by the institution’s administrator.
Approve grades
If the submitter workflow is implemented, approval may not be permitted unless grades have first been submitted. The submission prerequisite would apply to approvals at the column and grade level.
Approve submitted grades
Navigate to the grades that have been submitted. You can choose to approve grades at the course level, the grade column level, or the individual grade level.
Select the checkboxes for the submitted items that you would like to approve.
Select Approve Grades.
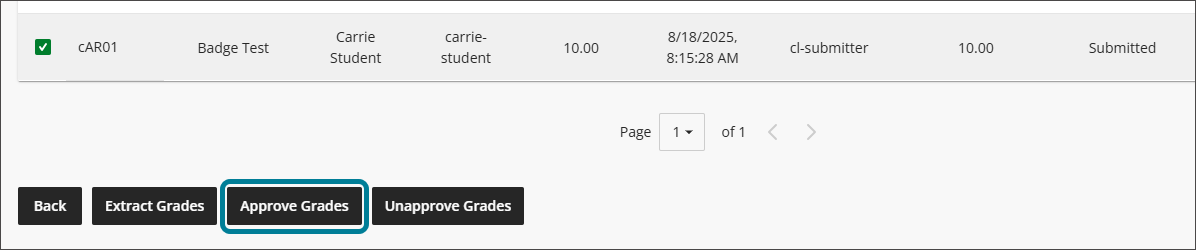
Select Approve Grades in the window that appears.
The status is updated to Approved.
Unapprove Grades
The Approver can revert any approval or send any grade back to the Submitter by unapproving the grades.
Navigate to the appropriate course, column, or grade and select it.
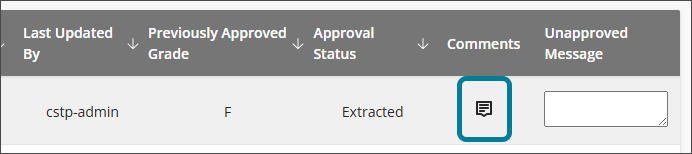
Enter an Unapproved Message if one is required (or desired) in the Unapproved Message column.
Select Unapprove Grades.
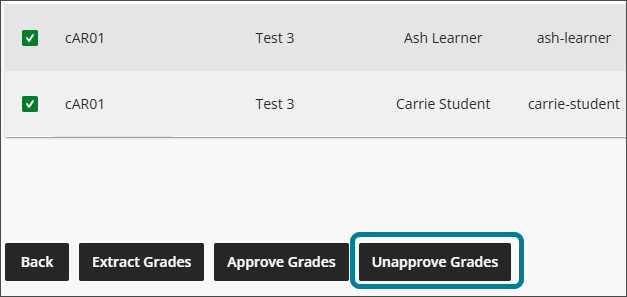
Select Unapprove Grades in the window.
The status is updated to Unapproved.
Grading comments
If the Enable Instructor Feedback setting is enabled by the administration, a Comments column will appear at the level of individual grades within a calculated or manual column that allows grade submitters or approvers to add comments to a student's grade.
Navigate to the grade item.
Select the comment icon in the Comments column for a particular student.
Write a comment in the text box (there is a limit of 255 characters).
Select Save to save the comments.
Delete a comment, if necessary, by selecting the comment icon again (which is now red) and then selecting the trash can icon.