Approve Grades
Institutions that use the free Grade Export tool or who have a license for the Grades Journey extension can approve their grades for export to the student information system (SIS). The most common workflow is for instructors or other approvers to first approve grades. Those approved grades are then pulled on an administrator-configured schedule into a single file for all courses. That file is exported to the SIS. Another potential workflow, if it is turned on by the institution, is for instructors or graders to extract the grades instead of approving them. This extraction generates a single file from just that course for export.
Only users with the correct roles, configured in the Grade Extract Settings, can approve or extract grades.
Access the Grade Approval and Transfer Workflow
Original Course
Sign in to Blackboard.
Select your course.
Select Grade Approval and Transfer from Course Tools.
Ultra Course
Sign in to Blackboard.
Select your course.
Select View course & institution tools from Books & Tools.
Select Grade Approval and Transfer.
Approve Grades
Approve all grades in a course
Select the checkbox for the course.
Select Approve Grades.
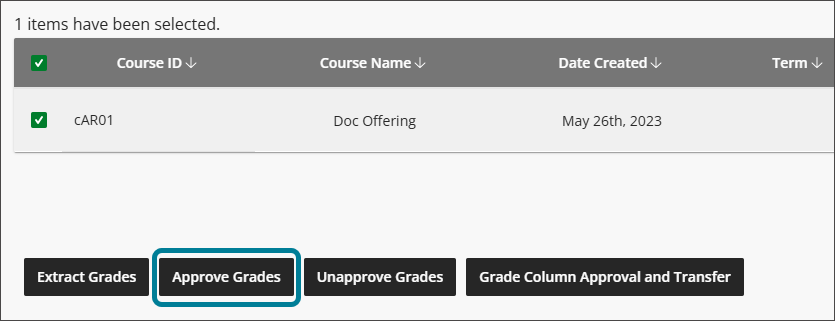
Select Approve Grades in the window that appears.
The status is updated to Approved.
Note
It is more common to approve a specific column or specific grades, as detailed in the following steps.
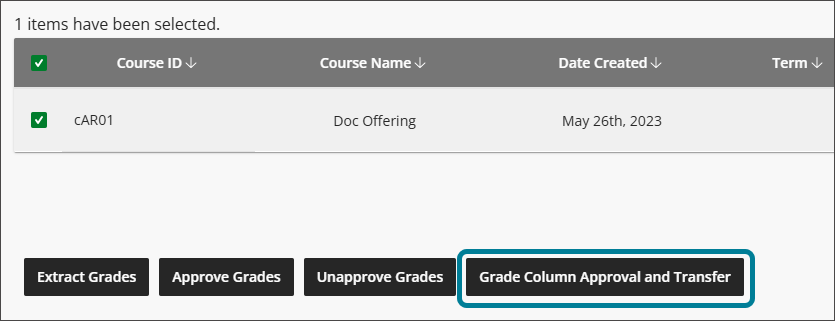
Approve certain grade columns
Select the checkbox for the course.
Select Grade Column Approval and Transfer.
Optionally, use the search box to filter the grade columns displayed.
Select the checkboxes for the desired grade columns.
Select Approve Grades.
Select Approve Grades in the window that appears.
The status is updated to Approved.
Approve certain grades within a grade column
Select the checkbox for the course.
Select Grade Column Approval and Transfer.
Optionally, use the search box to filter the grade columns displayed.
Select the checkbox for the desired grade column.
Select Grade Approval and Transfer.
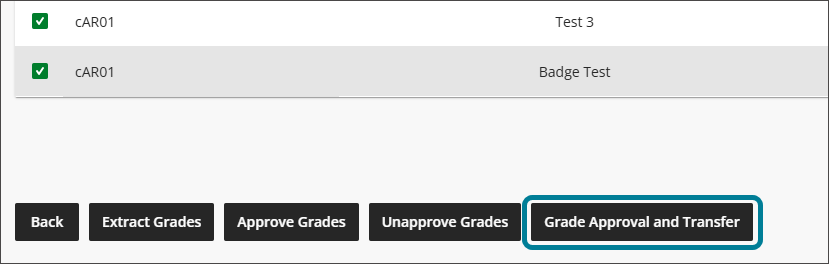
Select the checkboxes for the desired grades.
Select Approve Grades.
Select Approve Grades in the window that appears.
The status is updated to Approved.
Note that if only a portion of the grades are approved in a grade column, the Approval Status column will show Partially Approved. That status transfers back through each parent to the course level, even if only one grade column is partially approved. The status of a course will show as Partially Approved if not all the grades of a column are approved or if not all grade columns of a course are approved.
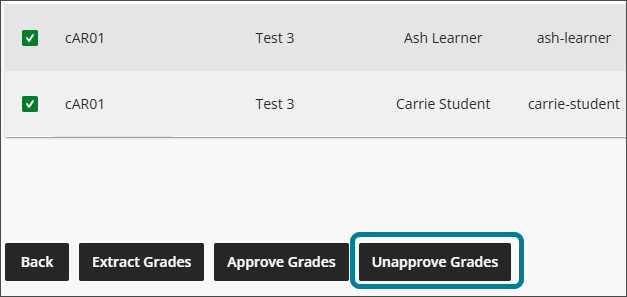
Unapprove Grades
Navigate to the appropriate course, column, or grade and select it.
Enter an Unapproved Message if one is required (or desired) in the Unapproved Message column.
Select Unapprove Grades.
Select Unapprove Grades in the window that appears to Unapprove Grades.
The status is updated to Unapproved.
Extract Grades
To bypass the approval process and immediately generate a single output file for your course that can be exported to the SIS, choose the Extract Grades button at any point instead of the Approve Grades button. (If you do not see the Extract Grades button, your institution has not enabled this option.) This will update the Approval Status to Extracted.
Note that if only a portion of the grades are extracted in a grade column, the Approval Status column will show Partially Extracted. That status transfers back through each parent to the course level, even if only one grade column is partially extracted. The status of a course will show as Partially Extracted if not all the grades of a column are extracted or if not all grade columns of a course are extracted.
Leave comments on a grade column
Note
This feature is only available for institutions with a Grades Journey license.
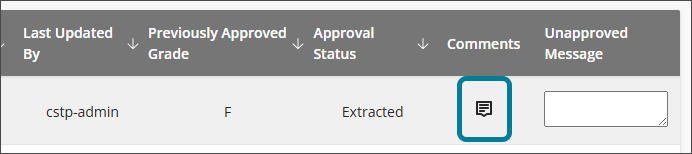
If the administration has enabled the Enable Instructor Feedback setting, a Comments column will appear at the level of individual grades if there are calculated or manual columns. Instructors or graders will have access to a comments button on those columns to add comments to a student's grade.
Navigate to the grade item.
Select the comment icon in the Comments column for a particular student.
Write a comment in the text box (there is a limit of 255 characters).
Select Save to save the comment.
Delete a comment, if necessary, by selecting the comment icon (which is now red) again and then selecting the trash can icon.