Microsoft Education: Quick Start Guide for Instructors
Note
This information applies only to the Ultra Course View.
Enable Microsoft Education
When your Blackboard administrator makes the Microsoft Education integration available, follow these steps to start using Microsoft Education in your courses.
Select Courses and then enter your course where you want to enable Microsoft Education.
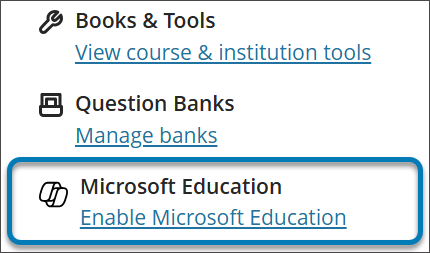
In the Details and Actions menu, select Enable Microsoft Education.
On the pre-synchronization screen, select Sync with Microsoft Education. This starts the roster synchronization process. This screen also offers information on what the integration provides.
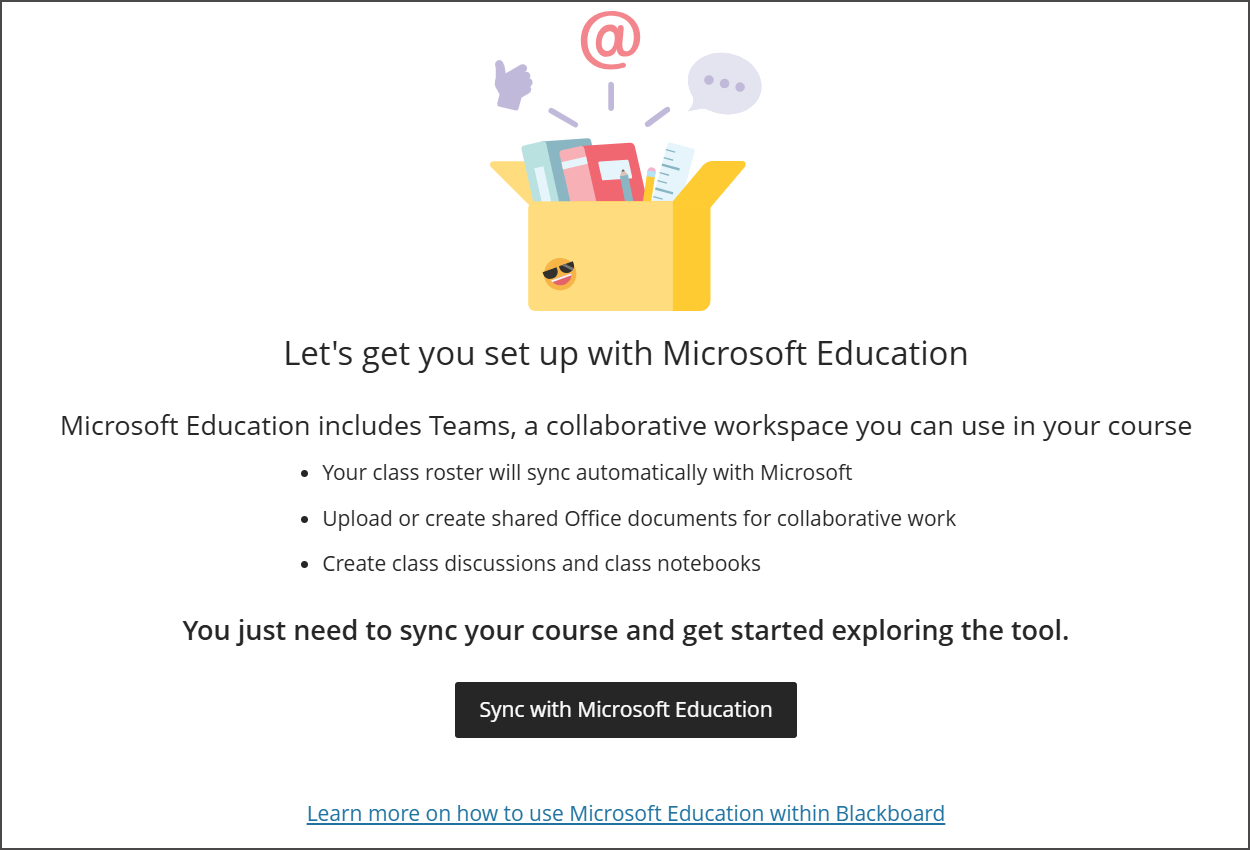
This can take up to 15 minutes to complete. You may need to refresh the page after completion.
Return to the Details and Actions menu and select Open Microsoft Education once synchronization completes. This gives you access to the Microsoft Education Dashboard.
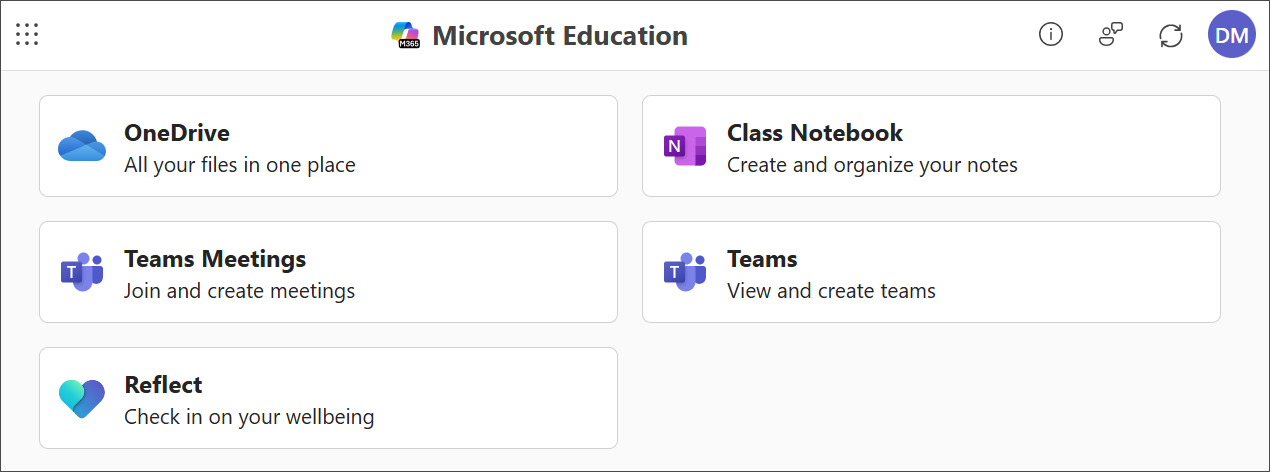
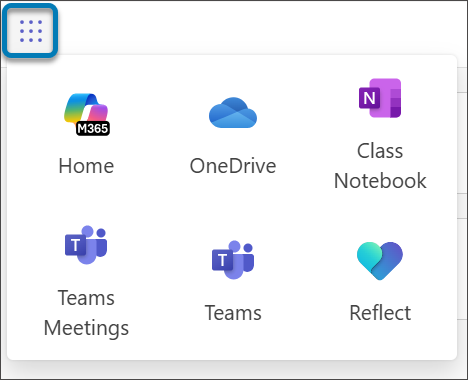
In the Microsoft Education dashboard, select the tool you want to use. You can navigate between tools with the menu button on the top corner of the page.
Turning Microsoft Education tools on or off in a course
You can customize the selection of Microsoft Education tools for your course.
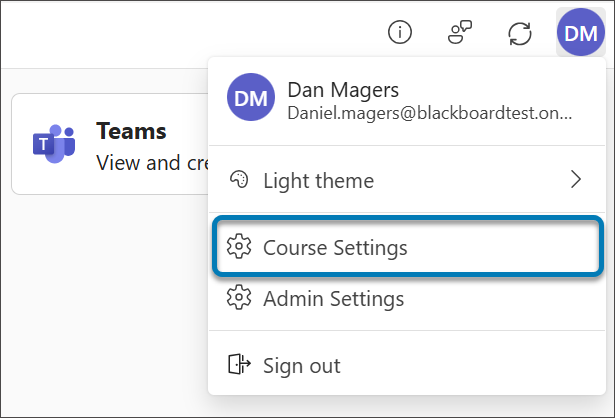
In the Microsoft Education dashboard, select the profile button near the top corner of the Microsoft Education banner.
Select Course Settings.
On the course settings page, the Microsoft Education tools available through your institution are displayed as a list. Your Blackboard Administrator controls which tools are displayed in courses throughout the institution.
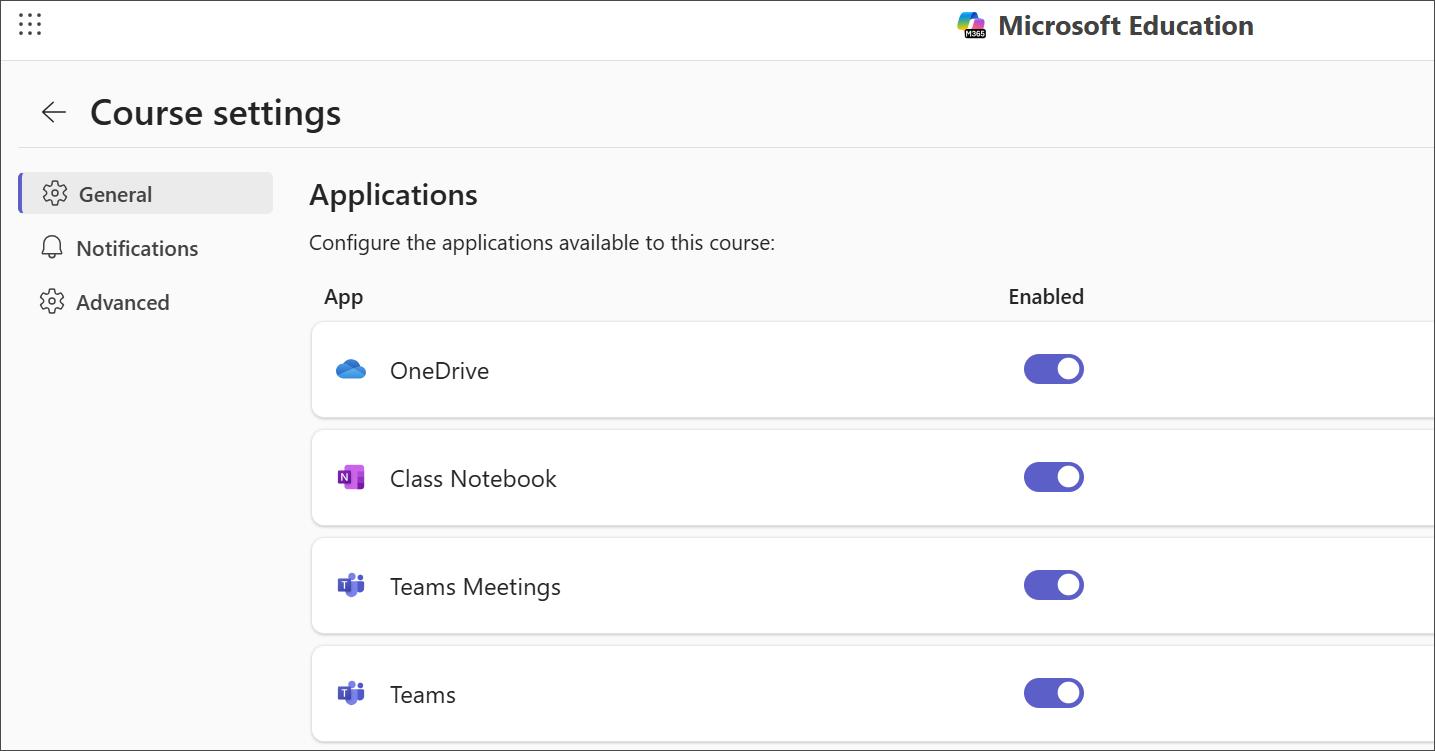
Use the switch next to each tool to turn the tool on or off. Students won’t see tools that are turned off.
Use Microsoft Education tools
Several Microsoft LTI integrations are now available in one integration: Microsoft Education. You can access Microsoft Education tools in one of three ways:
Select Open Microsoft Education on the Details and Actions menu.
Select View course and institution tools in the Books and Tools section of the Details and Actions menu.
Select + to create new content on the Course Content page. Once the menu dropdown displays, select Content Market.
Use Teams and Teams Meetings
Teams
Teams provide a collaborative space for your class in Microsoft Teams.
When you enable Microsoft Education in your course, a team is created and synced with your Blackboard course roster. It's typical to have only one team per course.
You can access the team from the Microsoft Education dashboard or from the Content Market on the Course Content page.

Team Meetings
Use Teams Meetings to schedule and manage class meetings.
To use Teams Meetings:
Open Teams Meetings from the Microsoft Education dashboard.
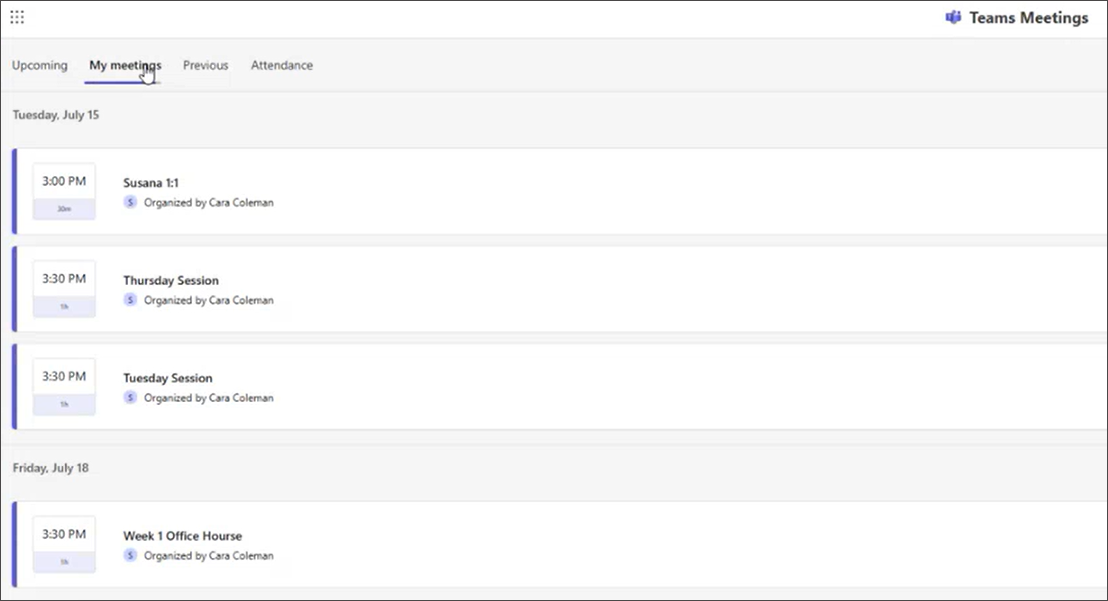
View upcoming and previous meetings in a streamlined tile view.
To schedule a meeting:
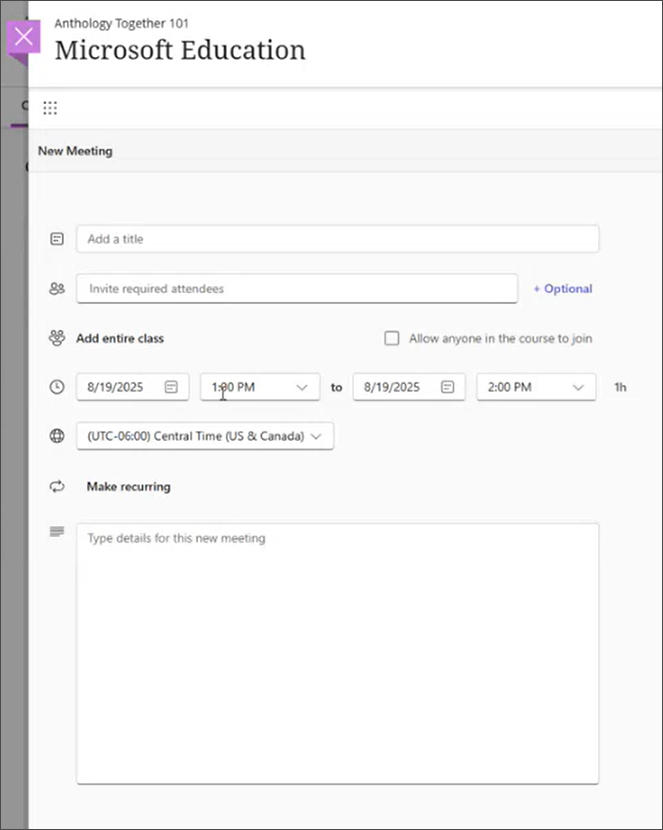
Select New Meeting.
Enter meeting details (title, date/time, recurrence).
Choose to invite the entire class or allow anyone in the course to join.
Optionally, add guests (e.g., guest lecturers).
Save the meeting.
To start an instant meeting, Select the arrow in the New Meeting option. This creates a dropdown labeled Meet Now. Select this option to generate a join link for immediate use.
Use OneDrive in Blackboard
In Microsoft OneDrive, manage, add, or create files for your course.
To use Microsoft OneDrive:
Open the Microsoft Education dashboard in your course.
Select OneDrive from the dashboard.
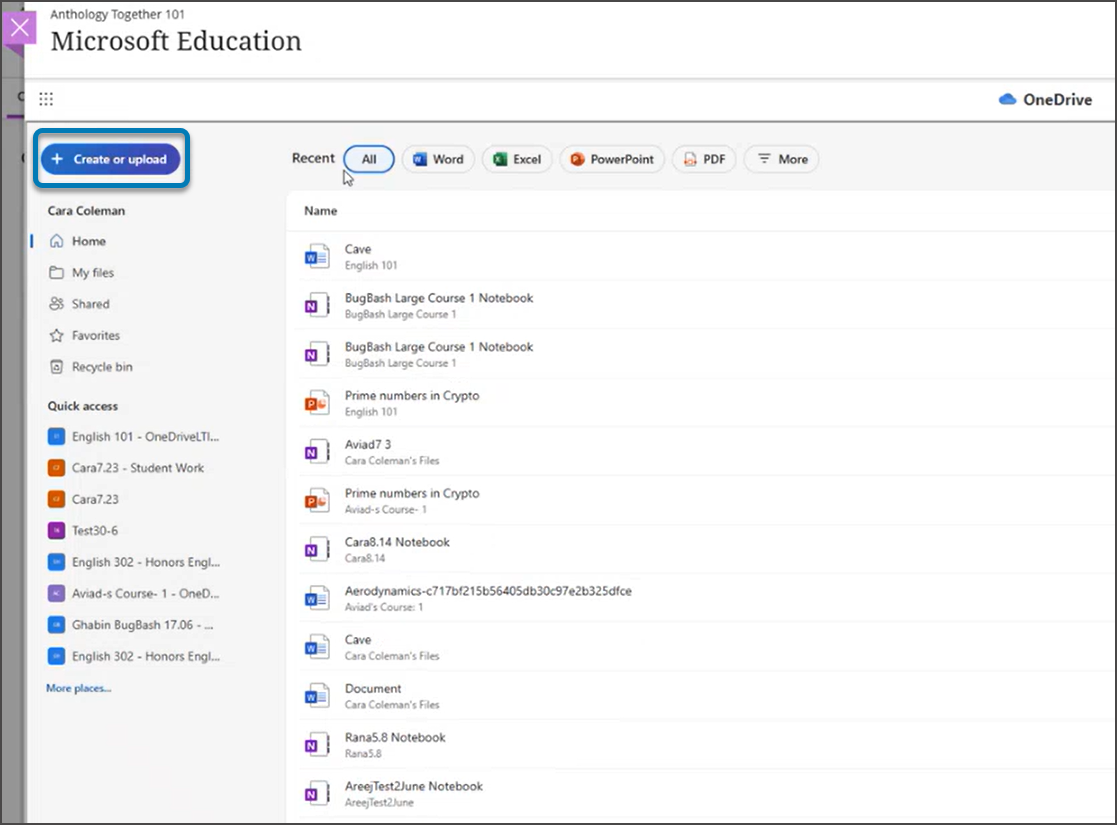
To add or create a file, select Create or Upload from the top of the side panel of the dashboard.
Select Add to upload an existing file from your device.
Select Create to make a new file (Word, Excel, PowerPoint, etc.).
Sort and organize files as needed using the available filters and sorting options.
Use Class Notebook
Class Notebook provides a collaborative digital notebook for your class.
To use Class Notebook:
From the Microsoft Education dashboard, select Class Notebook.
Follow the setup wizard. Configure permissions and sections as prompted.
Students are automatically added to the notebook and can access it from the course. The new LTI 1.3 implementation auto-adds students, even if they join late.
Use Reflect
Microsoft Reflect support student well-being and check-ins.
Select Reflect from the Microsoft Education dashboard.
Use the tool as you did previously (Reflect’s implementation is unchanged, just now integrated in the unified app).
Assign check-ins or activities as needed.
Use Microsoft Collaboration
Collaborate documents allow the class to work together on shared texts.
Select + to create new content on the Course Content page. Once the menu dropdown displays, select Content Market .
Select Microsoft Collaboration. This directions to OneDrive, where you can choose a or create a new document.
Set the document as a collaborative item so all students can edit.