Insert Media in the Content Editor
You can use the Insert Media option to insert media and enterprise Office365 files directly into the editor. The editor automatically embeds the media with the other content you include. Students can view the media, such as a video, within the same window—no need to navigate to the media's site.
You can embed content from these sites:
Microsoft Stream (on SharePoint)
VidGrid
Panopto™
FlipGrid
SlideShare
Prezi
VoiceThread
Khan Academy
Kaltura
SoundCloud
Spotify®
Genial.ly
NearPod
Quizlet
EdPuzzle
H5P
Vimeo®
YouTube™
Office365
To add media:
In the editor, select Insert Content (the plus button) > Media.
Paste the source URL from the site.
Add alternative text that describes the item for people who use screen readers or may not be able to load the content.
Select Insert. The item automatically embeds in the editor.
For Microsoft Stream (on SharePoint). To embed Microsoft Stream videos, they should copy the embed code as described on the Official Site to Embedding-stream-content.
Embed enterprise Office365 files. Select Share in your Office365 file to create a link to the file. Choose which permissions you want the user to have and select Copy Link. This copies the link to your clipboard. To embed the content, select Insert Content > Media from the editor. Paste the link in Media URL. Select Insert.
Insert images
In some areas of a course, you can use the editor functions to add images along with text content. You can add images that are hosted online or you can upload an image from your local drive.
You can directly insert images into the text editor by selecting the Image button. Only JPEG and PNG files can be uploaded into the text editor.
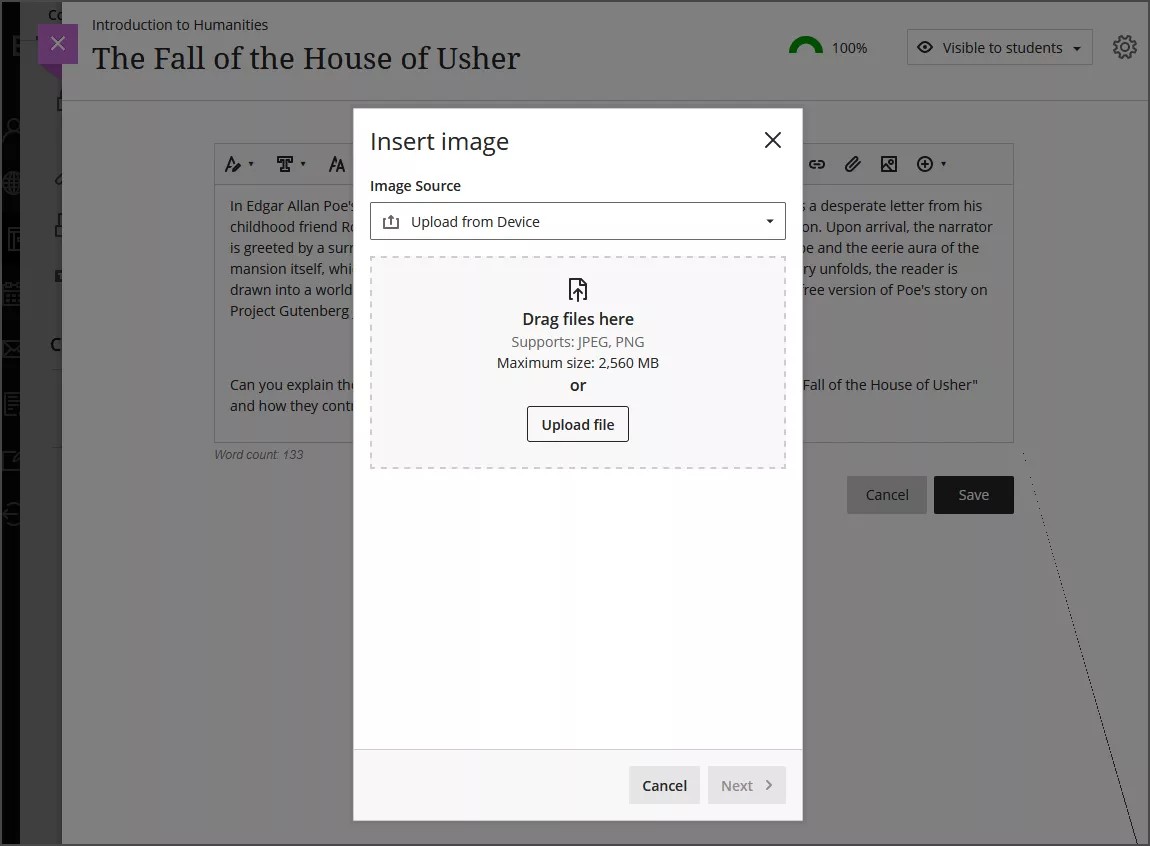
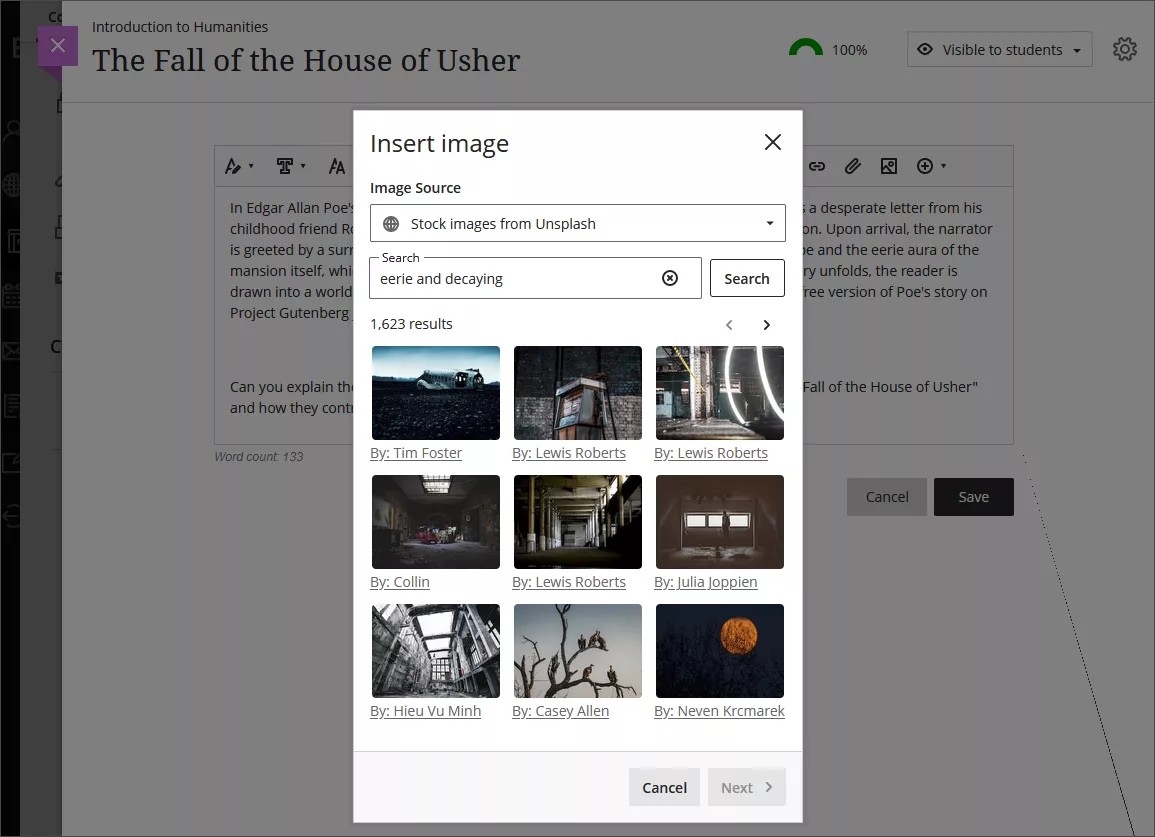
The default option is to upload images from your device. If your institution uses Unsplash, you can insert stock images into your text. The search terms will be auto-populated from your text, but you can select the Exit button and use your own search terms if you prefer.
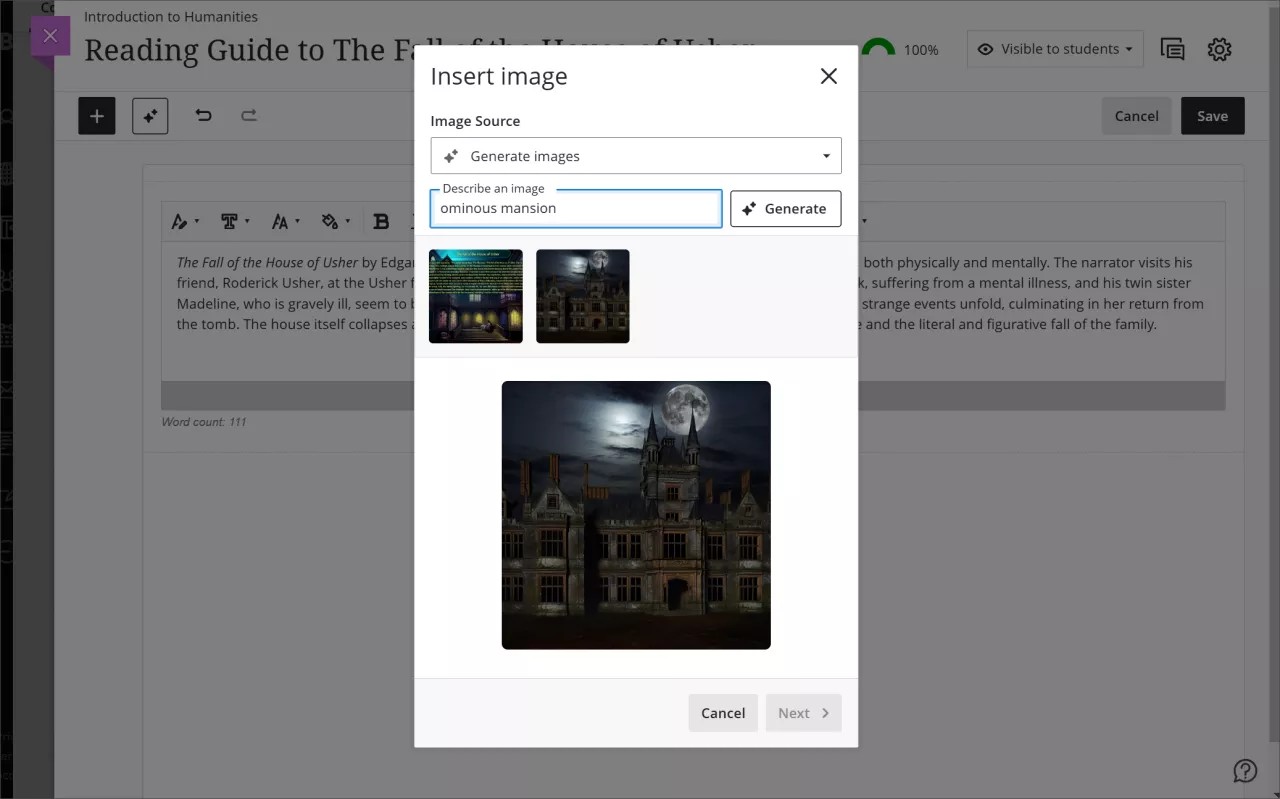
If your institution uses the AI Design Assistant, you can generate an image to insert into your text. Enter a description for your image and then select Generate. One image is generated at a time. When you choose to regenerate an image, the previous image is saved. After you select an image or exit image generation, all previous generated images are cleared.
Note
Students can only upload images and can’t generate images or use Unsplash.
After you’ve chosen an image to insert, select Next. You can now customize how the image appears in the text.
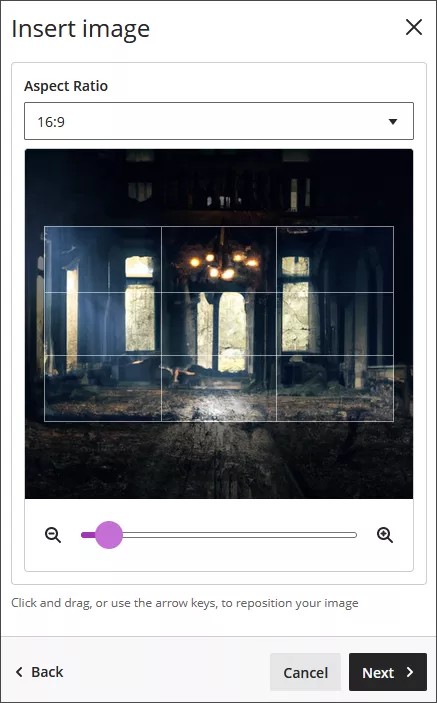
You can choose an aspect ratio for the image. You can keep the original aspect ratio, or convert it to a landscape or portrait display. The white grid lines show you what part of the original image will be displayed on screens.
You also have the option to adjust the slider to zoom in or out, and you can select and drag the grid lines to change the focus.
Select Next when you’re ready to insert the image.
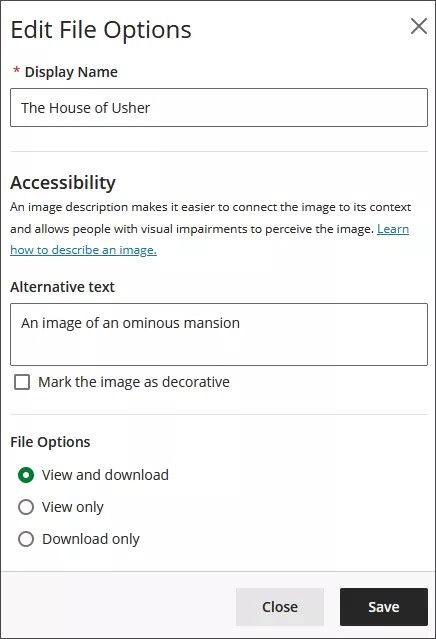
You’re required to enter a display name. We recommend also adding alt text, to make the image accessible to users with screen readers.
By default, users can view and download the image. If you select Download only for the image, a placeholder will display on user screens until users download the image.
Note
GovCloud users can only use the Download only option.
You can also add images from the web. Select Insert Content and then select Image from URL. Type or paste an image URL to embed an image hosted online. You must use the http://protocol. Include a description of the image in the Alternative text box for screen readers and users who can't view the image.
Delete an image. Select the image with your cursor and the delete icon will appear at the top right corner of the image. Select that icon to delete the image. You can also simply highlight the image with your cursor and select the backspace key.
Resize an image
Important
Resizing media is not supported on mobile devices.
You can easily resize images in the editor. Media types available for resizing also include videos and other media inserted via URL.
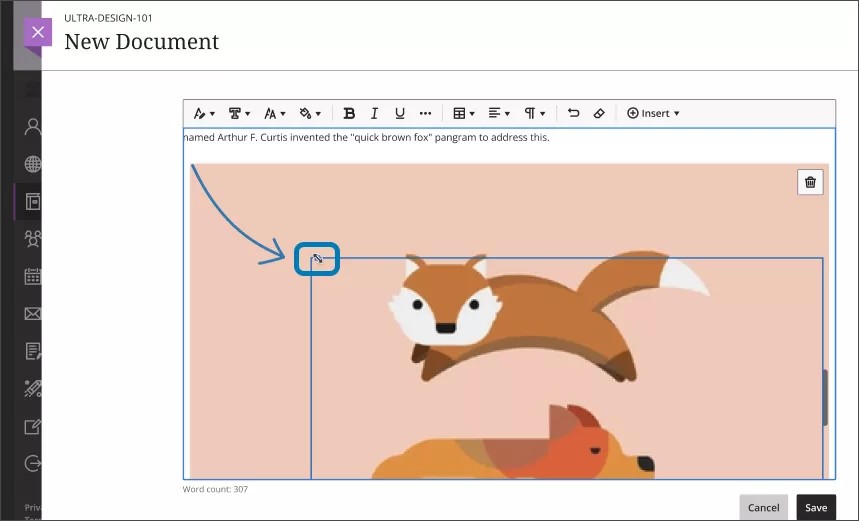
Once an image is added to the editor, select that image with your cursor. The selected image will display four corner handles.
Select one of the handles and hold down the mouse button while dragging it to enlarge or reduce the image size.
When you are happy with the size, release the mouse button and select Save.
You can also resize an image via keyboard navigation:
Make sure your cursor is active on the Learn Ultra screen.
Select the tab key until you highlight the image you wish to resize.
Hold down the shift key and use the arrow keys to enlarge or reduce the image.
When the image is your desired size, release the shift key.
When resizing, keep in mind these specifications for resizing media:
All media attached or inserted via URL maintains aspect ratio.
All media is center aligned.
The maximum size of the media (100%) is the maximum width allowed by the content editor.
The minimum size limit for all media is 200 pixels.
Adjust the appearance of an image
After you’ve chosen an image to insert, select Next. You can now customize how the image appears in the text.
You can choose an aspect ratio for the image. You can keep the original aspect ratio, or convert it to a landscape or portrait display. The white grid lines show you what part of the original image will be displayed on screens.
You also have the option to adjust the slider to zoom in or out, and you can select and drag the grid lines to change the focus.
Select Next when you’re ready to insert the image.
You’re required to enter a display name. We recommend also adding alt text, to make the image accessible to users with screen readers.
By default, users can view and download the image. If you select Download only for the image, a placeholder will display on user screens until users download the image.
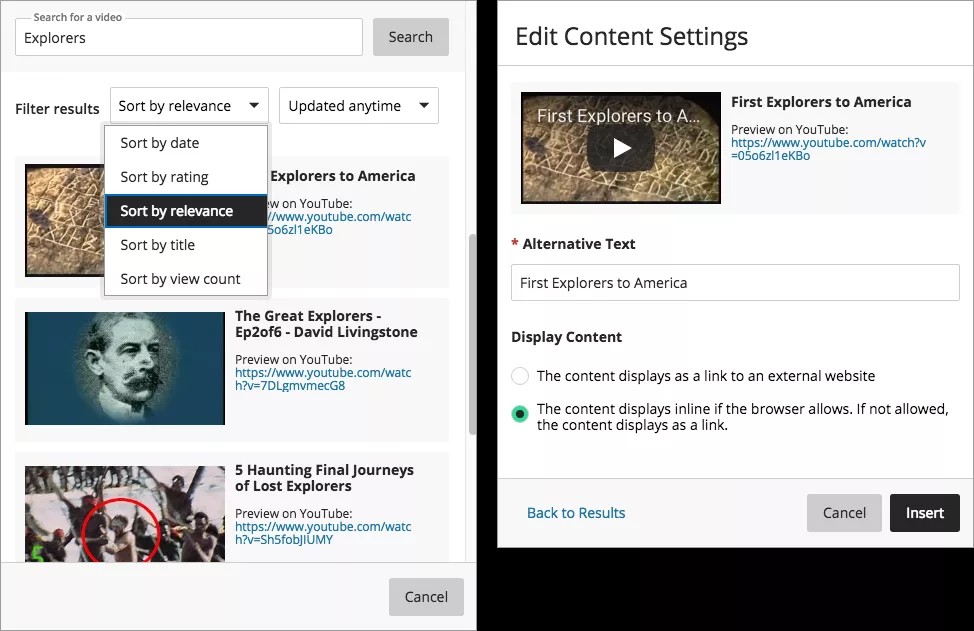
Insert YouTube video
Use the Insert YouTube Video option to browse and add video content directly in the editor. You can choose to display the video as a link or to embed the video so it appears alongside the other content you include. Others can watch the video within the same window—no need to navigate to YouTube.
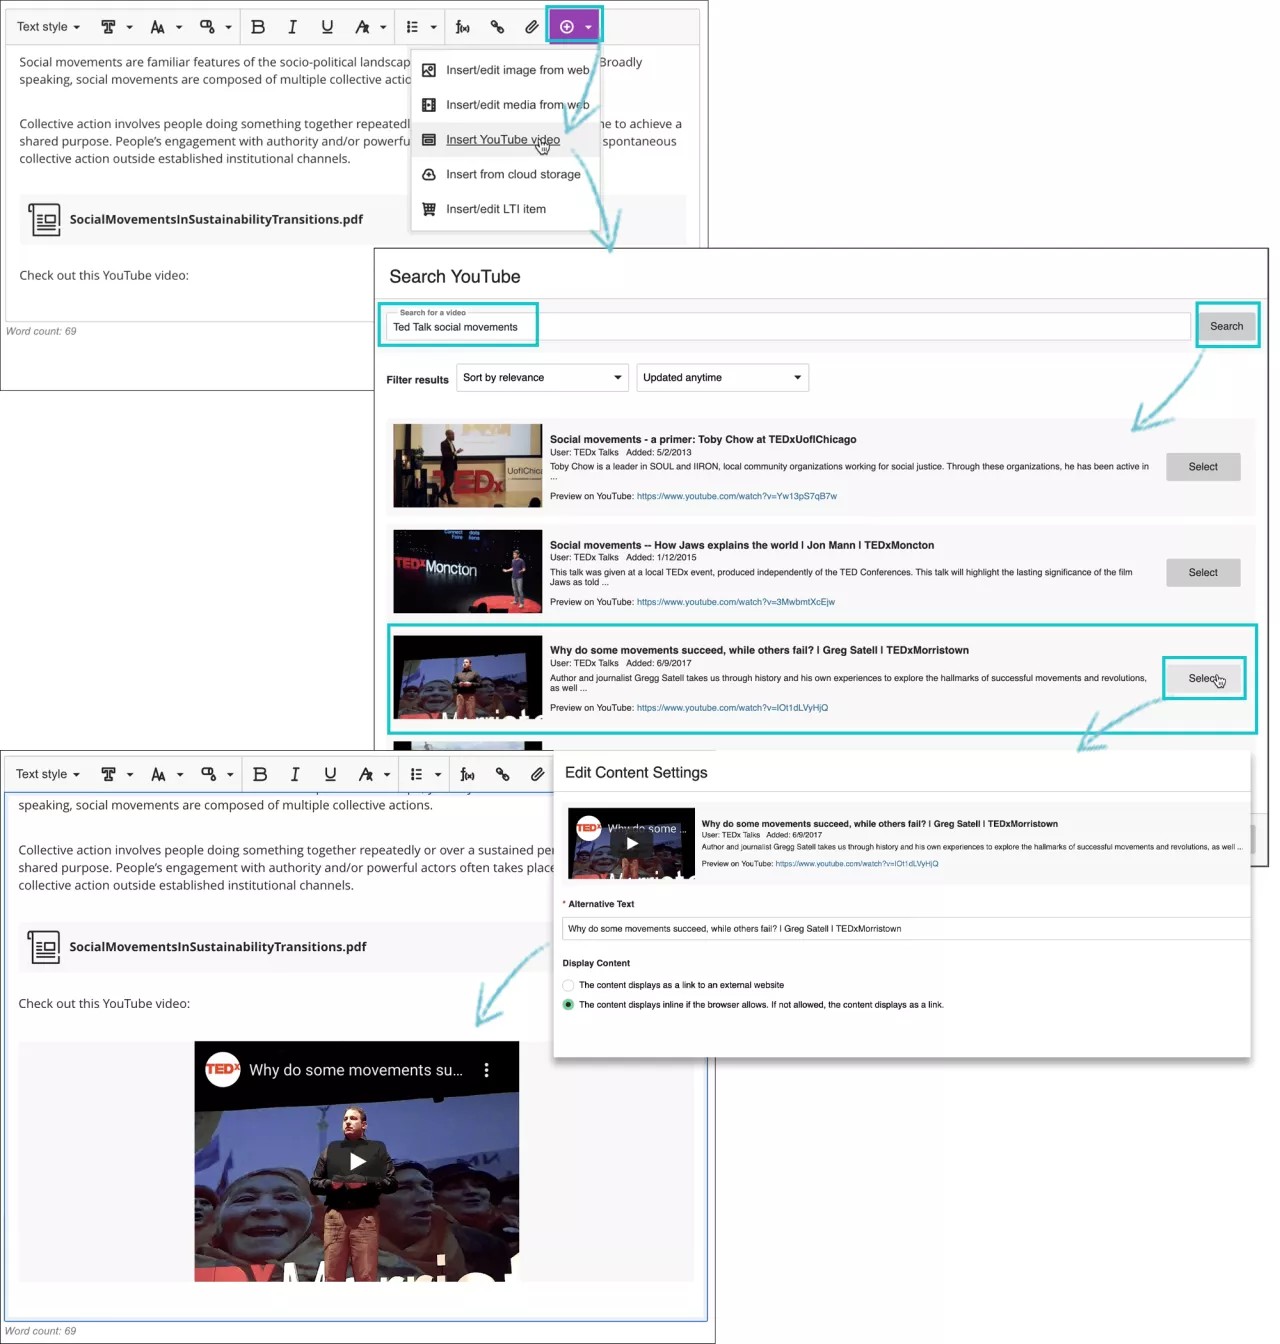
In the editor, select Insert content > Insert YouTube Video.
Type a search term to find the relevant video.
Use the filter options to explore the list of search results. YouTube determines the order of the search results.
Select a video from the list.
On the Edit Content Settings panel, you can add alternative text that describes the video for people who use screen readers or may not be able to load the video.
Choose to display the video as a link or inline so it appears alongside the other content you include. If a browser doesn't support inline viewing, the video appears as a link.
Select Insert.
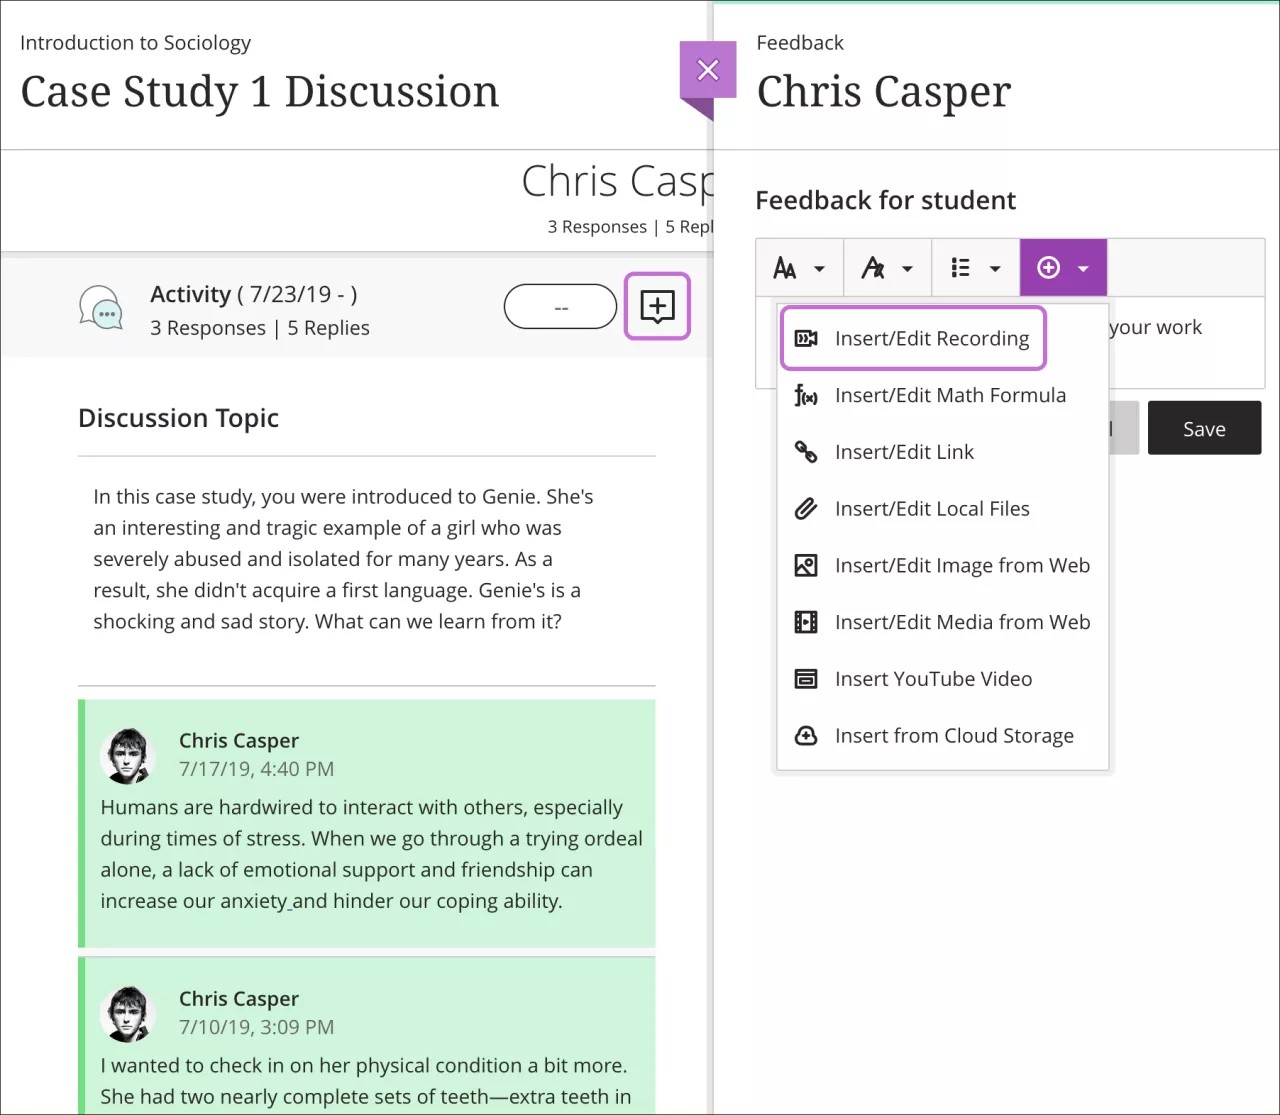
Insert a feedback recording in the editor
You can embed audio and video recordings of your feedback in the editor as you grade submissions. The recording option appears in the feedback editor for most graded items in your course. Students watch or listen to your feedback alongside any text you include.
Note
This function isn't supported on all browsers. For the best experience, use Chrome or Firefox.
Watch a video about adding content using the content editor
The following narrated video provides a visual and auditory representation of some of the information included on this page. For a detailed description of what is portrayed in the video, open the video on Vimeo, navigate to More actions, and select Open transcript.