Content Collection Files
Add files from the Content Collection
You can use the Content Collection to organize, share, and reuse files in your courses and those files shared across the institution. You can add files from the Content Collection right on the Course Content page. Select the plus sign wherever you want to add files. In the menu, select Content Collection to browse the files available to you and add them to your course.
You can also find the Content Collection in the Import Content panel. Select Content Collection to browse the files available to you and add them to your course. To speed up the process, you can select multiple files to add at one time.
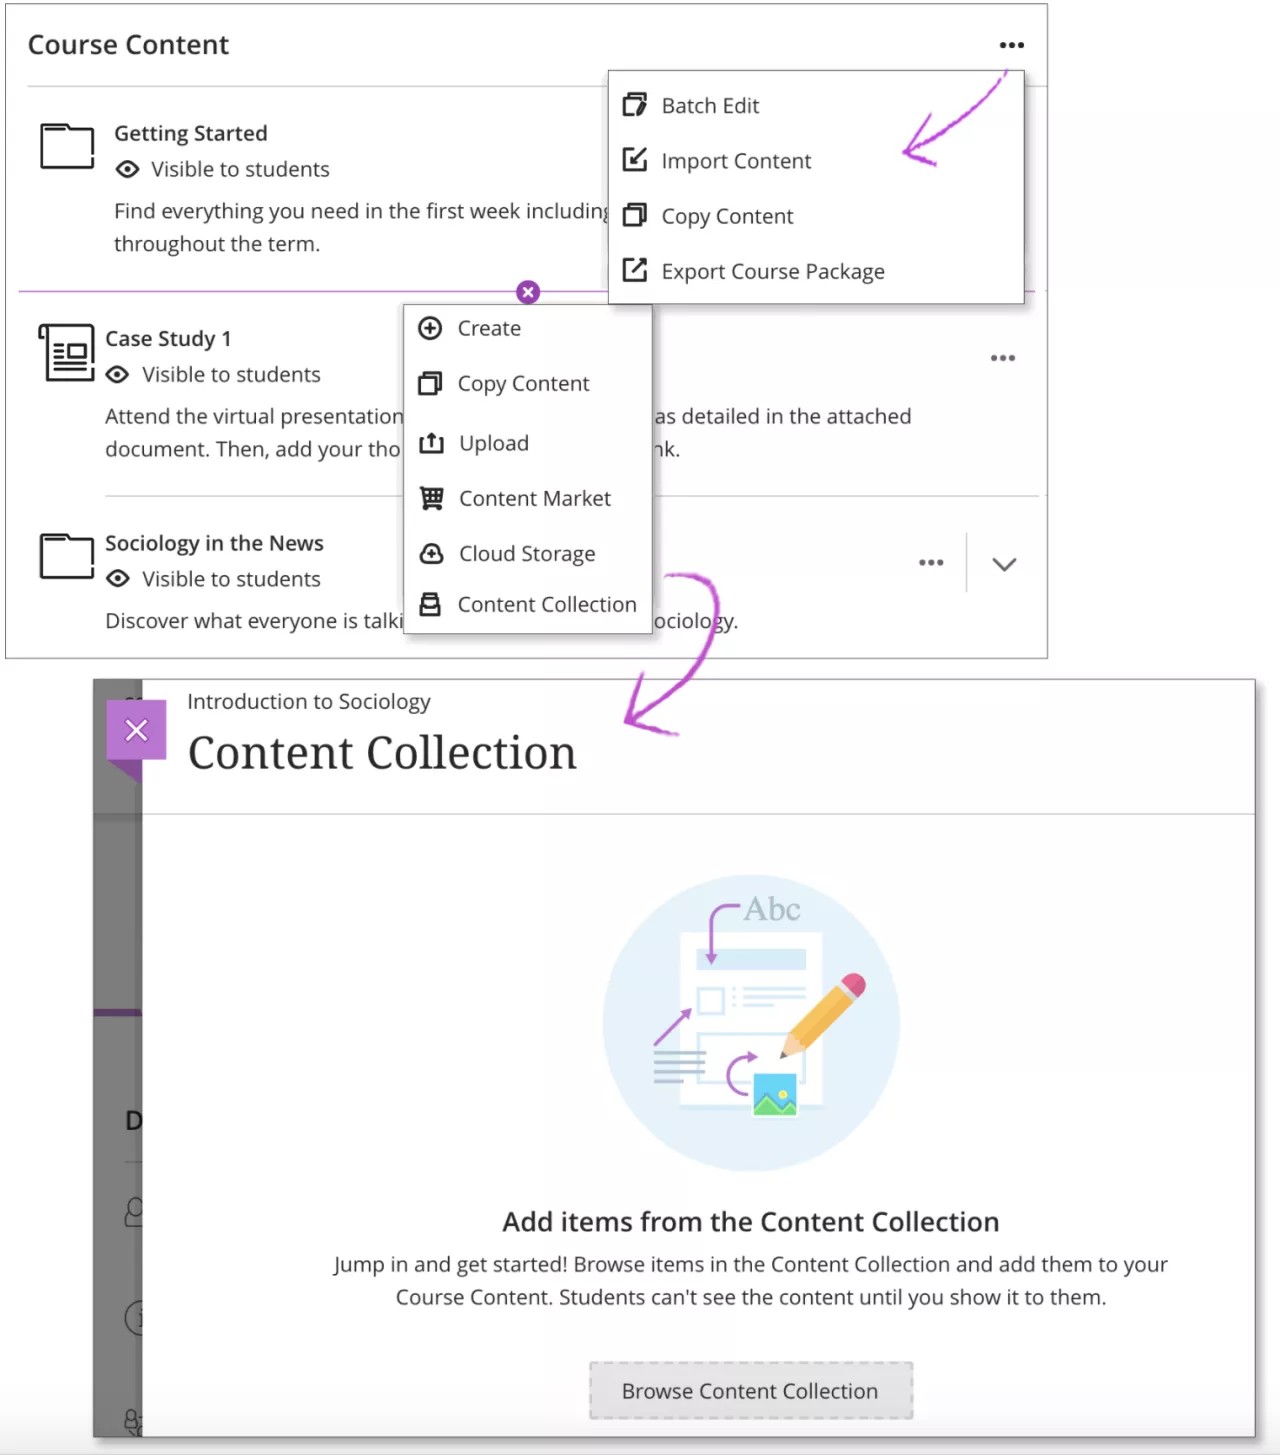
Select Browse Content Collection to get started. You're brought to the Content Collection system, where you can find files stored from your other courses. You'll also have access to files your institution has added and shared. Use the browse functions to explore.
Tip
The first time you open the Content Collection in your Ultra course, you can open it in the current window or in a new window. Select the option that works best for you. You can change the setting later. Select the Browser Settings icon at the top of the window.
When you find a file you want to add to your course, select the check box next to the file name. You can continue to browse and select files. The system shows how many files you've selected at the bottom of the window. When ready to add, select Submit to review your list of selected items.
Tip
If you want to browse the Content Collection but not add a file to your course, you can access the Content Collection on the Tools page. You can also add links to items in the Content Collection.
Review the list
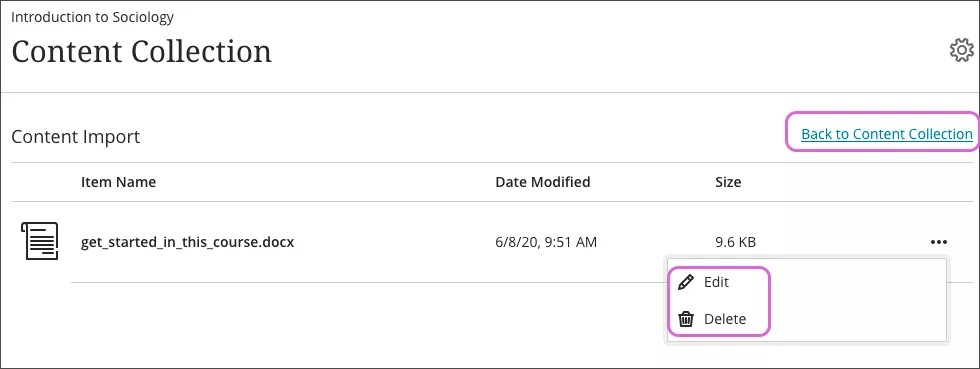
You can review the list of selected files before you import into your course. Review the Item Name, Date Modified, and Size to confirm that these are the correct files. If you forgot something, you can add more items to the list. Select Back to Content Collection to continue browsing.
To remove or edit a file from the list, open the menu for the item. Select Delete if you no longer want to copy the file to your course. Select Edit to change the file's name or description.
Select Save to add the content to your course. The files are hidden from students by default so you can continue building course content.
How Content Collection files behave
When you add a file from the Content Collection to your Ultra course, the file in your course maintains a link to the original location. Keep these characteristics in mind when adding Content Collection files to your course:
File permissions in the Content Collection don't impact whether a student can view a file in your course. You control visibility settings for these files the same way as all other content in your course.
If a file you added to your course is updated or overwritten in the Content Collection, the file in your course reflects that change as well.
If a file you added to your course is deleted in the Content Collection, the file is no longer accessible in your course. The file still appears in the Course Content page, but an error appears when a user opens it.
When you delete a course file that you added from the Content Collection, the file remains in the Content Collection. The only file removed is the one within your course.