Forms
About forms
Forms can be used in a variety of situations to get feedback from your students. You can use a form to place students in a clinical experience or learn about student interests and opinions.
The following question types are supported in a form:
Essay question
Likert question
Multiple Choice question
True/False question
Text
Local File
File from Cloud Storage
Watch a video about Creating Forms in Blackboard
The following narrated video provides a visual and auditory representation of some of the information included on this page. For a detailed description of what is portrayed in the video, open the video on YouTube.
Create a form
Forms are created in the same way as other assessments. You can assign forms to an entire class or to a group.
On the Course Content page, select the plus button anywhere it appears when you hover over the main content area.

Select Form.
Select the plus button to add a question to the form.
This opens the dropdown menu for question types.

The dropdown menu also has the following additional options:
Add page break — Add breaks to make it easier for students to navigate the form.
Add text/local file/file from Cloud Storage — Allow students to add extra content at the end of the form by toggling the option at the end of the form. Students can add text, images, and files.
Reuse questions — Copy questions from existing Forms within the same course. To find a question, you can filter by keyword, source, and question type. You can edit a copied question once it's added to the form.
Select the question type that you want and enter information into the various fields for the question.
Select Save when you’ve completed creating the question.
To edit or delete a question, select the More options menu above a question.
Form settings
By default, forms are hidden from students. You must set the form to be visible to students before students will be able to access the form on their Course Content pages. A form must have questions before you can make it visible to students. You can also add release conditions to a form.

On the right-hand side of the New Assignment page, under Assessment Settings , you can view the settings selected for your form. To choose and apply different settings, select the Settings button to open the settings panel.
You can adjust the due date, grade category, whether the form is graded or not, and how many attempts students have to complete the form. You can also choose to anonymize the results of responses to the form.
View submissions and student activity
Go to the Submissions tab of the form to view all student submissions.
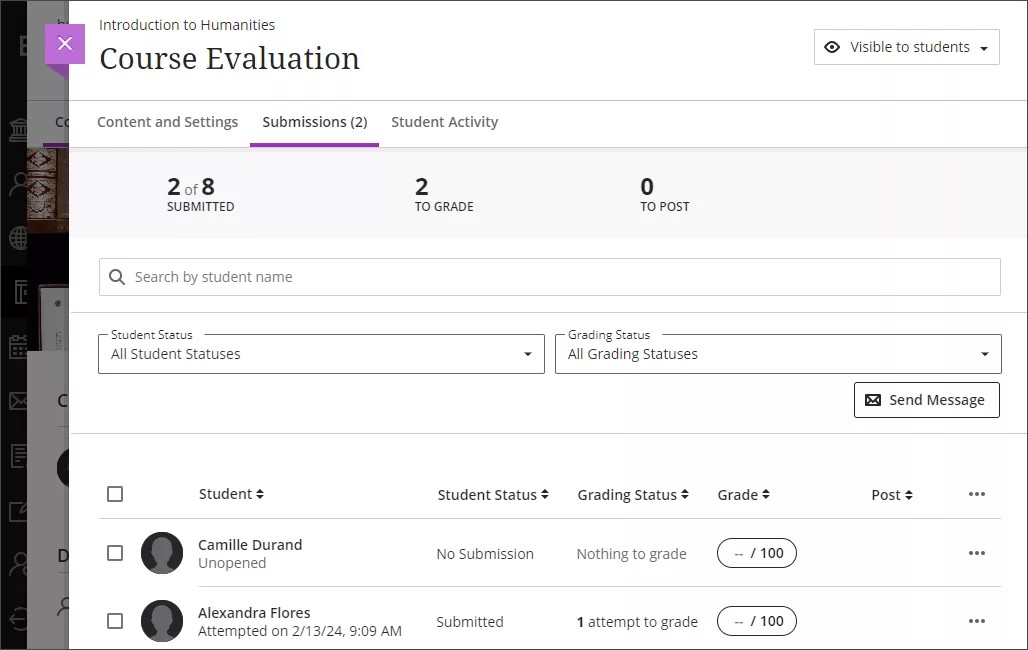
Select a student’s name to see their responses in the grading view.
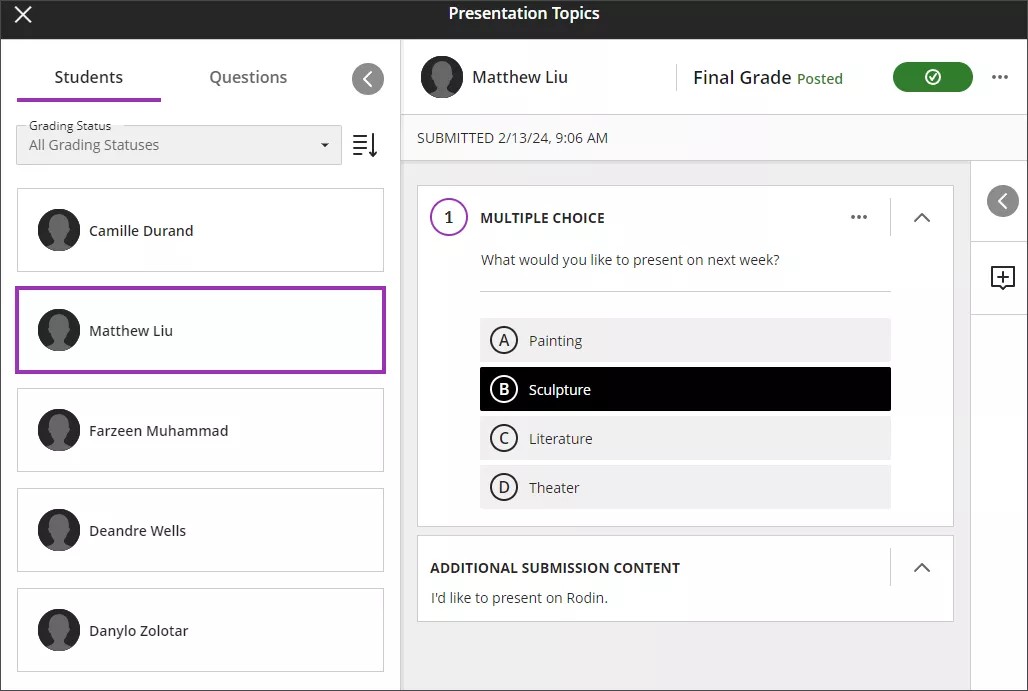
Ungraded forms will not have grading options available. You can leave feedback for a student by selecting the large plus icon beside the student’s response.
You can also download all student responses as a CSV file by selecting the More options menu on the submissions page. Select Download all from the dropdown.
You can view more information about how students are interacting with the form through the Student Activity tab.
