Copying HTML to create a new page (or archive it)
There are two options. One option works if the message is still a draft and you are an Advanced HTML Email Author. The other is if the message has already been sent.
Message in Draft
Use the Clone HTML button in the edit content step.
Assign a new name to the cloned message.
From the HTML provided, start copying the HTML with the first table tag so you include the necessary content. Copy all the way through to the end table tag. Use the Control + C shortcut to copy or right click on your selected text and click Copy.
Starting tag:
Ending tag:
Create a new page in your Site. Add a new Content Block on the page. In the new Content Block, select the HTML option at the bottom of the editor.
Paste the HTML that you copied into the editor and save your work.
Message has been sent
1. You must send yourself the message and make sure the View in Browser token has been used.
2. Click the View in Browser link in the message you received.
3. When the e-mail opens, right-click on the email and select View Source (Depending on the browser you use, this may be called a slightly different name – such as View Page Source).
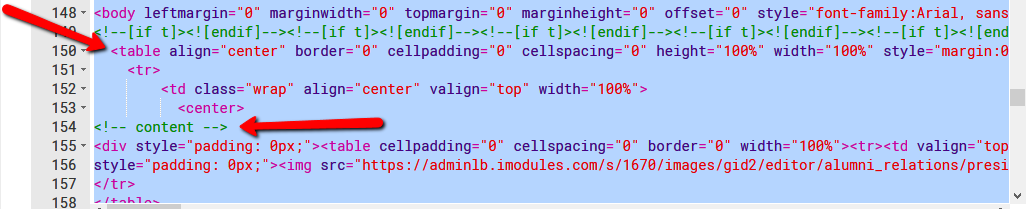
4. A screen will open with all of the HTML that is encoded into that Email:
Starting where it says “<table style”, select all of the HTML from this page. DO NOT include the “html” or “body….” tags.
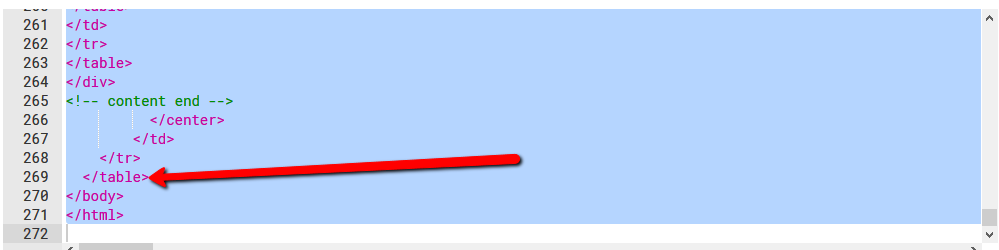
Select down to and including the </ table> at the bottom of the page. DO NOT include the “/body” or “/html” tags.

4. Copy the HTML: Press the CTRL+C shortcut to copy, or right-click on your selected text and click Copy.
5. Create a new page in your Site. Add a new Content Block on the page. In the new Content Block, select the HTML option at the bottom of the editor.
Paste the HTML that you copied from the Email into the editor.
Note
You cannot use the View Email on Site link for this as that link is specific to the recipient and Preview email links require admin authentication.
If your email includes buttons with links, contact Encompass Support to update a site setting so that the button links work correctly on your archive page.
It is recommended to use the blank page template when creating an email archive page.