Record Audio and Video
You can include a recording of your feedback so it appears with any text you've added for a student. You can use the full Video Studio workflow when giving assessment feedback or working in Flexible Grading, even if your institution does not license Video Studio. This gives you access to record or upload video and audio directly in the feedback editor, using features like captioning, transcription, and editing to deliver clear, personalized communication.
Note
If your institution does not license Video Studio, your feedback recordings will be limited to 5 minutes long. If it does have a Video Studio license, the limit is 20 minutes.
Video and audio created with or uploaded into the audio/video feedback tool does not count towards an institution's Blackboard storage entitlement.
Record feedback
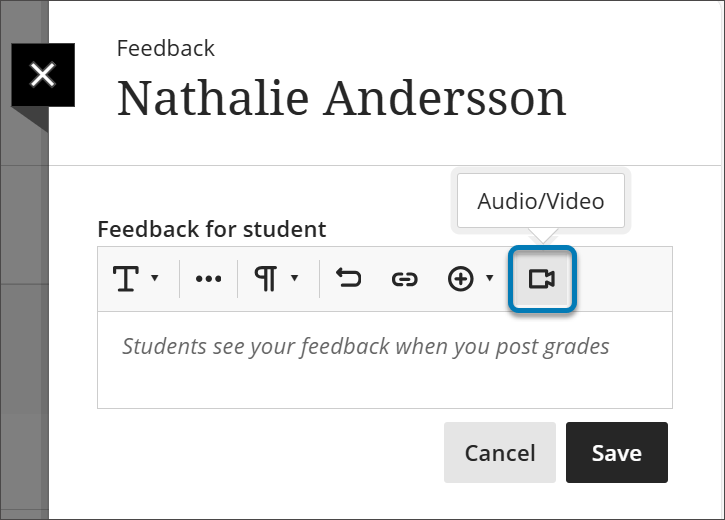
Select Audio/Video in the instructor feedback panel.
Select whether you want to record your camera, audio, screen, audio and screen, or camera and screen.
Select the Start recording button.
When you have finished recording your feedback, select the End recording button. Your video will begin to process.
Enter a title for your video into the Title box and a description into the Description box.
Select an Access Option. View Only will allow students to just view the recording, and View and Download will allow them to also download it.
Select the Play button to preview your video.
If you are satisfied, select the Save Video button. If you want to discard the video, select the X.
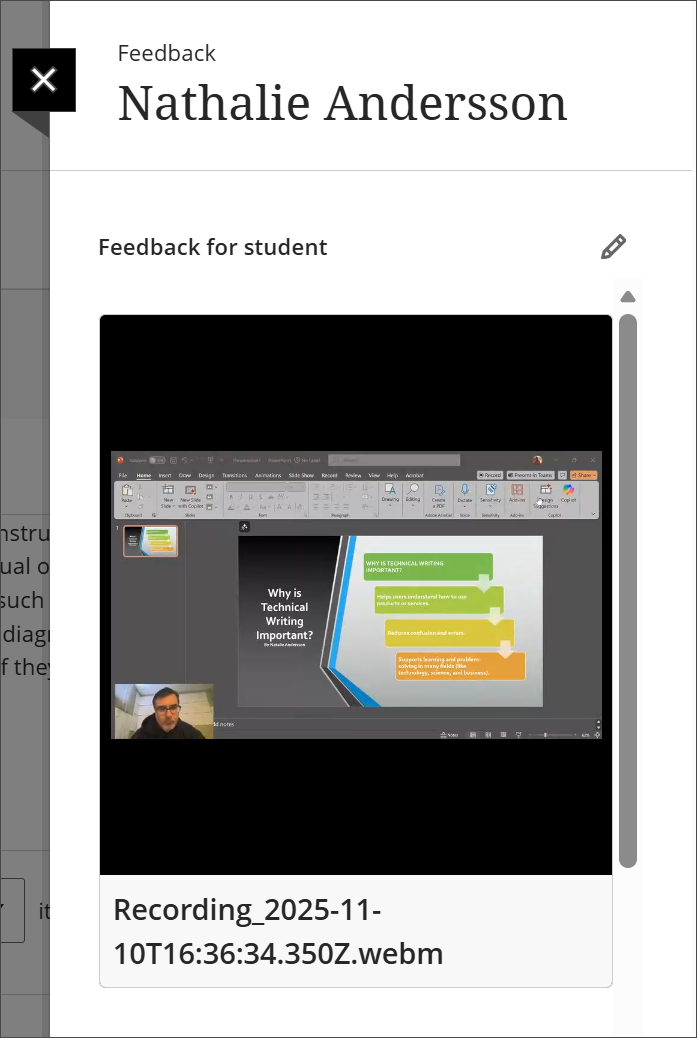
The video studio recording is now embedded in the instructor feedback panel for students to view.
For detailed information about what you can do with Video Studio, visit the Video Studio page.