OneDrive Files
Create embedded cloud document
Important
For you to start using OneDrive, your administrator should have already registered the OneDrive LTI tool for Blackboard LMS in the Administrator Panel.
The LTI integration for OneDrive is available for you in Blackboard LMS. If enabled, this new, intuitive workflow allows you to add files from OneDrive to:
Your Course Content area
Learning Modules
Folders
You may need to sign into a Microsoft account to view and select files. After adding the OneDrive file, you may rename it within the course. You can also set student visibility.
How to add files from OneDrive in your course
In your Course Content page, select the plus sign menu and then Create. Select Embedded Cloud Document from the options in the Create Item panel.

If you haven’t signed into Microsoft, you may need to do so to continue. Use your Microsoft regular account information and follow the instructions provided.
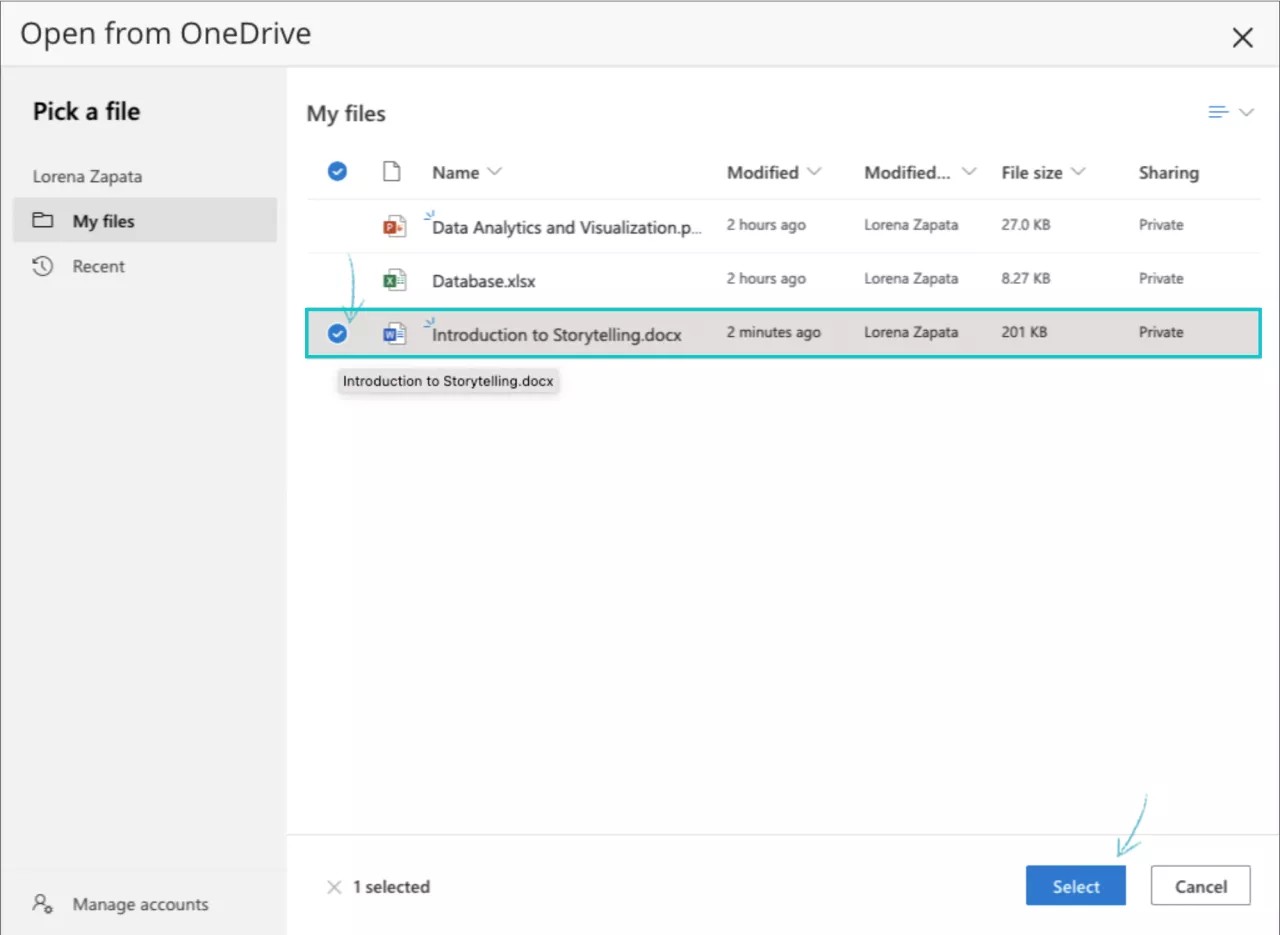
Once you’ve logged in, you will see your OneDrive space, where you can select the file you’d like to add to your course.
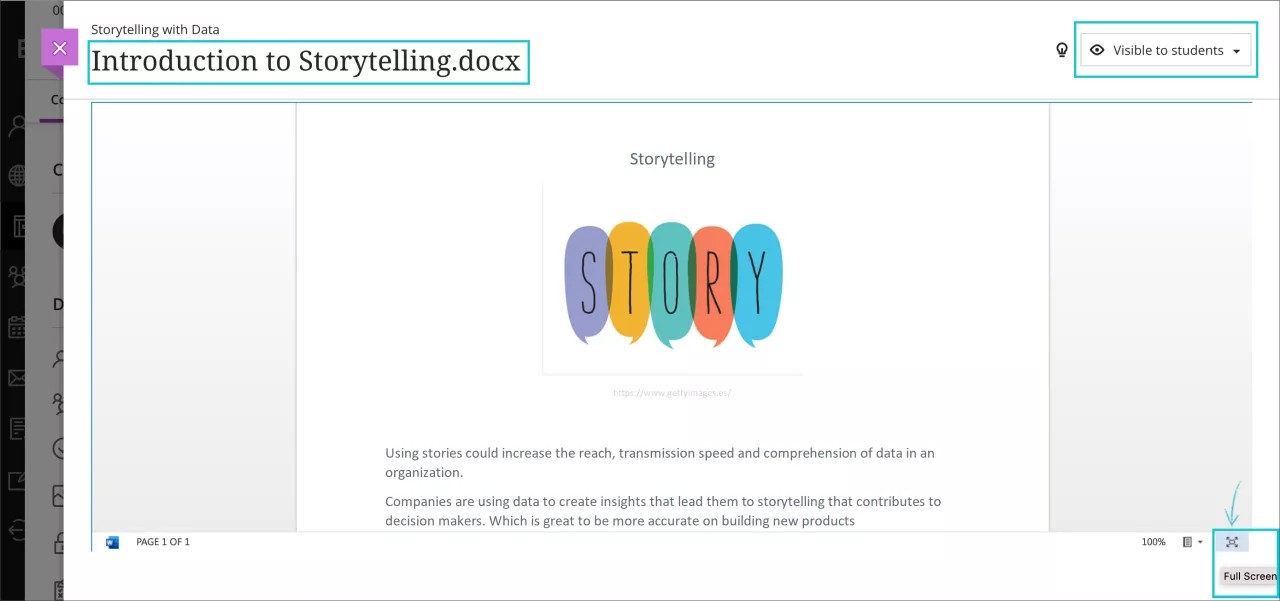
The file will appear in the course page as a new content. You can start to use it. To change the name of the file and set visibility, select it from the Course Content outline.
After you change the title and visibility, you can modify the contents of the file by selecting Full Screen at the lower corner of the screen.
You can edit the file as desired.
Note
Your students will have a read-only view of the file in the course.
Other existing LTI options in the course remain unchanged: Content Market, Books and Tools and the Rich Text Editor.
Create a cloud collaboration
Important
For you to start using OneDrive, your administrator should have already registered the OneDrive LTI tool in the Administrator Panel.
Collaborative documents provide students opportunities to engage with one another as well as with the course content. As an instructor you can create a Microsoft OneDrive collaborative document from within Ultra.
The supported file types for new documents are:
Microsoft Word
Microsoft Excel
Microsoft PowerPoint
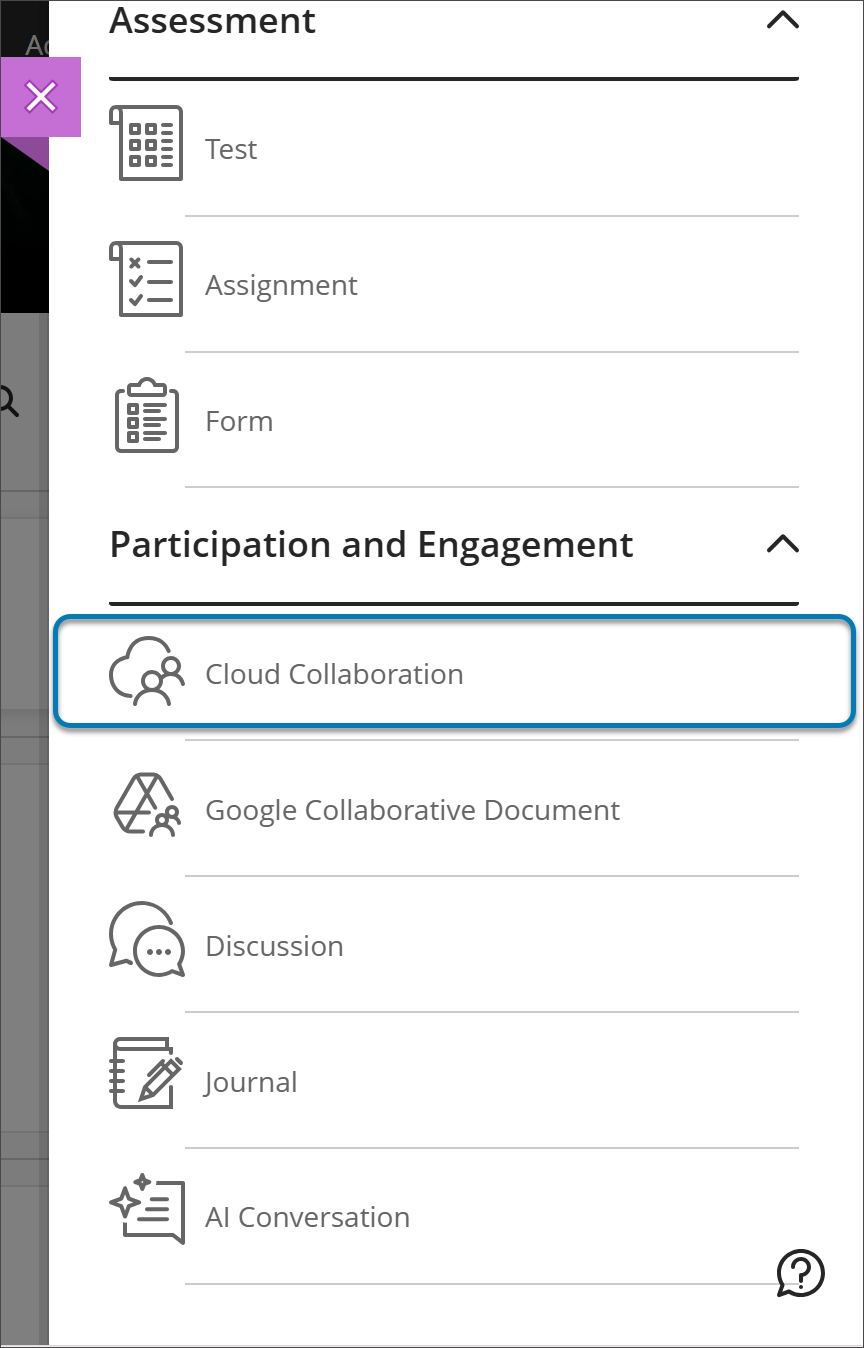
In your Course Content page, select the plus sign menu and then Create. Select Cloud Collaboration from the options in the Create Item panel.
 |
Important
You may need to sign into a Microsoft account to proceed.
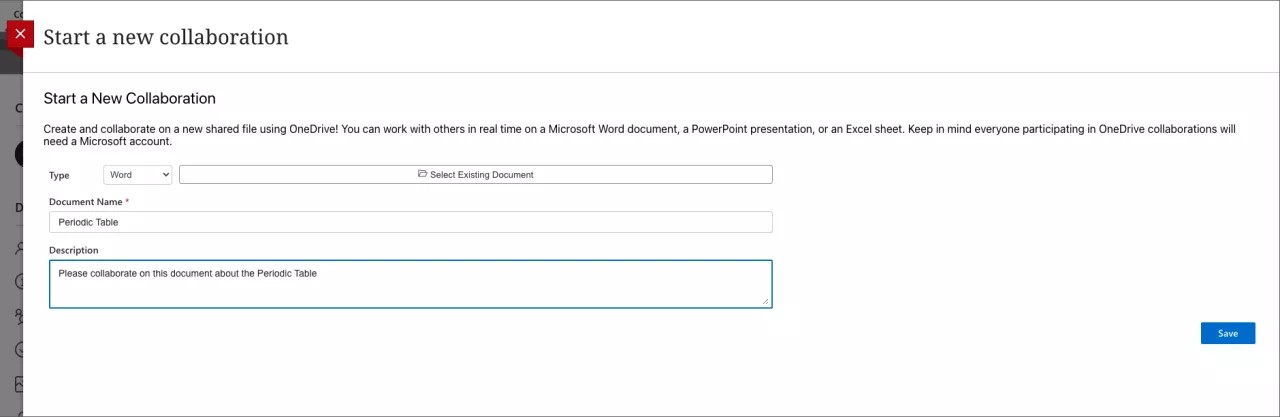
A new panel opens and you can start a new collaborative document. Select the type of file you want to create or select an existing document to start with it as a template. Then you can add a name for the new document and a description, to guide your students' assignment.
For collaborative documents, when you assign a student as a collaborator, they will see Edit. The student selects Edit to start collaborating on the file. They may need to sign in with a Microsoft account to edit the document.
Important
Any existing files linked to OneDrive remain unchanged. Those files will remain read-only.