Importing Outcomes
Importing outcomes lets you add many outcome statements at once from a CSV file, so you can spend less time on setup and more on assessment and continuous improvement. Outcomes offers two ways to import. Unit Administrators and Creators can use Add > Import Outcomes to load outcomes into the unit, academic year, and term they have selected. Site Administrators can use Settings > Import Outcomes to load outcomes for multiple units across the institution in a single upload. Both options run in the background, send an email with a results report, and are recorded on the Import History tab.
Use this feature when you're implementing Outcomes for the first time, expanding your use of Outcomes, or migrating outcome statements from another system.
Importing Outcomes to a Single Institutional Unit
Bulk Outcome Statement Import lets users upload multiple outcome statements at once, to any unit of the institutional hierarchy, instead of creating them one at a time.
Before you begin
You'll need:
A CSV file with your outcome statements, formatted as described below.
Administrator or Creator access to the organizational unit where the outcomes should be created.
The correct Academic Year, Institutional Hierarchy unit, and term selected before you start the import. The import applies the currently selected unit and time period to every outcome in the file. To apply outcome statements to additional terms or time periods, use the copy feature as described on Copying Outcomes.
CSV File requirements for a Single Unit Import
Your CSV file must include exactly these four columns, in any order, with a header row:
Column | Description | Limit / valid values |
|---|---|---|
Identifier | A short code for the outcome (e.g., FSCI-SLO-01). | 100 characters max |
Name | The outcome's display name. | 100 characters max |
Statement of Learning | The full outcome statement text. | 2,000 characters max |
Desired Degree of Learning | The target proficiency level for the outcome. | Introduced, Reinforced, Mastered, or None (default values) |
Warning
The import tool does not check for existing outcomes. Uploading the same file twice, or uploading outcomes that already exist, creates duplicate entries rather than updating them or skipping them.
Review your CSV carefully before importing, and avoid re-running an import that has already succeeded.
Import Outcomes for a Single Unit
Import outcomes from a CSV for a single unit
Navigate to the Outcomes list for the Institutional Hierarchy unit where you want to add outcomes.
Confirm that the correct Academic Year and Term are selected.
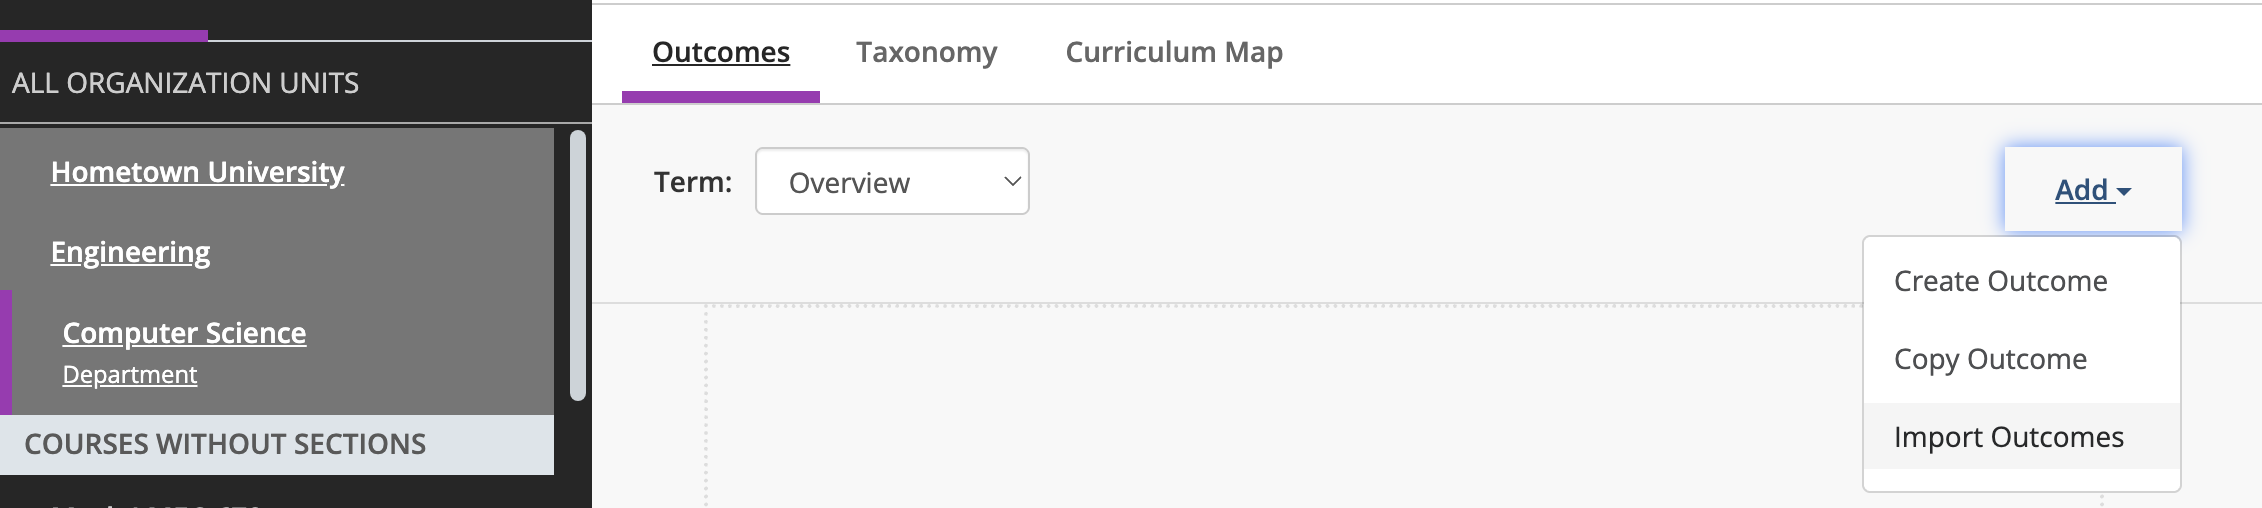
Select Add, then choose Import Outcomes from the menu.
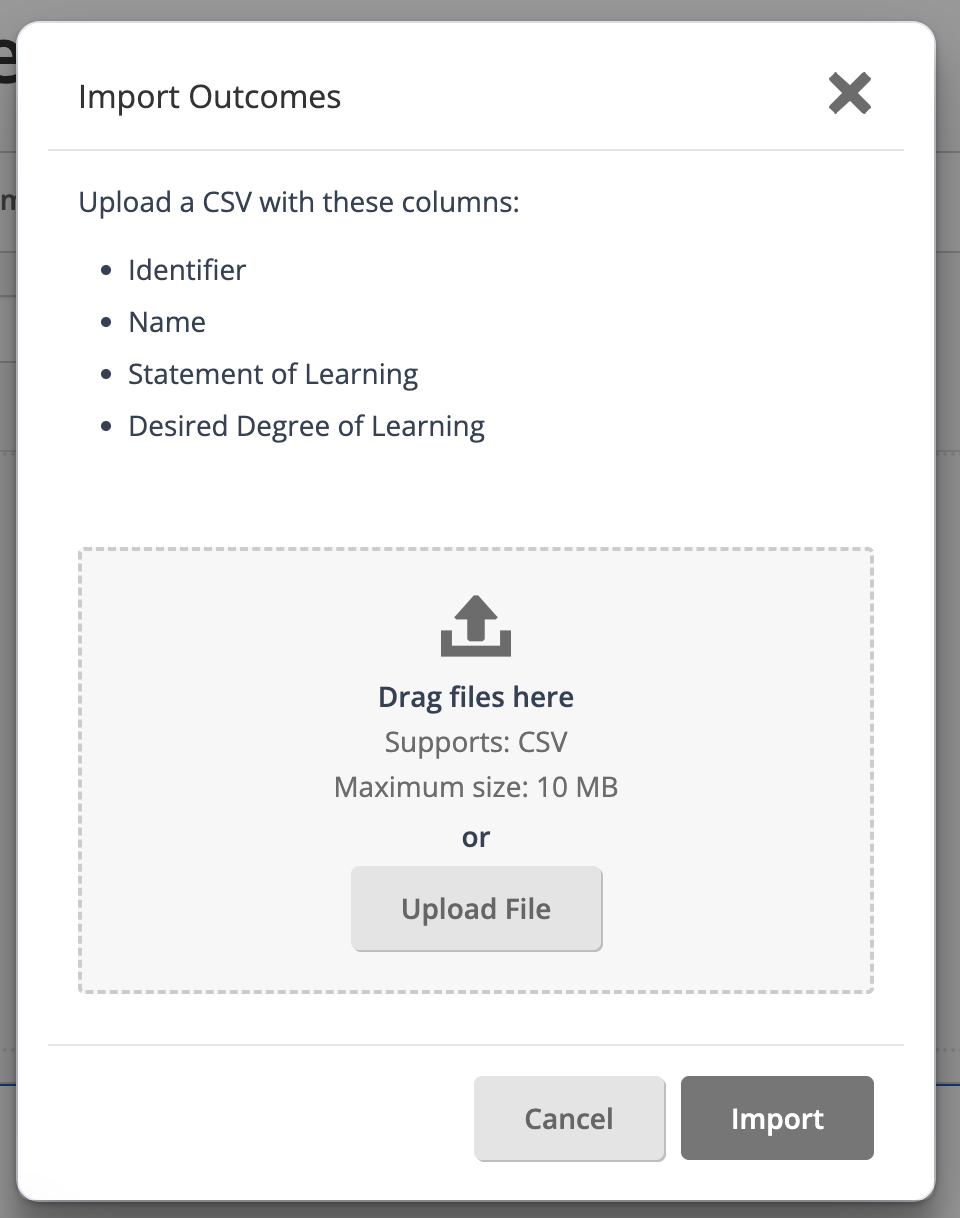
In the Import Outcomes dialog, review the required column list, then select Choose a CSV file (or drag your file onto the upload box).
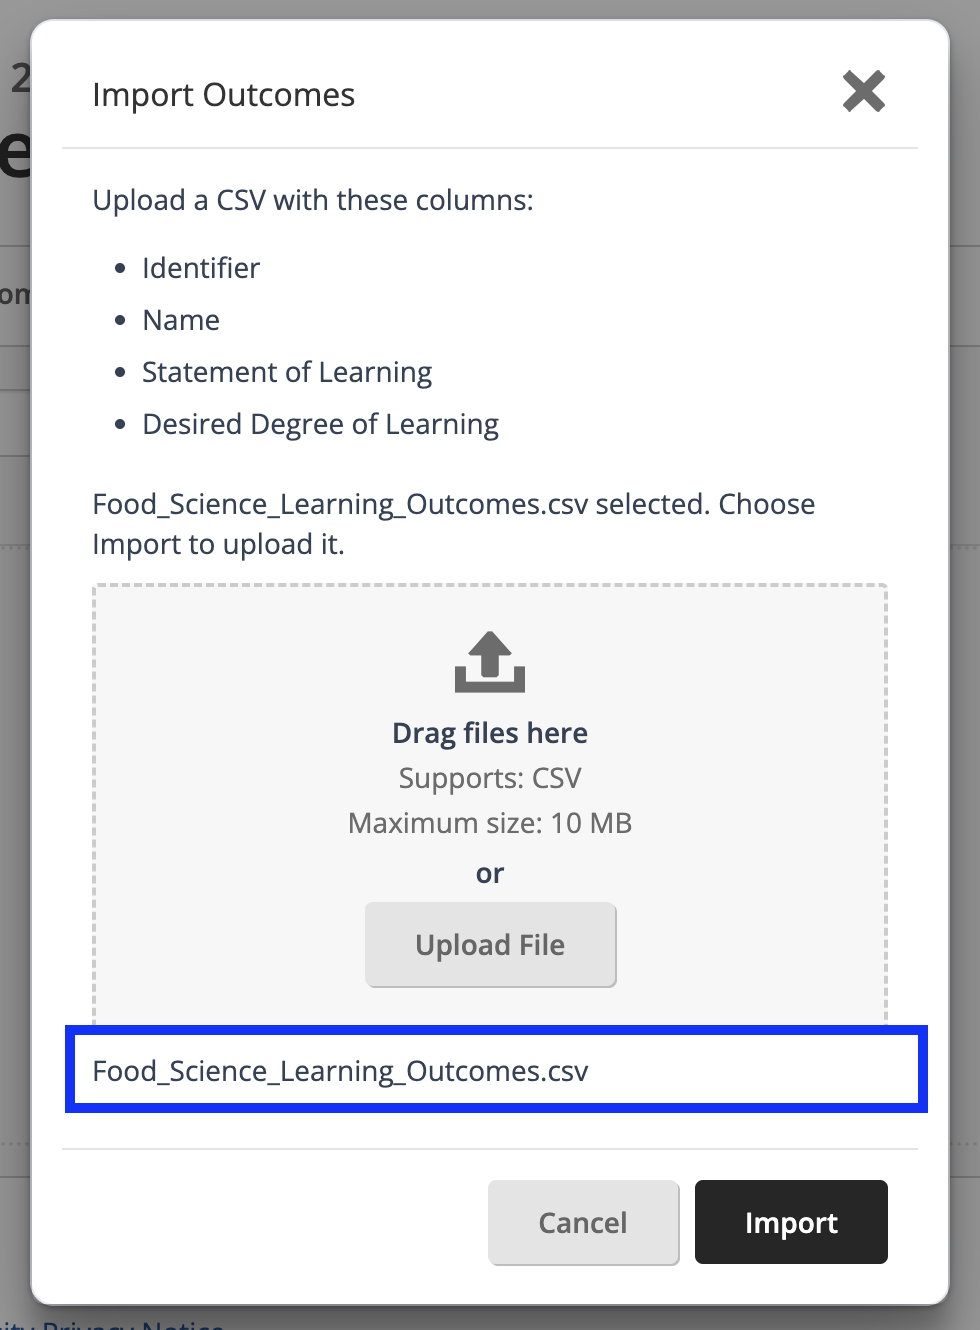
Confirm the correct file is selected, then select Import.
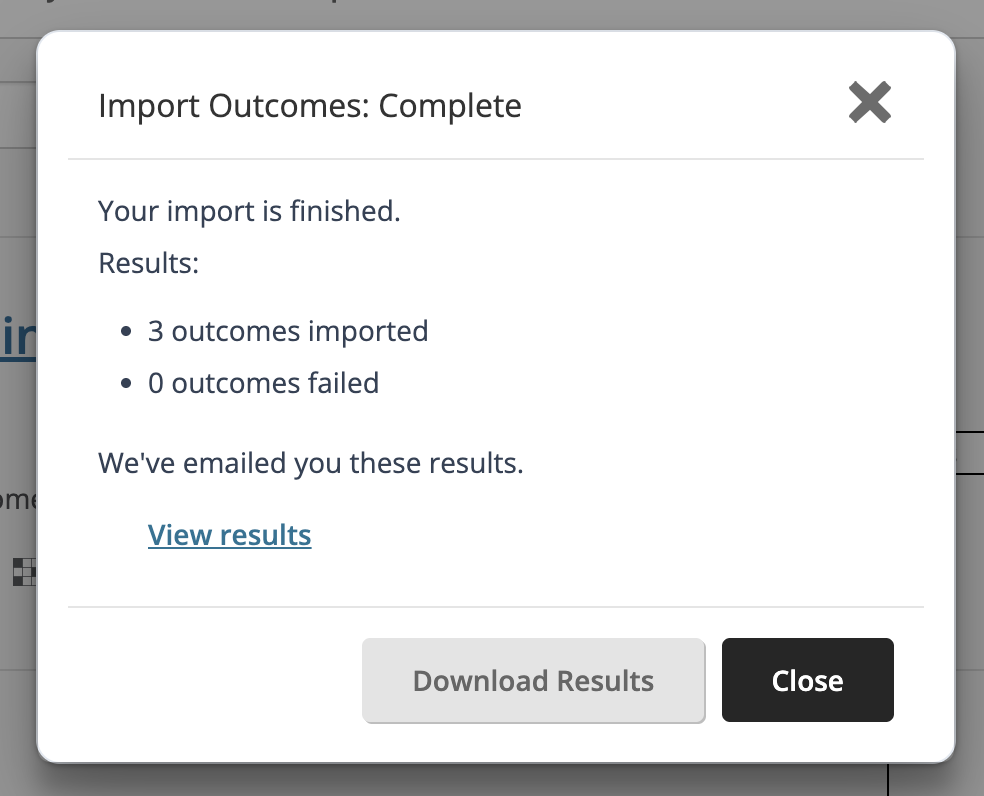
The import runs in the background. You can close the dialog and keep working; you'll receive an email when the import finishes. When the import completes, the dialog updates with a summary (for example, "Import finished: 3 imported") and a View results link. The completion email includes the same summary.
Select View results (or the attachment in the email) to open the results summary. From there you can select Download results to save a CSV showing the outcome of each row in your file.
Return to the Outcomes list to confirm the new outcomes appear.
Newly imported outcomes are added below any existing outcomes for the unit. Outcome statements can be reordered by dragging and dropping on the Outcomes list.
Importing Outcomes Across the Institution
Site Administrators can import outcome statements for multiple units at a time from a single CSV file. Each row in the file names the unit the outcome belongs to, so one upload can add outcomes to the institution and its colleges, departments, academic programs, courses, and sections.
Use institution-wide import when you are launching Outcomes, expanding to new areas of the institution, adopting new measurement and improvement practices, or migrating from another system. It also makes each new cycle of review and revision faster to set up.
To import outcomes into one unit only, use Add > Import Outcomes on that unit's Outcomes list.
Before You Begin
You must be a Site Administrator. Unit Administrators and Creators cannot access this page, but they can still import outcomes into their own units with Add > Import Outcomes.
Outcomes import at the academic year level. They appear in every term of the year you select.
The import does not check for existing outcomes. Uploading the same file twice creates duplicate outcomes rather than updating them.
Prepare CSV File for the Import & File Requirements
On the Import Outcomes page, select Download template (CSV) for a file with the correct column headers and an example row. Your file needs a header row and one row per outcome.
Your CSU file can be up to 10 MB. There is no limit on the number of rows, so a single file can include outcomes for your entire institution as long as it stays under 10 MB.
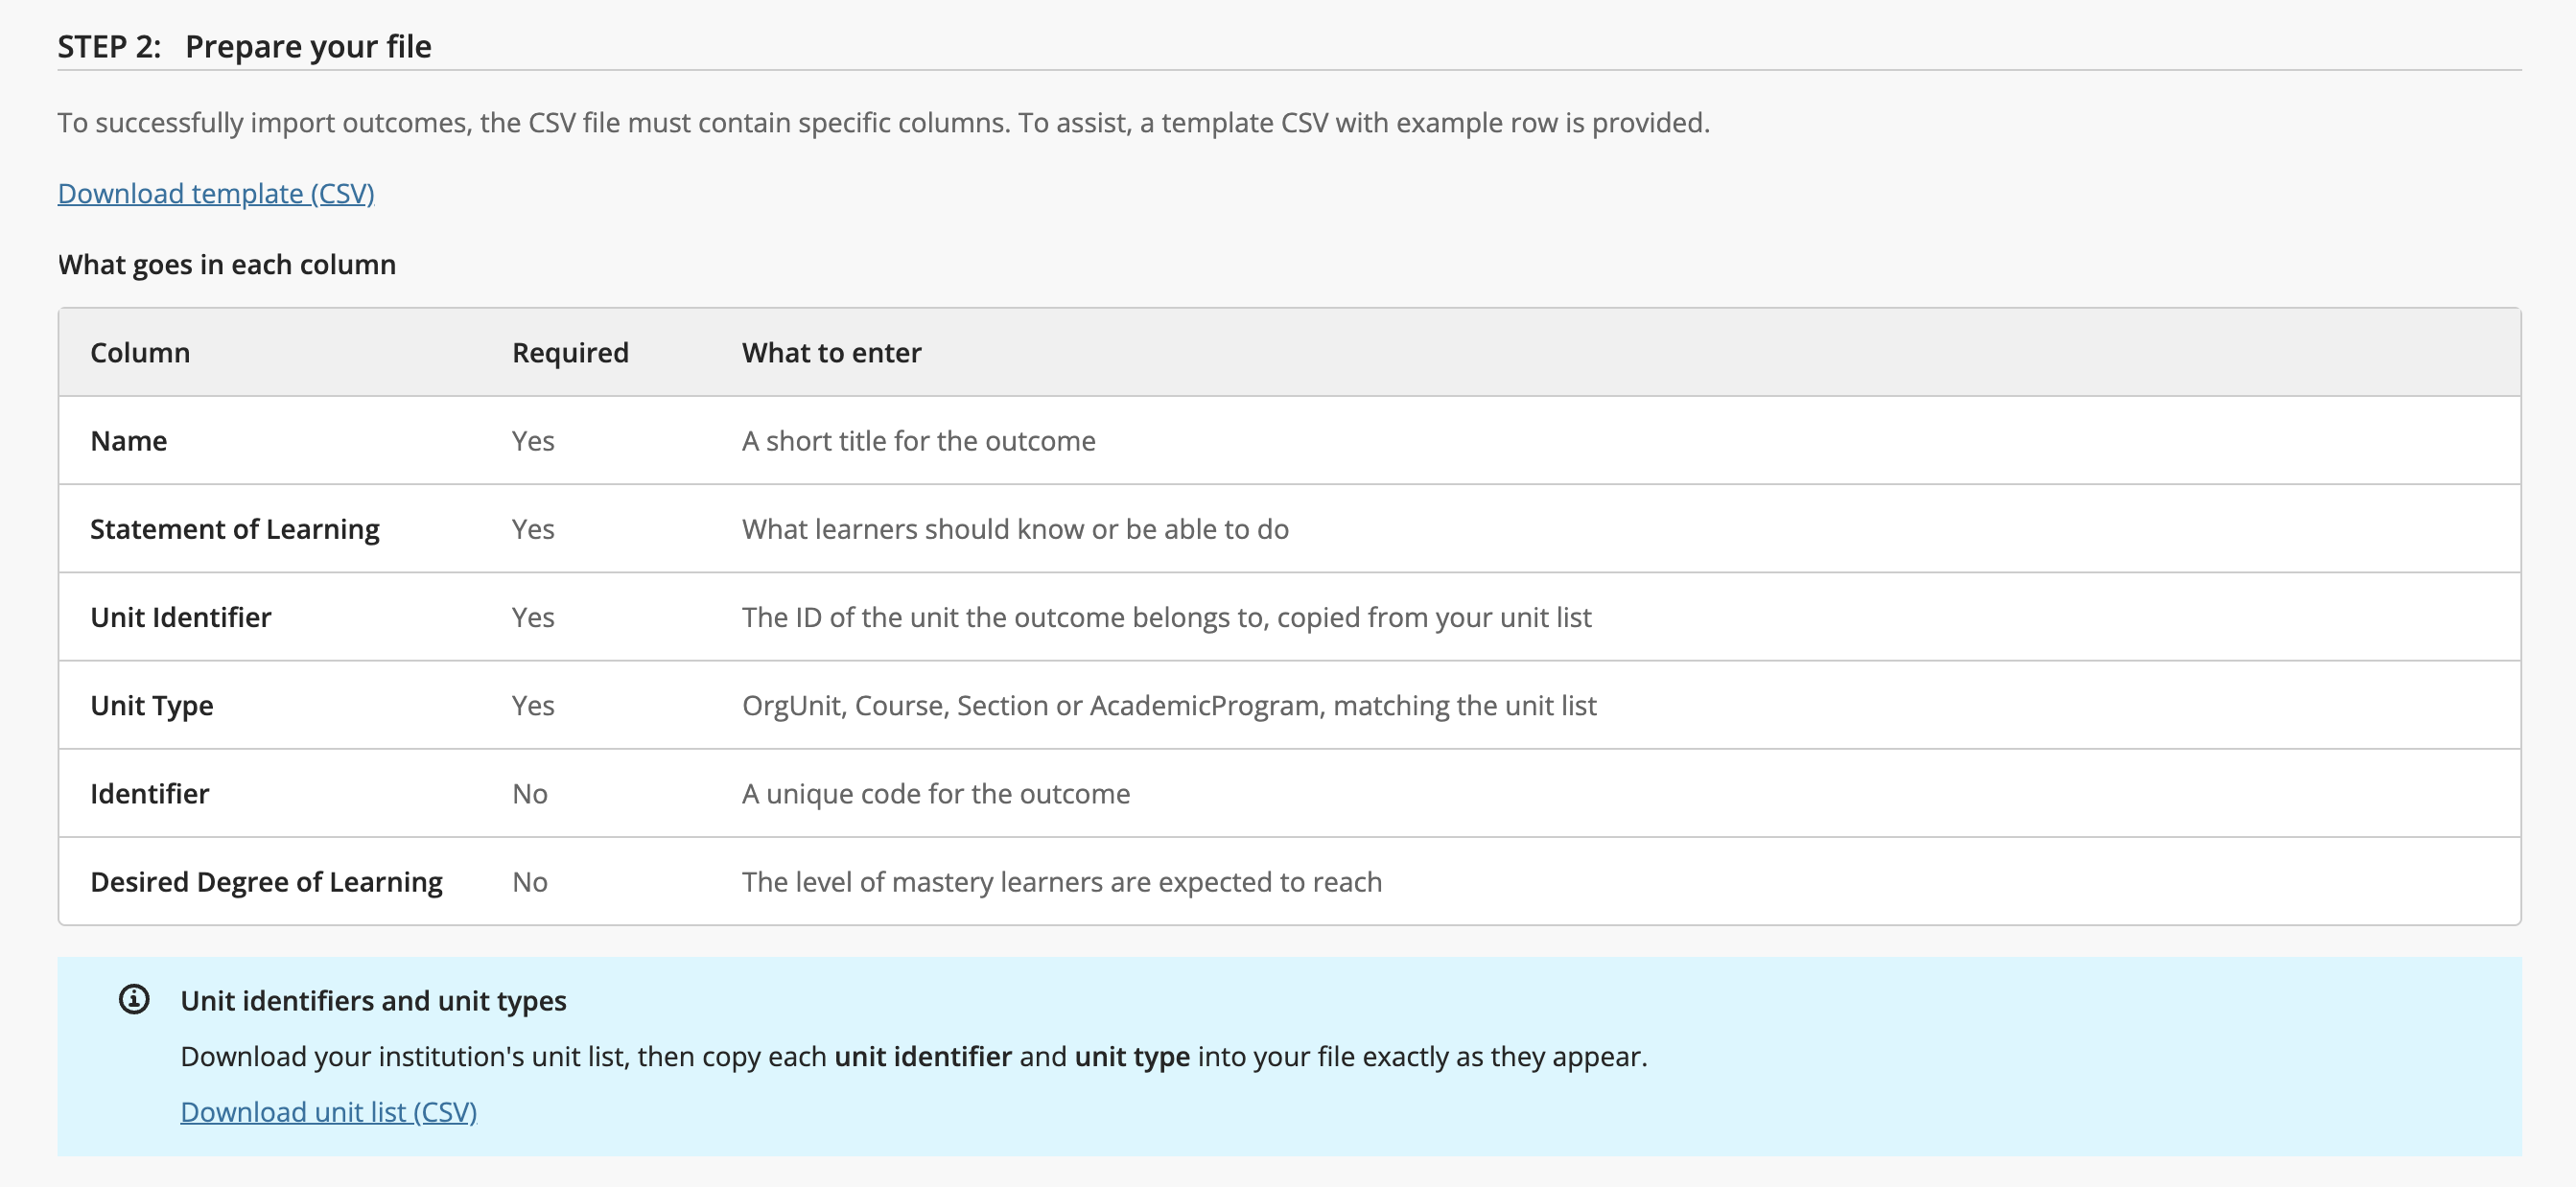
Column | Required | What to enter | Limit |
Name | Yes | A short title for the outcome | 100 characters |
Statement of Learning | Yes | What learners should know or be able to do | 2,000 characters |
Unit Identifier | Yes | The ID of the unit the outcome belongs to. Unit identifiers are case-sensitive. Copy them exactly as they appear in the unit list. | Must match the unit list |
Unit Type | Yes | OrgUnit, Course, Section, or AcademicProgram, matching the unit list | Must match the unit list |
Identifier | No, unless required by institution. | A unique code for the outcome, such as FSCI-SLO-01 | 100 characters |
Desired Degree of Learning | No, unless required by institution. | The level of mastery learners are expected to reach | Introduced, Reinforced, Mastered, or None |
Select Download unit list (CSV) to export every unit in the selected time period. Copy each unit's identifier and type into your file exactly as they appear.
Column in the unit list | What it shows |
Name | The unit's display name |
Unit Identifier | The value to enter in your import file's Unit Identifier column |
Unit Type | The value to enter in your import file's Unit Type column |
Unique Id | The system ID for the unit |
Hierarchy Path | The unit's full position in your hierarchy, such as Hometown University -> Academic Affairs -> College of Arts & Sciences -> AMST 101 |
Use the Hierarchy Path column to confirm you have the right unit when names are similar. The unit list is also a useful reference for reviewing your institution's structure.
Import Outcomes
Go to Settings > Import Outcomes.
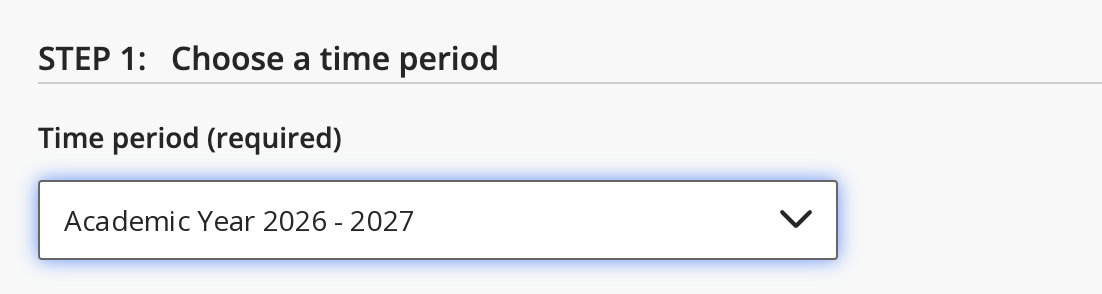
On the Import tab, under Step 1: Choose a time period, select the academic year.
Under Step 2: Prepare your file, download the template and unit list if you need them, and complete your CSV file.
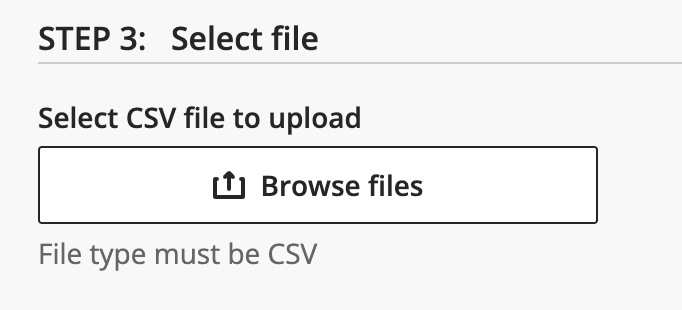
Under Step 3: Select file, select Browse files and choose your CSV file.
Select Import.
The import runs in the background, so you can keep working. When it finishes, a summary appears on the Import tab and you receive an email with a results report attached.
Reviewing Import Results
Each import produces a results report in CSV format, so you can confirm what was created and troubleshoot any rows that failed. You can review results in three places:
Completion summary: View the summary as soon as the import finishes and download the results report.
Email: Check the email sent to your account when the import finishes. This is useful if you close the browser tab before the import completes.
Import History tab: Site Administrators can view and download results for every import, including unit-level imports, in Settings > Import Outcomes.
The results report includes:
The number of successful and failed rows, at the top of the report.
The row number, the reason it failed, and the original row data for each failed row.
Fix the failed rows and upload only those rows in a new file. Do not re-upload rows that imported successfully, or you will create duplicates.
Imported outcomes appear at the bottom of each unit's Outcomes list, and you can reorder them by dragging. Unit-level imports add outcomes to the term you selected. Institution-wide imports add them to every term in the selected year.
Import History
The Import History tab lists every outcome import for the institution, newest first. This includes unit-level imports submitted from the Add menu. Only Site Administrators can access this tab.
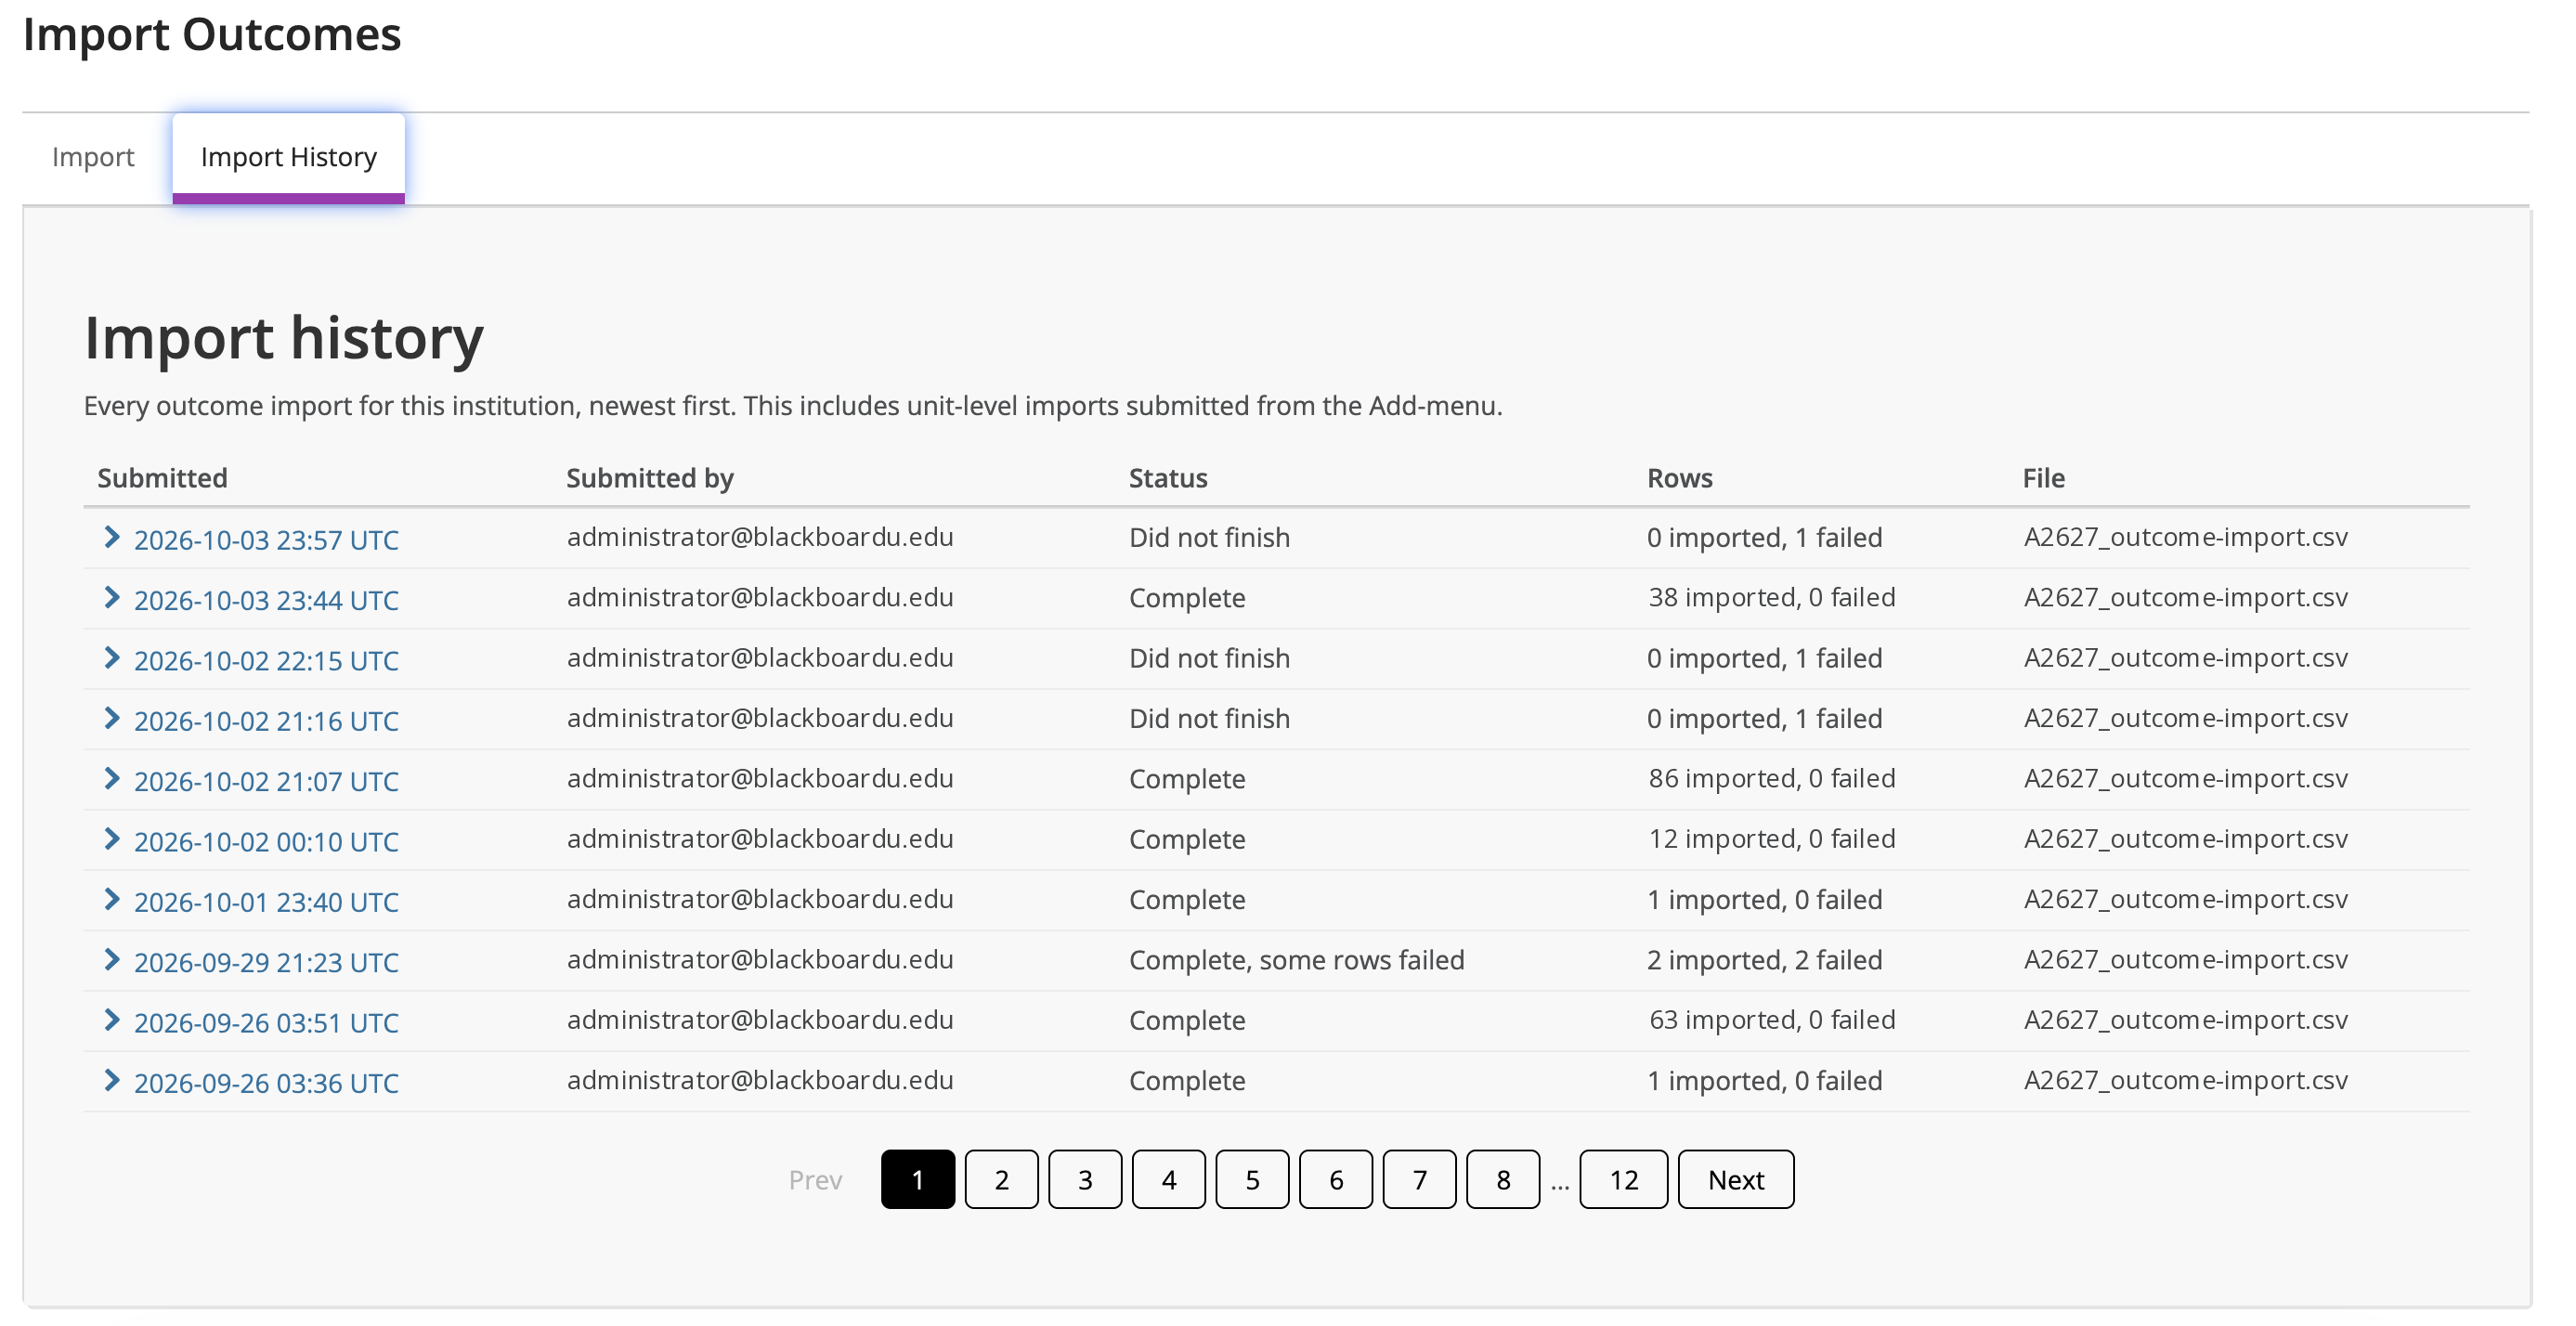
Column | What it shows |
Submitted | Date and time of the import, in UTC. Expand the row to see failed rows and download the report. |
Submitted by | The user who ran the import |
Status | Complete, Complete, some rows failed, or Did not finish |
Rows | Number of rows imported and failed |
File | Name of the uploaded file |
Troubleshooting
If rows fail, find the reason in your results report, then follow the fix below.
No unit with that Unit Identifier and Unit Type exists in this institution: Copy the Unit Identifier and Unit Type from a fresh unit list download. Unit Identifier is case-sensitive, so match the capitalization exactly (for example, AMST::101, not amst::101). Check for extra spaces and confirm the unit exists in the selected year.
Missing required field: Add a Name, Statement of Learning, Unit Identifier, and Unit Type to every row. Also include any fields your institution requires in its Outcomes template.
Character limit exceeded: Shorten Name or Identifier to 100 characters, or Statement of Learning to 2,000 characters.
Invalid Desired Degree of Learning: Use Introduced, Reinforced, Mastered, or None, or leave the cell blank.
Invalid Unit Type: Use OrgUnit, Course, Section, or AcademicProgram, matching the unit list.
Required Field: If a field is required for the Outcomes template by the institution and is not included in the import, it will fail.
File is larger than 10 MB: Split your outcomes into two or more CSV files, each under 10 MB, and import them separately. Each files needs the header row.
If an import shows Did not finish, check that your file is a CSV with the template's column headers, then try again. If it keeps failing, contact support and give the import job number from the email or Import History.