Institution-Wide Bulk Outcome Import
What's New
Site Administrators can now import outcome statements for any unit across the institution, including multiple units at a time from a single CSV file. The new Import Outcomes page in Settings adds a downloadable template, an export of your institution's unit list, and an Import History tab that tracks every outcome import. The existing unit-level import from the Add menu remains available.
Why It Matters
The first release of outcome import let unit Administrators or Creators upload outcomes one unit at a time. Institutions launching Outcomes, expanding to new areas of the institution, adopting new measurement and improvement practices, or migrating from another system told us they needed to load outcomes for many units at once. Institution-wide import removes that barrier. One Site Administrator can bring the institution, colleges, departments, programs, or courses into Outcomes in a single upload, building a culture of assessment more efficiently. Each new cycle of review and revision is easier too, keeping the focus on using evidence for continuous improvement rather than on setup.
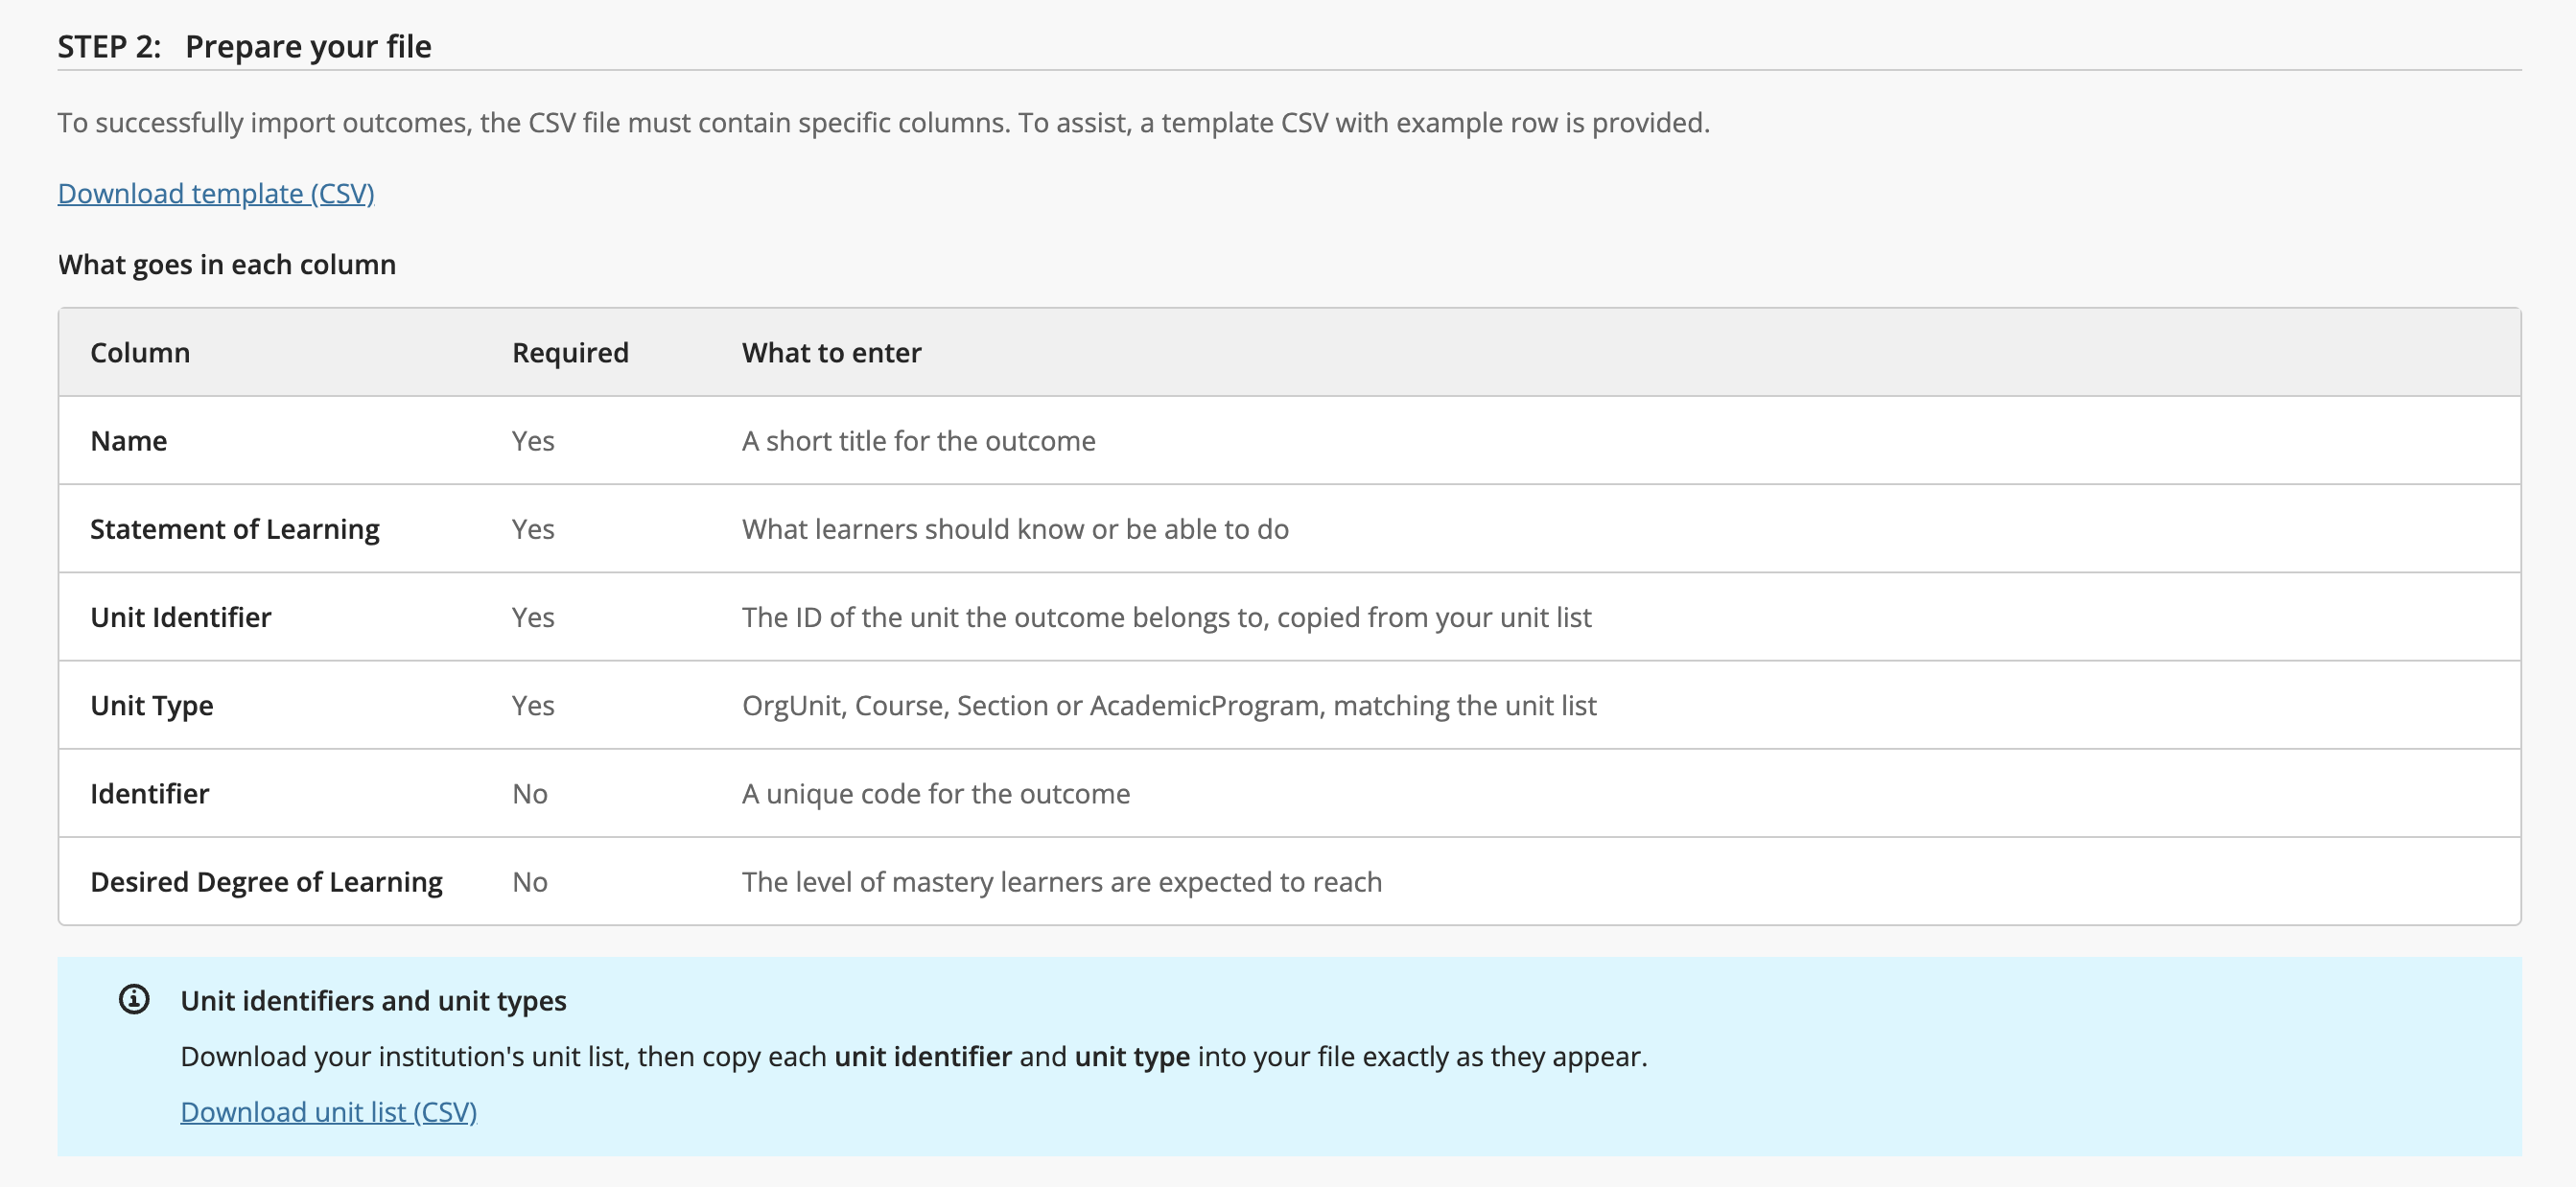
One file, many units. Each row names the unit it belongs to, so a single file can cover the whole institution.
Your hierarchy in one download. The unit list export includes every unit's name, identifier, type, and full hierarchy path for the selected time period. It is useful for import prep and as a reference for reviewing your institutional structure.
Fewer required fields. Identifier and Desired Degree of Learning are now optional.
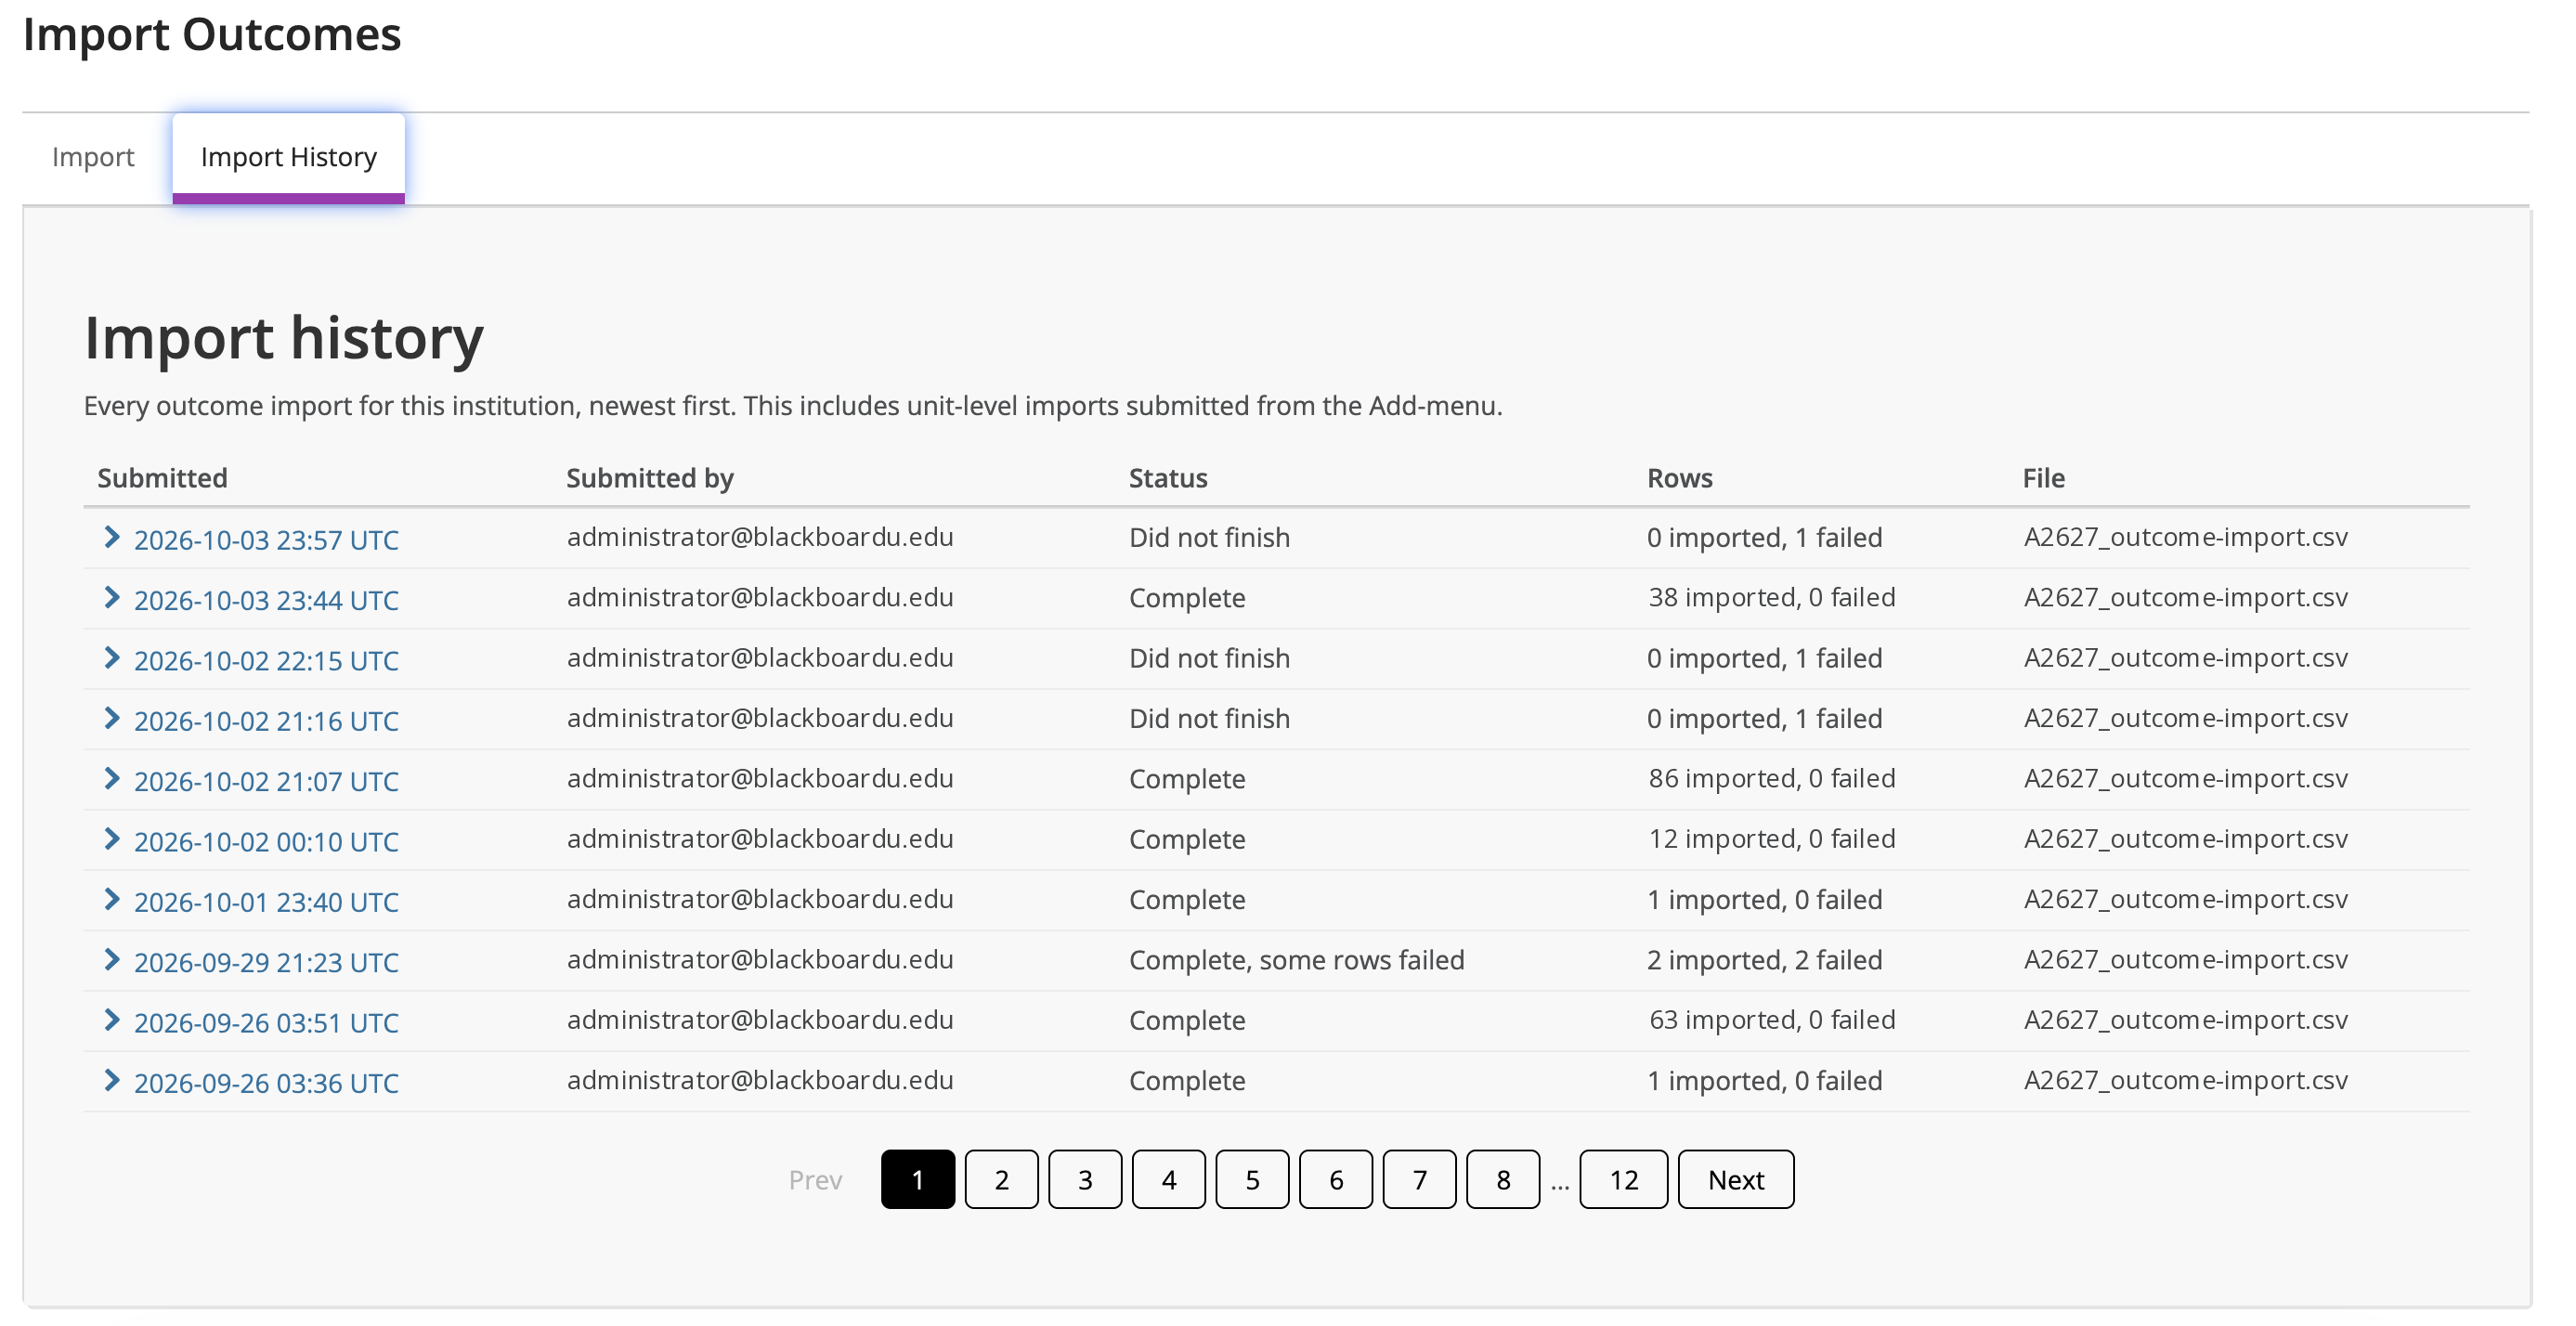
Clear results. A results report lists each failed row with the reason, and Import History keeps a record of every import, including unit-level imports.
How it Works
1. Go to Settings > Import Outcomes.
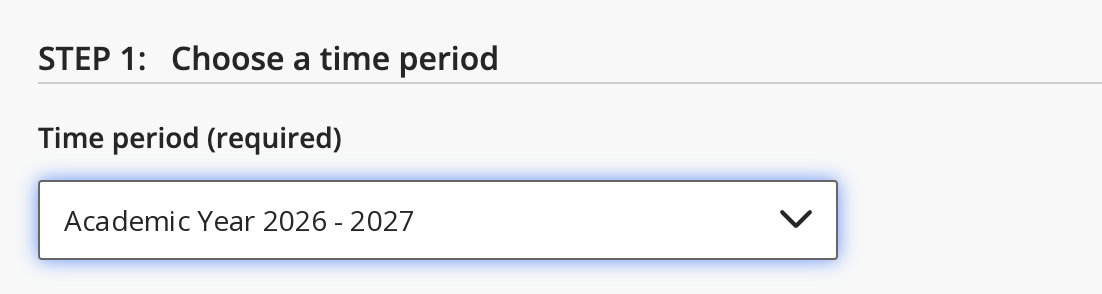
2. Choose the academic year for the import.
3. Download the template and your institution's unit list.
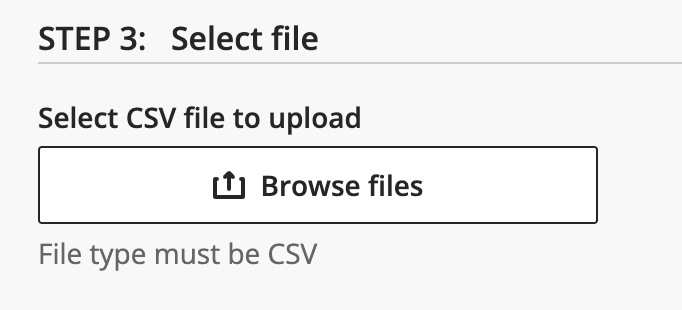
4. Upload the CSV and select Import.
5. Continue working while the import runs. You receive an email with a results report when it finishes, and you can review every import on the Import History tab.
Available to Site Administrators only.
Client Interest
This enhancement builds on bulk outcome import, which came from client feedback on the Blackboard Idea Exchange. Our thanks to Lone Star College and Owensboro Community College (KCTCS), whose early collaboration helped shape this new functionality.