Sync Learning Object Repository Content
Updates to objects stored in the Learning Object Repository (LOR) are automatically synced across all open courses and organizations using that object. This way, every open course using that object has the same version.
How syncing works
Changes made to an object in the LOR are automatically applied to all associated objects in open courses and organizations.
The following settings are synced for objects in the LOR:
Title
Body
Description
Class Conversations
Goals & Standards
Visible to students
Hidden from students
Learning module thumbnail
Alternative text or decorative image designation for learning module thumbnails
Whether a learning module is forced sequence
Contents of a learning module or folder
These settings are locked and cannot be overridden by instructors.
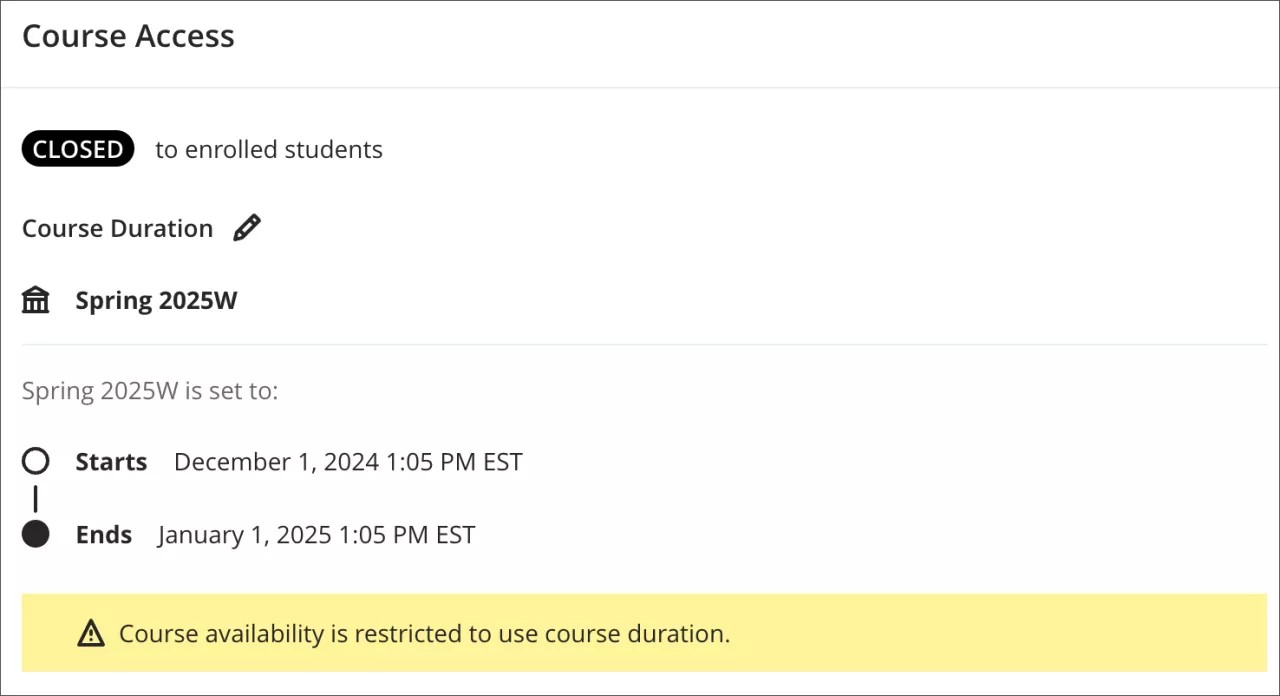
Changes to an object are not applied when a course has ended or has been marked completed. We determine if a course has ended by checking its course end date or term end date, if it's part of a term.
Sync timing
Synced changes aren't instant. The LOR waits until edits to an object are complete before starting the sync process. Once started, updates are sent out as queued tasks and applied across associated objects. Currently, the system processes one sync request at a time, so syncing a large number—such as 1,000 objects—will take time to complete.
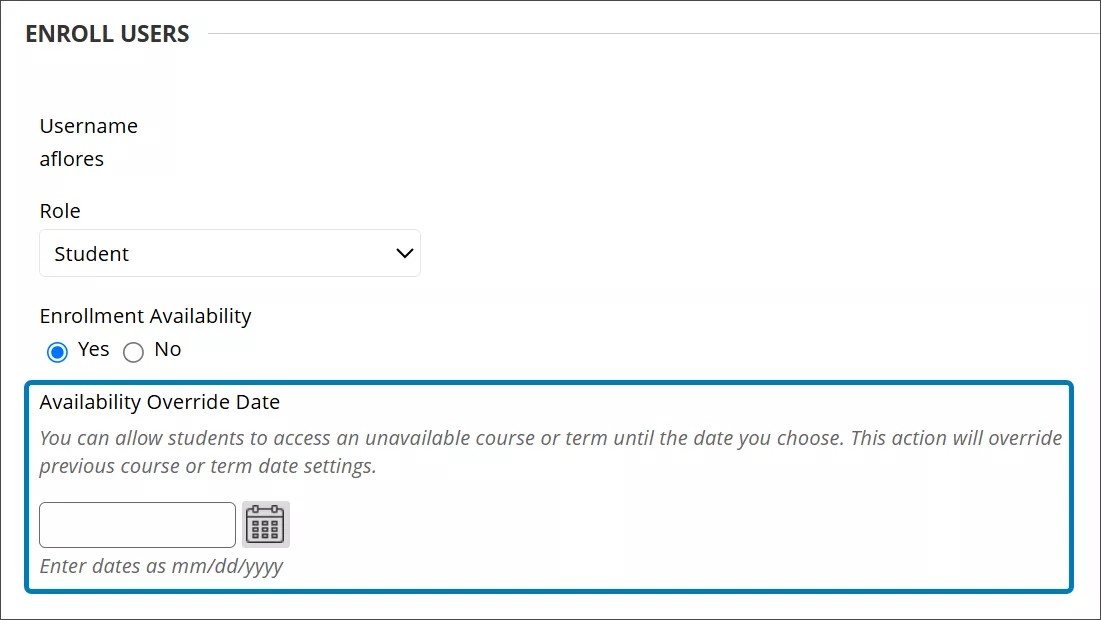
Prevent sync changes for students marked incomplete
If a student needs to regain access to a course whose end date has passed, extend their individual enrollment date rather than the course enrollment date. This prevents LOR sync changes from applying to course objects.
The option to extend a student's enrollment date is in the Administrator Panel.
Go to Courses.
Select the course and then select Enrollments from the menu.
Go to edit the student's enrollment.
Enter the new enrollment date in the Availability Override Date field.