Tag LTIs in Adopt
Anthology Adopt, powered by Pendo, allows institutions to track how frequently specific LTI (Learning Tool Interoperability) tools are used within Blackboard. By tagging these tools, administrators can gain insights into usage patterns and create targeted segments for in-app guidance. Here is a video with the instructions.
Prerequisites
Before you begin tagging LTIs, you must install
Google Chrome. Use this browser to use Pendo Tagging Aid.
The Pendo Tagging Aid extension. Install from the Chrome Web Store. This tool is required to capture the unique attributes of the LTI links within your Blackboard environment.
Identify LTI Attributes
To tag an LTI tool, you must first identify its specific HTML attributes using the Tagging Aid.
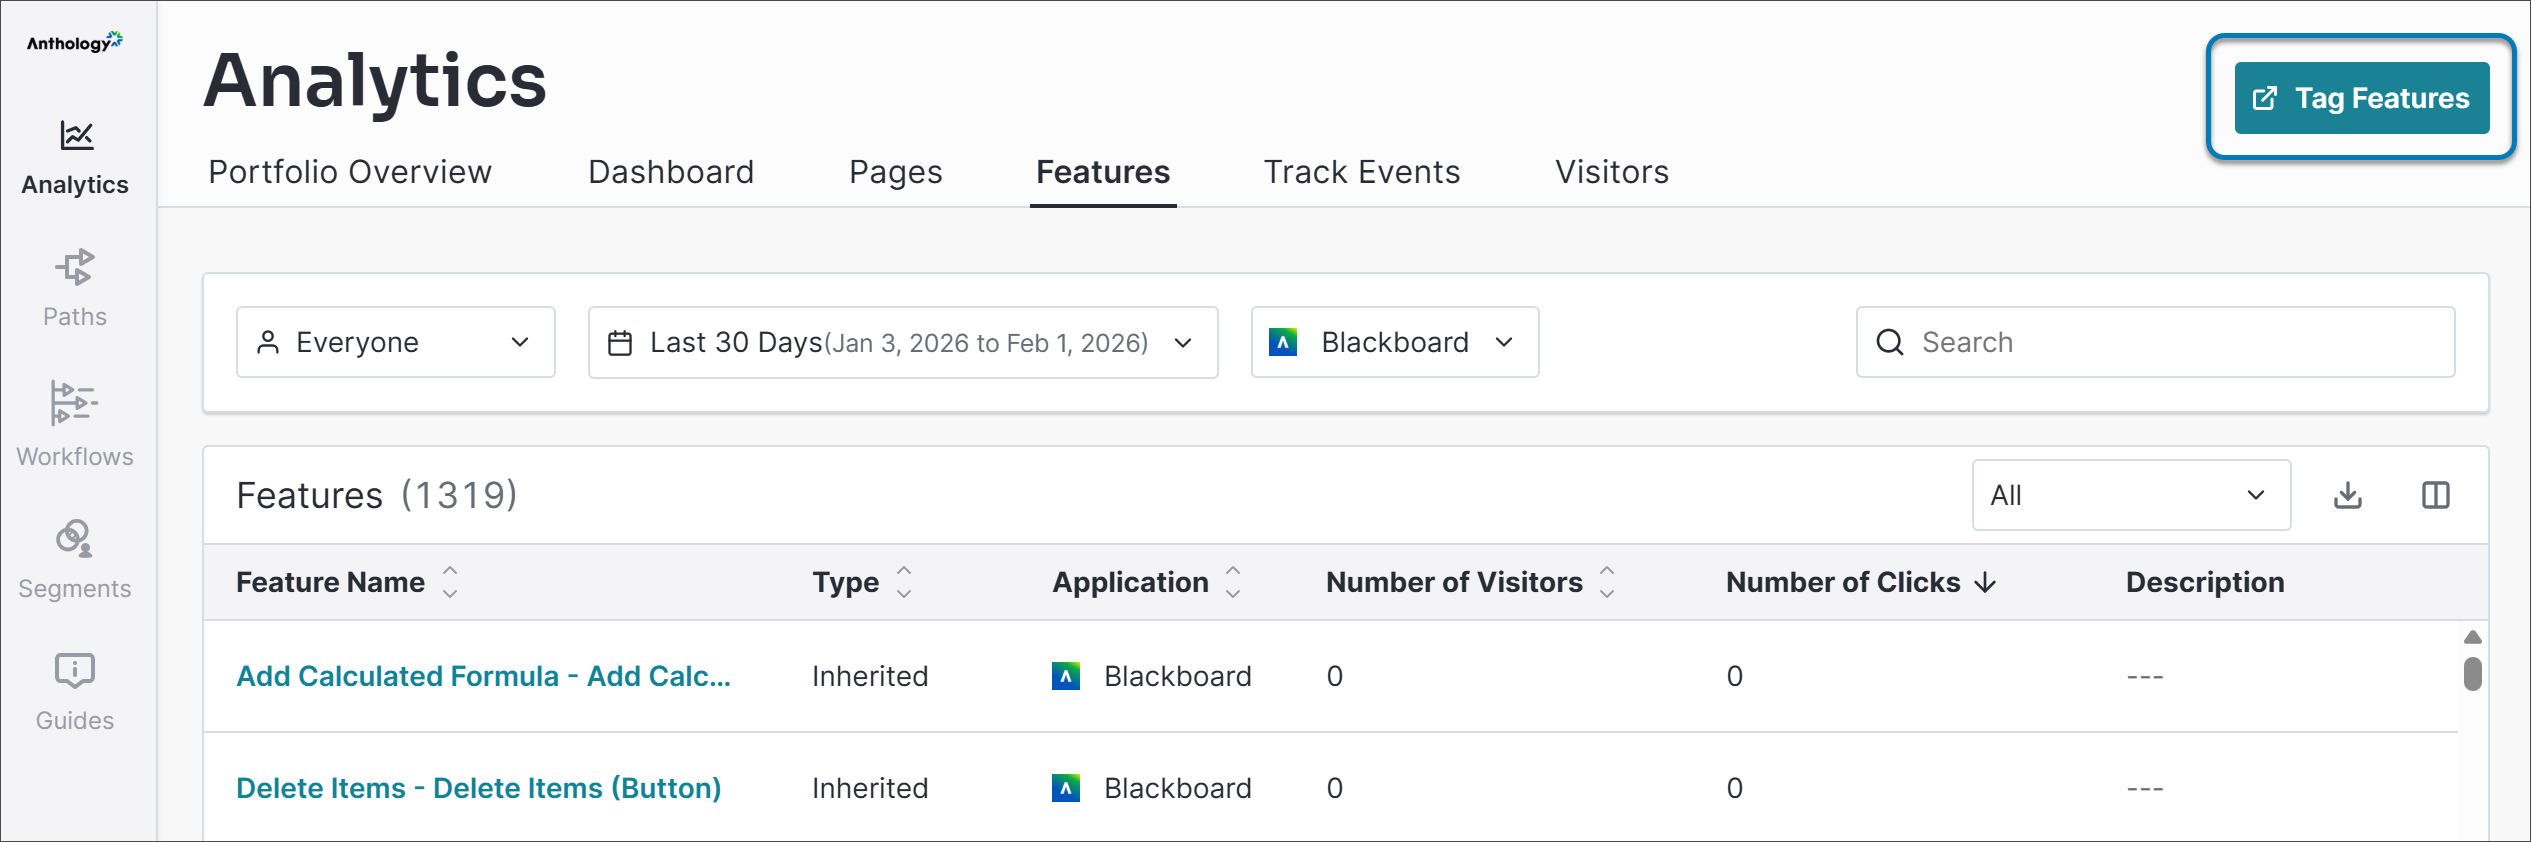
In Adopt, navigate to Analytics and select Features.
Launch your Blackboard instance by selecting Launch Visual Design Studio.
Inside of your Blackboard instance, navigate to a course or area you want to make the tag. Select Books and Tools (or the appropriate tool menu) to identify your LTI link.
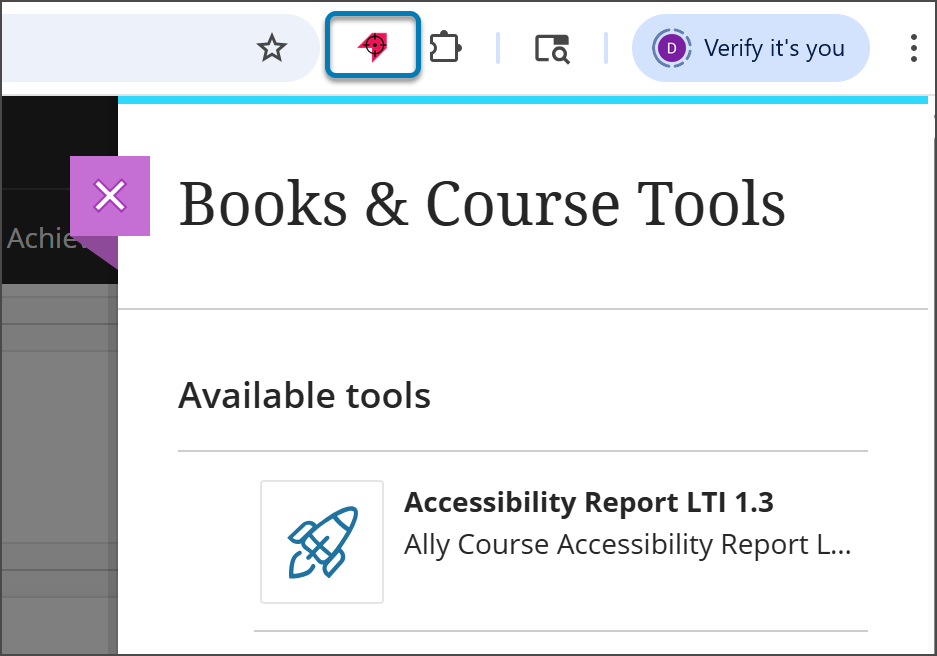
Launch the Pendo Tagging Aid extension and choose Select New Element.
Select the specific LTI link you wish to tag (for example, Ally Accessibility Report).
The Tagging Aid will highlight the element and display several attributes. You must capture these three distinct pieces of information:
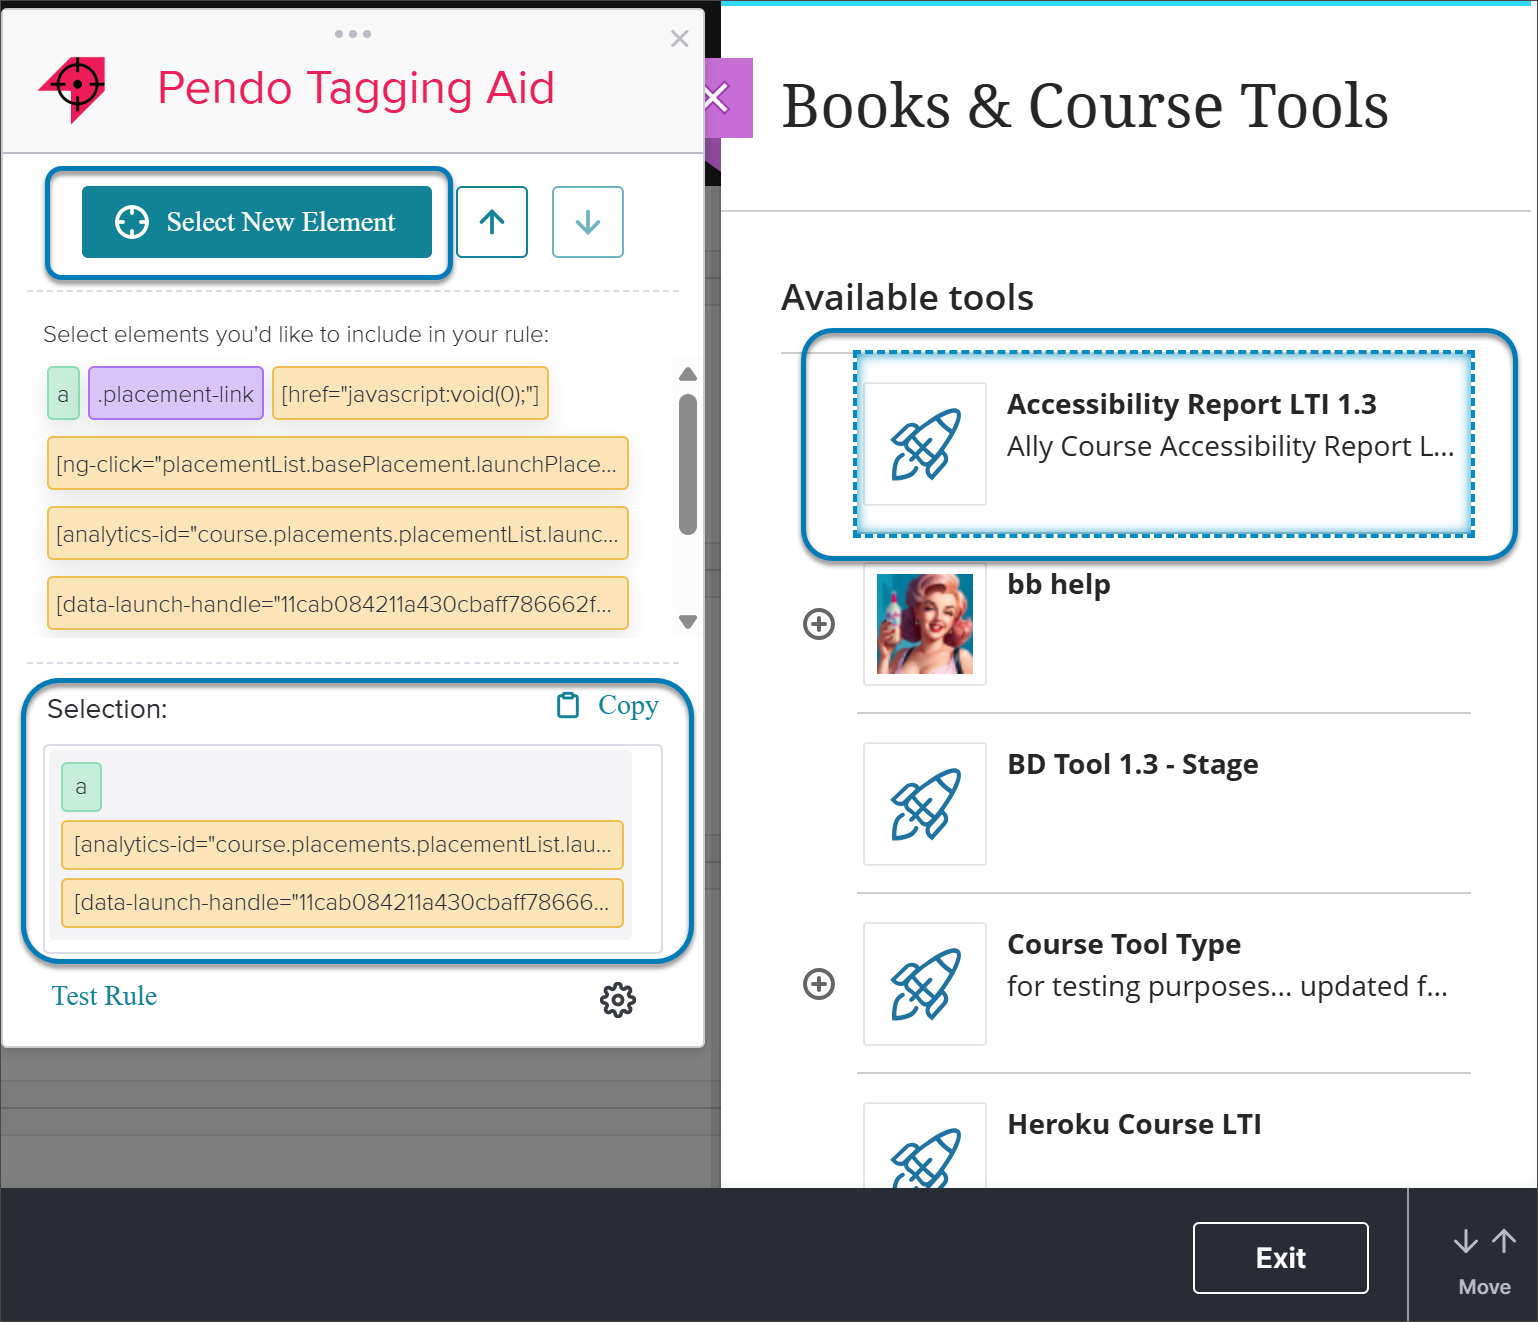
a tag
analytics-id
data-launch-handle
Test by selecting Test Rule within the Tagging Aid to ensure it matches only one item. Once confirmed, copy the selection code.
Note
The data-launch-handle is essential because it locks tracking to that specific tool, preventing the tag from accidentally tracking all LTIs in the panel.
If the tool tags in Pendo Tagging Aid are grayed out and can't be selected, select the Settings option (which is shaped like a gear) at the bottom corner of the Tagging Aid. Then turn off Filter Custom HTML Attributes. Select Save Attributes and close Settings.
Create the Tag in Adopt
Once you have the attributes, you can process the tag within the Adopt platform.
If you’ve not already done so, open Adopt, navigate to Analytics, and select Features.
Select Tag Features and then Launch Visual Design Studio to launch the tagging window inside your Blackboard instance.
Navigate to the same LTI link you identified earlier.
In the Manage Pages and Features window, select Tag Feature.
In the Feature Name field, replace the default code with a clear, descriptive name for the tool as it relates to your institution.
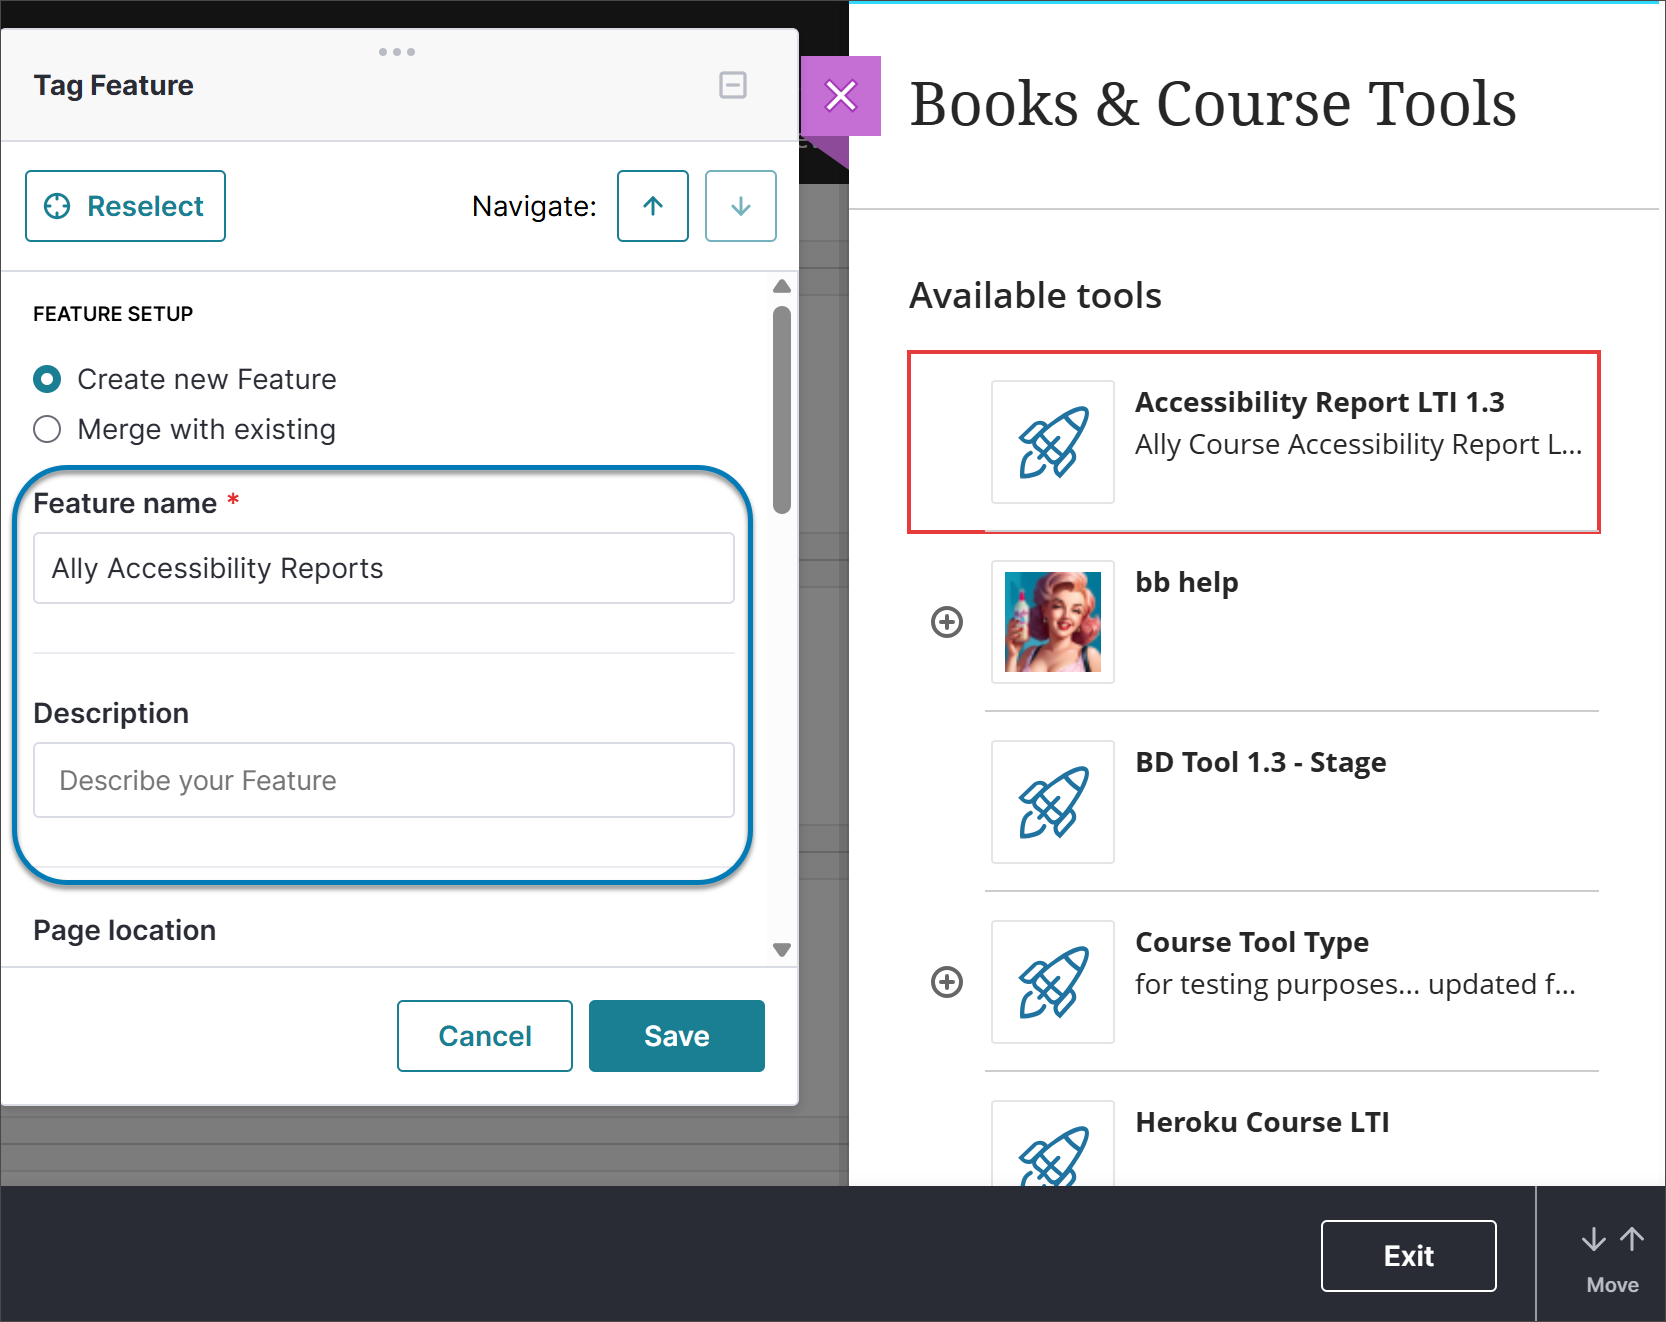
Scroll down to the Custom CSS field and paste the code you copied from the Pendo Tagging Aid.
Select Save.
Analyze Data and Target Users
After saving, Adopt will begin processing the data. While the tag may appear quickly, it can take about an hour for usage data to be reflected in your analytics.
Once data is gathering, you can:
Track Usage: View the total number of clicks and unique visitors for that specific LTI.
Create Segments: Navigate to Segments to create a group based on Feature Clicks. You can target users based on whether they have Clicked, Clicked Ever, Not Clicked Ever a certain LTI tool.
Deploy Guidance: Use these segments to deliver targeted guides, instructions, or polls to specific users based on their interaction with LTI tools.