Avatars
Avatars are images that allow users to identify themselves to their learning communities.
In the Ultra experience, avatars appear on a user's profile and activities, such as discussions and messages. Their image also appears in course rosters. In the Original experience, avatars display in the page header, blogs, journals, discussions, wikis, and roster.
You can assign avatars to users, or you can configure avatar settings to allow users to upload their own photos.
Local avatars
When users upload photos to use as their avatars, the photos don't go through any approval or moderation process. The images are stored in a specific file system location and the avatar file names contain the user IDs. You can delete a user's avatar photo if you decide it's inappropriate or not needed.
To ensure that users have an approved image, you can upload and assign user images on the Avatar Settings page.
Avatar settings
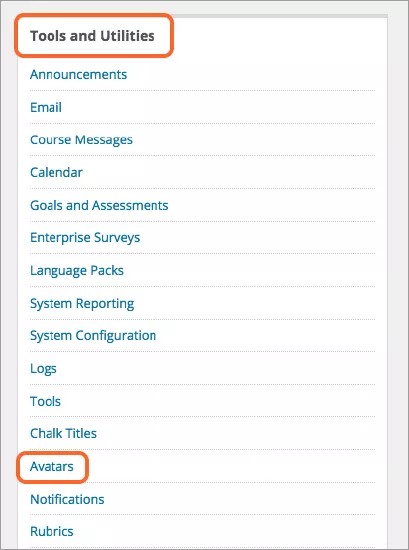
In the Administrator panel, go to Avatars in the Tools and Utilities menu. You have two options:
Allow users to upload avatar image. Select this option to allow users to upload an image from their computers.
Allow Administrator to assign an avatar to each user. Select this option to assign users an image.
Upload system generated avatars
To provide an image for each user, you must create a ZIP file containing all of the images and upload it to Blackboard.
Note
The file and folder names in these instructions are case-sensitive.
On your computer, create a folder named
avatar, which becomes the ZIP file that you upload to Blackboard.From the Blackboard database, find the UserPrimaryKeyValue for each user for whom you want to add an avatar. This must be included in the ZIP file.
To find a user's UserPrimaryKeyValue, go to the User page in the Administrator Panel and select Edit next to their name. The URL for the Edit page contains their UserPrimaryKeyValue. For example, in the URL https://mylearn.cloud.local/webapps/blackboard/execute/editUser?context=system_modify&user_id=_100_1, the user_id is 100. The user_id is a numeric value and is not the same as username. If you query your database to find this value, this number is listed as the user's PK1.
Open the avatar folder and create one subfolder for each user. Name the folder with this convention:
user_<UserPrimaryKeyValue>_1A user named Angela has the UserPrimaryKeyValue = 100. Their folder name is:
user_100_1. The username is not included in the folder name.Open each subfolder and add the avatar image for each user. The recommended dimensions are 150x150 pixels.
When finished, compress the contents of the
avatarfolder into a ZIP file. Your user folders (user_<UserPrimaryKeyValue>_1) must be at the top level.On the Avatar Settings page, select the option Allow Administrator to assign an avatar to each user.
Select Browse and locate the ZIP file.
When you finish the upload, a confirmation message will appear. The avatars have been uploaded and are available to your users in Blackboard. They won't take effect until users select them.
Change a user avatar
To replace a user's assigned avatar, follow the same process as above to create and upload a ZIP file with the new image. Overwrite the user's current avatar by giving the new image the same file name as the one you wish to replace. Blackboard will replace the image in the system when you upload the new ZIP file.
If the file name for the image is different than the one previously uploaded to the system, the user will have multiple images stored and Blackboard will display the first one in the folder. The user won't be able to pick among multiple images.