Add or Create Content
You have a variety of ways to add files and media to your course. You can add files directly to the Course Content page, as well as in the Rich Content Editor in Ultra Documents, assessments, and anywhere else that includes the Rich Content Editor function.
Add files, images, audio, and video to the Course Content page
There are multiple ways to add files and media to the Course Content page. You can browse and add files from your own computer, from cloud storage, from the Content Collection, or from the Content Market.
You have the option to give students viewing and downloading privileges when you upload files and media. Students are notified in their activity streams when you add content.
Supported file types include DOC, DOCX, HTM, HTML, MP4, MPG, PDF, PPT, PPTX, XLS, XLSX, RTF, TXT, ZIP, and most image types.
Drag and drop files and folders. You can upload files, and folders containing files, from your own computer to the Course Content page. Simply locate the folder or file(s) you want to add, and then drag and drop it to the location of your choosing on the Course Content page.
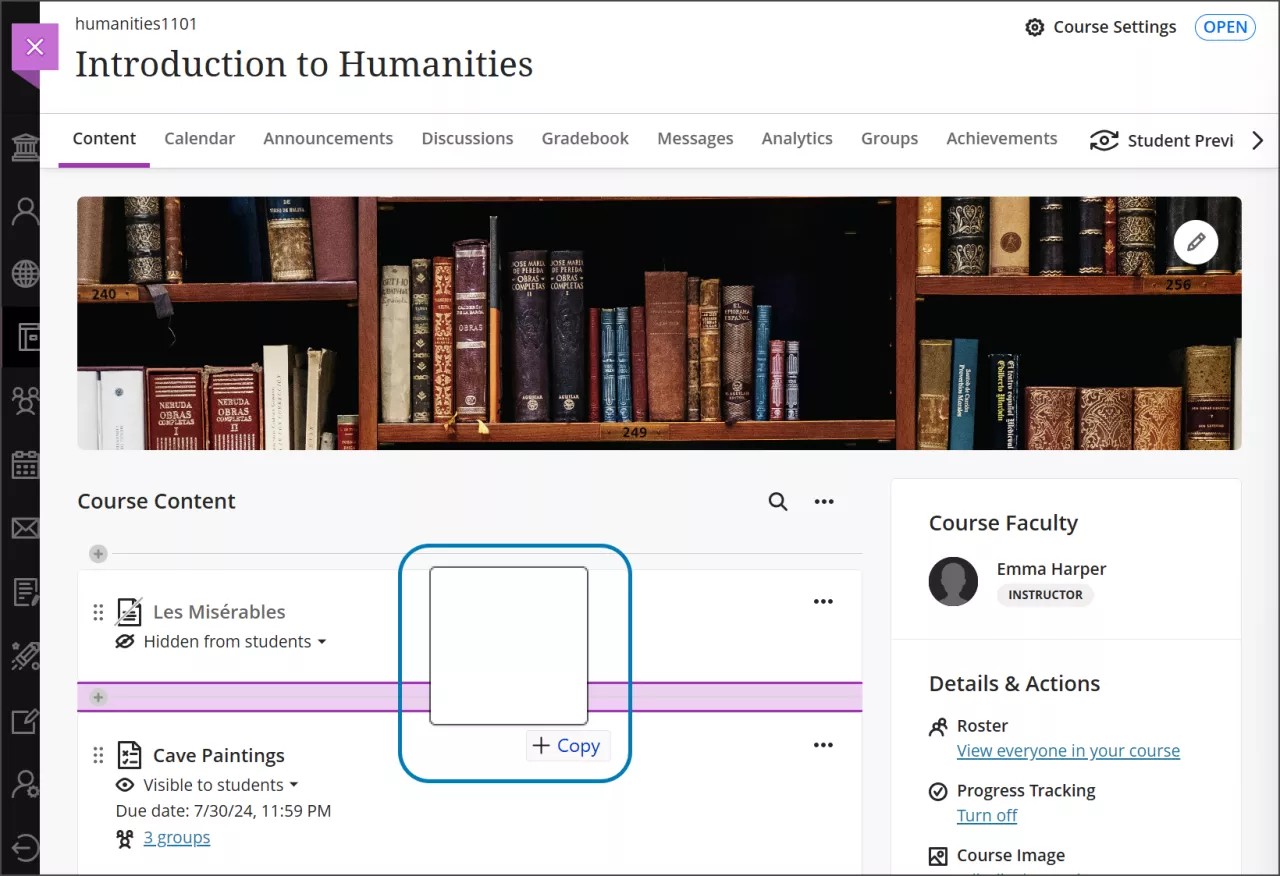
Once uploaded, you’ll see your new item listed. If you have uploaded a folder, you can expand it to see the individual files inside.
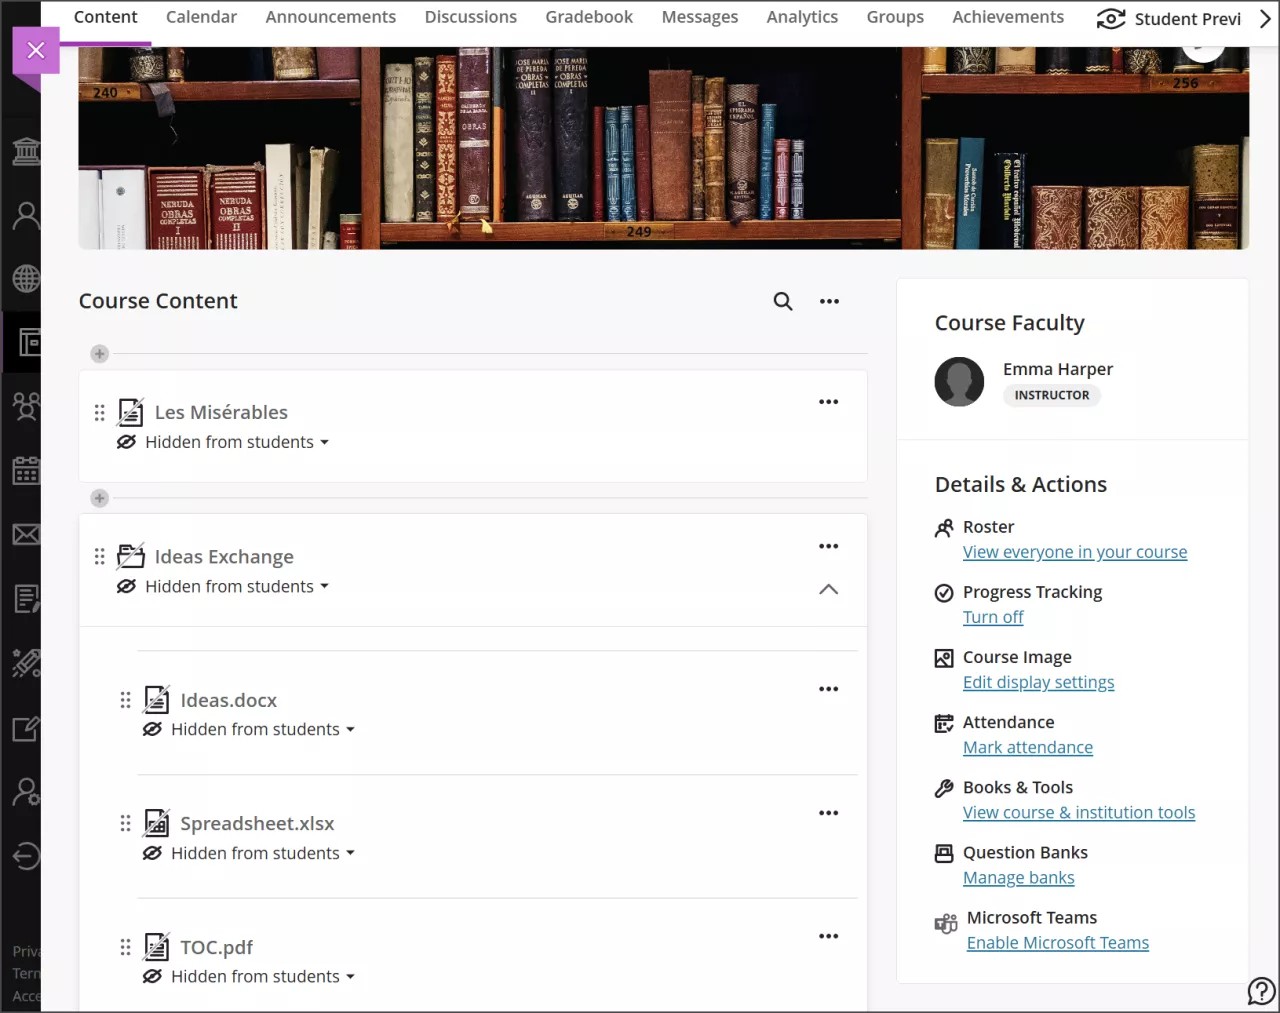
When files and folders are added to the page, they are hidden from students by default. You can edit student visibility by selecting the visibility menu beneath the item’s display name.
You can make other edits by selecting the ellipsis button on the right-hand side of the item. Opening this menu allows you to:
edit the display name
align with goals
replace the file
add a description
edit students’ ability to view or download the file
If you drag and drop more than 25 files at the same time, a warning message informs you that it may take a few minutes to complete. During the upload process, you can cancel at any time. If the upload is canceled, the files are deleted from the Course Content page.
Note
If your institution uses Ally, you can use the tool to ensure your course content is accessible to every student. Accessibility score indicators and alternative formats appear next to files.
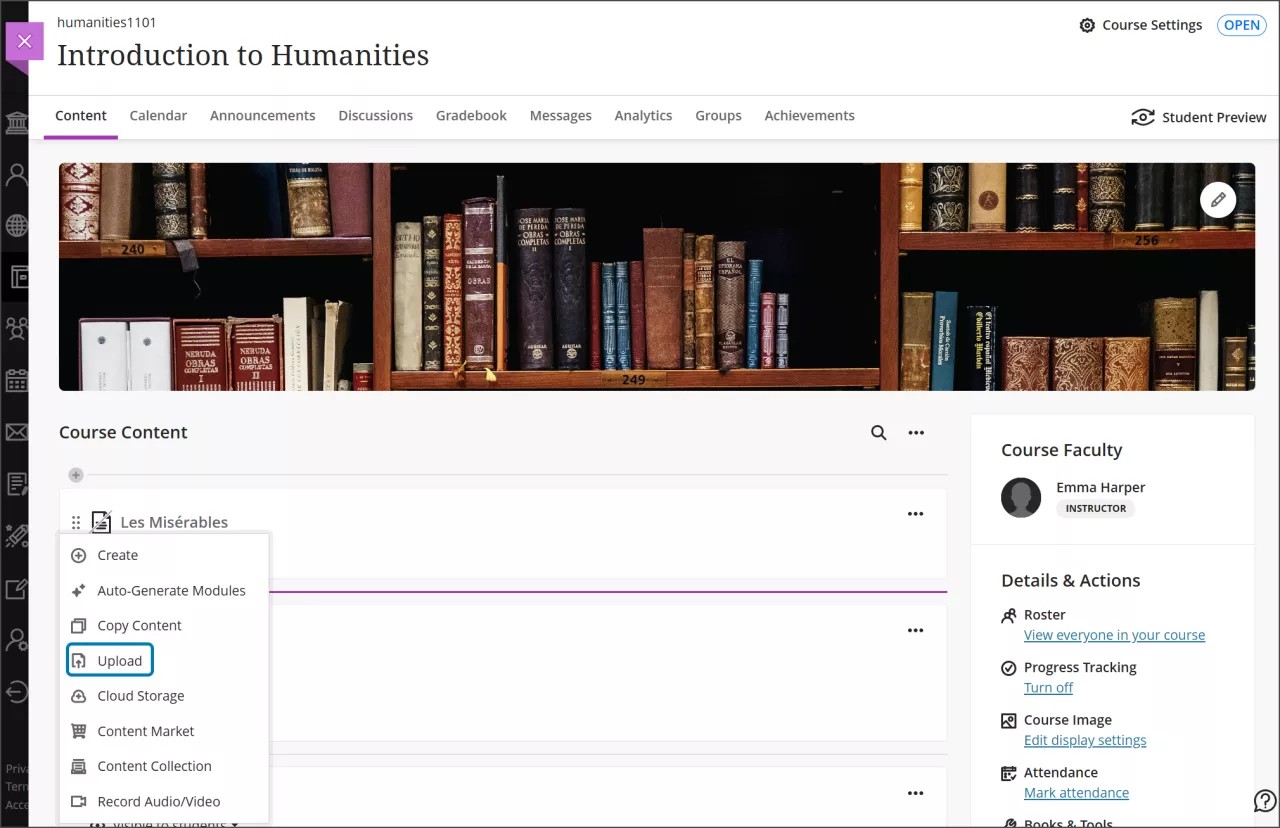
Alternatively, you can upload a file by selecting the plus sign wherever you want to add your file. In the menu that opens, select Upload to browse for files on your computer. This method only supports uploading individual files, not folders.
Add files from cloud storage. If you already have files stored in the cloud, such as in OneDrive® or Google Drive™, you can add them to your course. Select the plus sign where you want to upload files. You may choose multiple files from cloud storage to add to your Course Content page in one action. The files you add are copies. If you make a change to a file in cloud storage, you need to upload a new copy in your course.
Add files from the Content Market. You can add files from the Content Market directly to the Course Content page. Select the plus sign where you want to upload files and then select Content Market. This will open to a page with content providers and institution tools. Select the third-party tool you want to launch and browse for content to add.
Add files from the Content Collection. If you already have files stored in the Content Collection, you can add to them in your course. Select the plus sign where you want to upload files and then select Content Collection. This opens a page allowing you to browse your files in the Content Collection and other files from your institution.
Note
Links to images, pdfs, and other files copied and pasted from the URL bar in the Content Collection will not work. These URLs are temporary.
Control what students see. All content is hidden from students until you decide to show it. Each item listed on the Course Content page indicates if it's visible or hidden from students. Edit student visibility by selecting the visibility menu beneath the item’s display name.
Tip
You can also edit student visibility with just your keyboard. Tab to the visibility menu and press Enter to open the menu. Use Alt/Option + the up and down arrows to select an option.