Building an Evaluation
Our specialists are happy to build your evaluations for you as most institutions only need one evaluation in total; however, if you'd like to build an evaluation on your own, follow these steps.
Select Evaluations on the homepage.
Select Create Evaluation.
Give your evaluation a name that you will recognize for your specific set of questions.
Select Create.
There are two sets of questions: Core Questions and Custom Questions. Core Questions are questions that all courses will get. Custom questions are specific to an institutional organizational unit and/or course section attribute applied to the course.
To add Core Questions, select Include Questions.
Select Edit Core Questions.
Create questions in Evaluate Builder
Evaluate Builder provides flexible options when creating an evaluation. First, determine whether you want to add a Question or a Question Group. Then you will configure the question and response options.
Add a question
Questions are single questions that each have their own response group.
Select the blue plus sign.
Select Question.

A panel of options appears. Select a question type from those options.
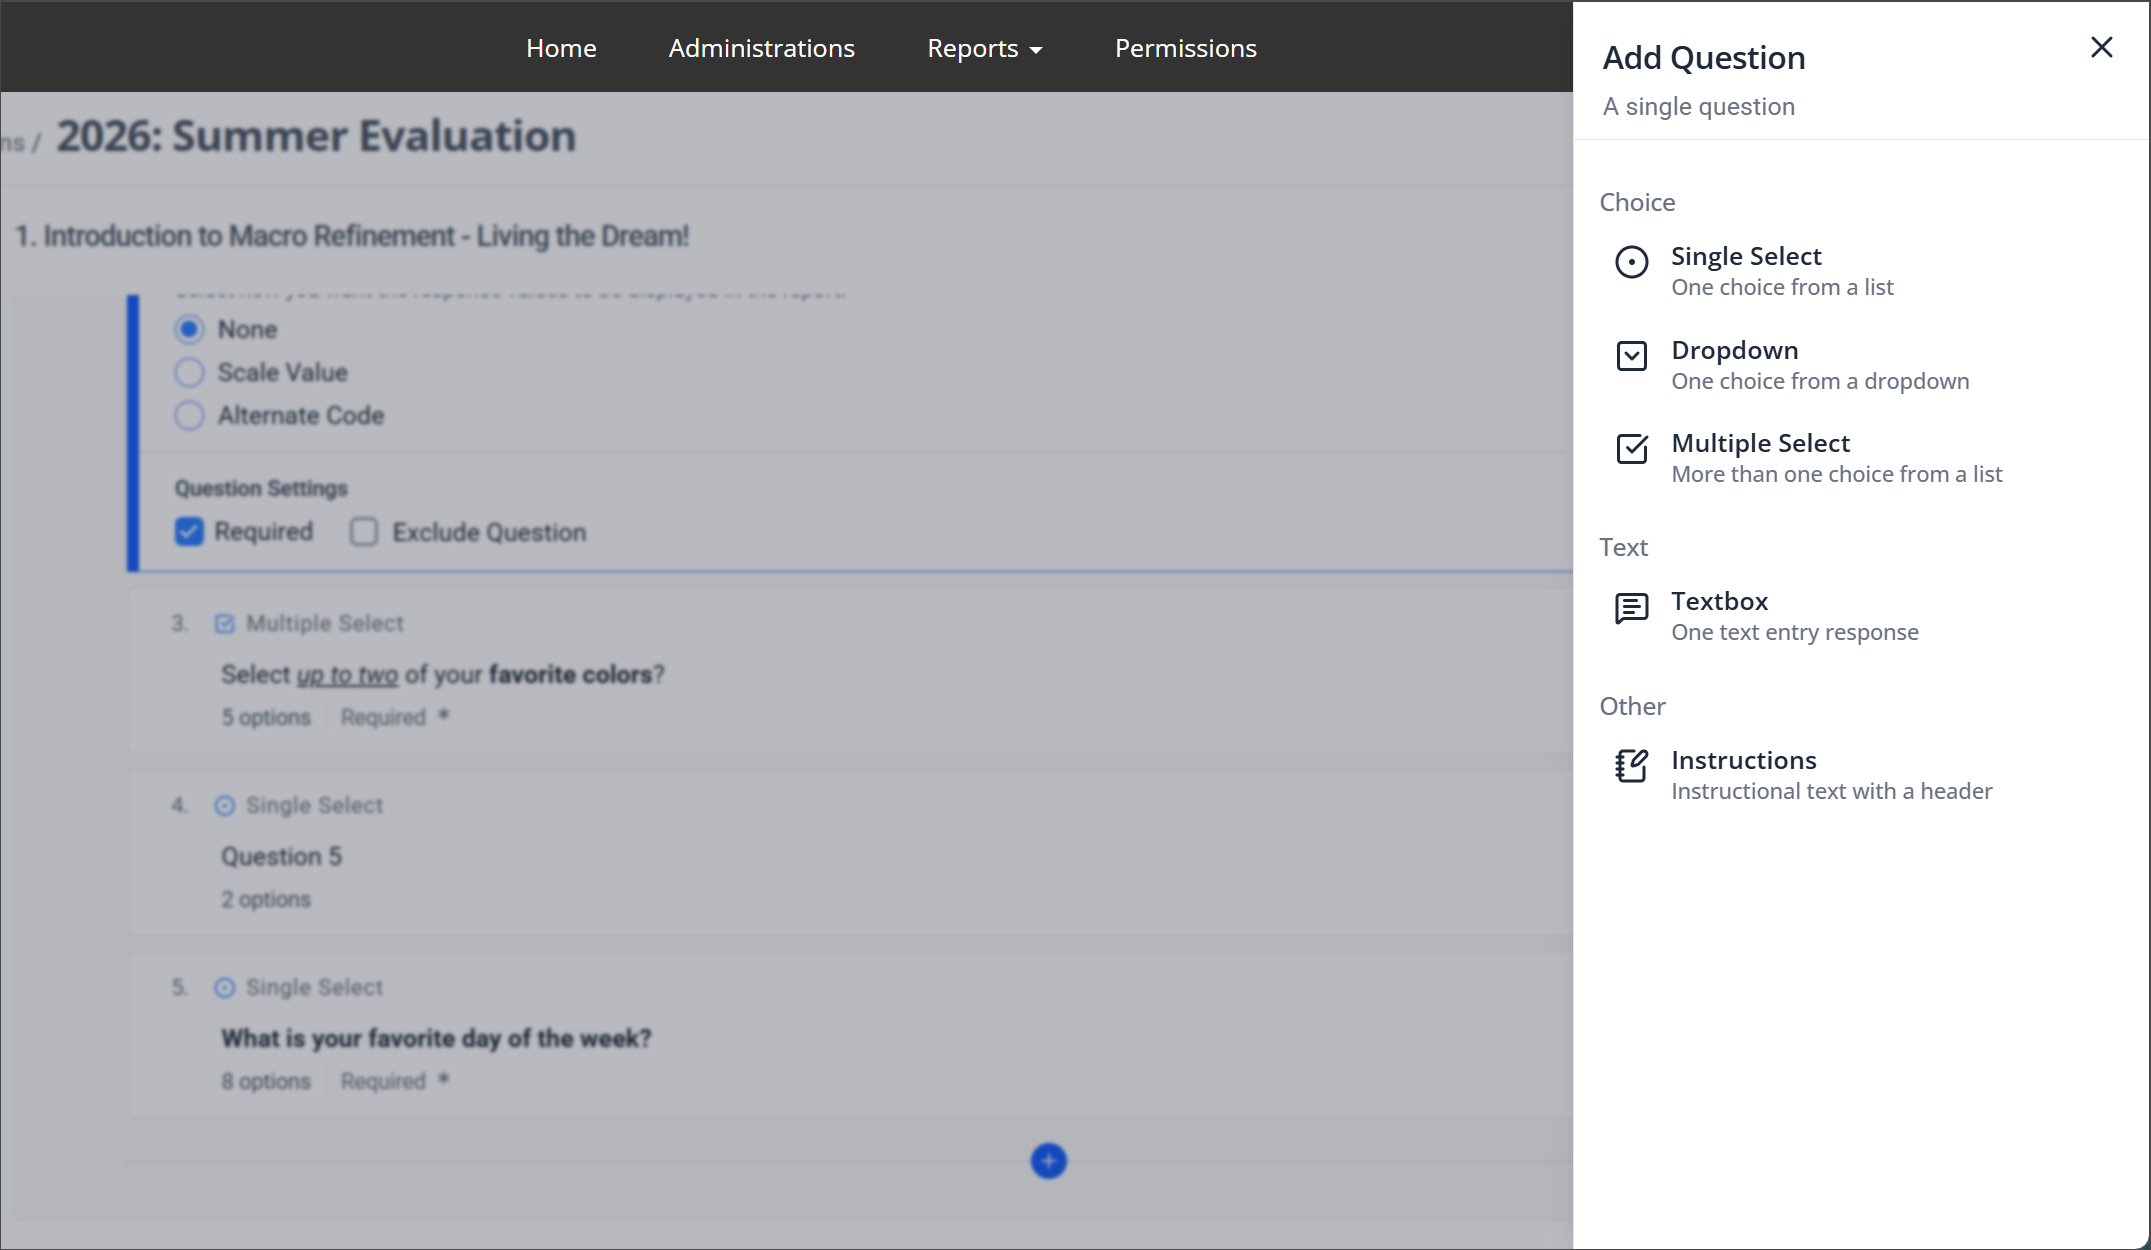
Single Select — Allows users to choose one option from a list.
Dropdown — Allows users to select one option from a dropdown menu.
Multiple Select — Allows users to select more than one option from a list.
Text Box — Allows users to enter a free-text response.
Instructions — Displays instructional text with a header (no response required).
After you make a selection, the configuration options will appear on the main page.
Add a question group
A question group is a set of questions with shared response options.
Select the blue plus sign.
Select Question Group.
A panel of options appears. Select a question type.
After you make a selection, the configuration options will appear on the main page. You will be able to add multiple questions, which will appear alongside the Shared Response Options section.
Configure questions
Add and format question text
Enter your Question Text. You can type it into the editor directly or paste in content. Formatting options include:
Bold, italics, and underline
Bullet points and numbered lists
Add or remove hyperlinks
Clear formatting

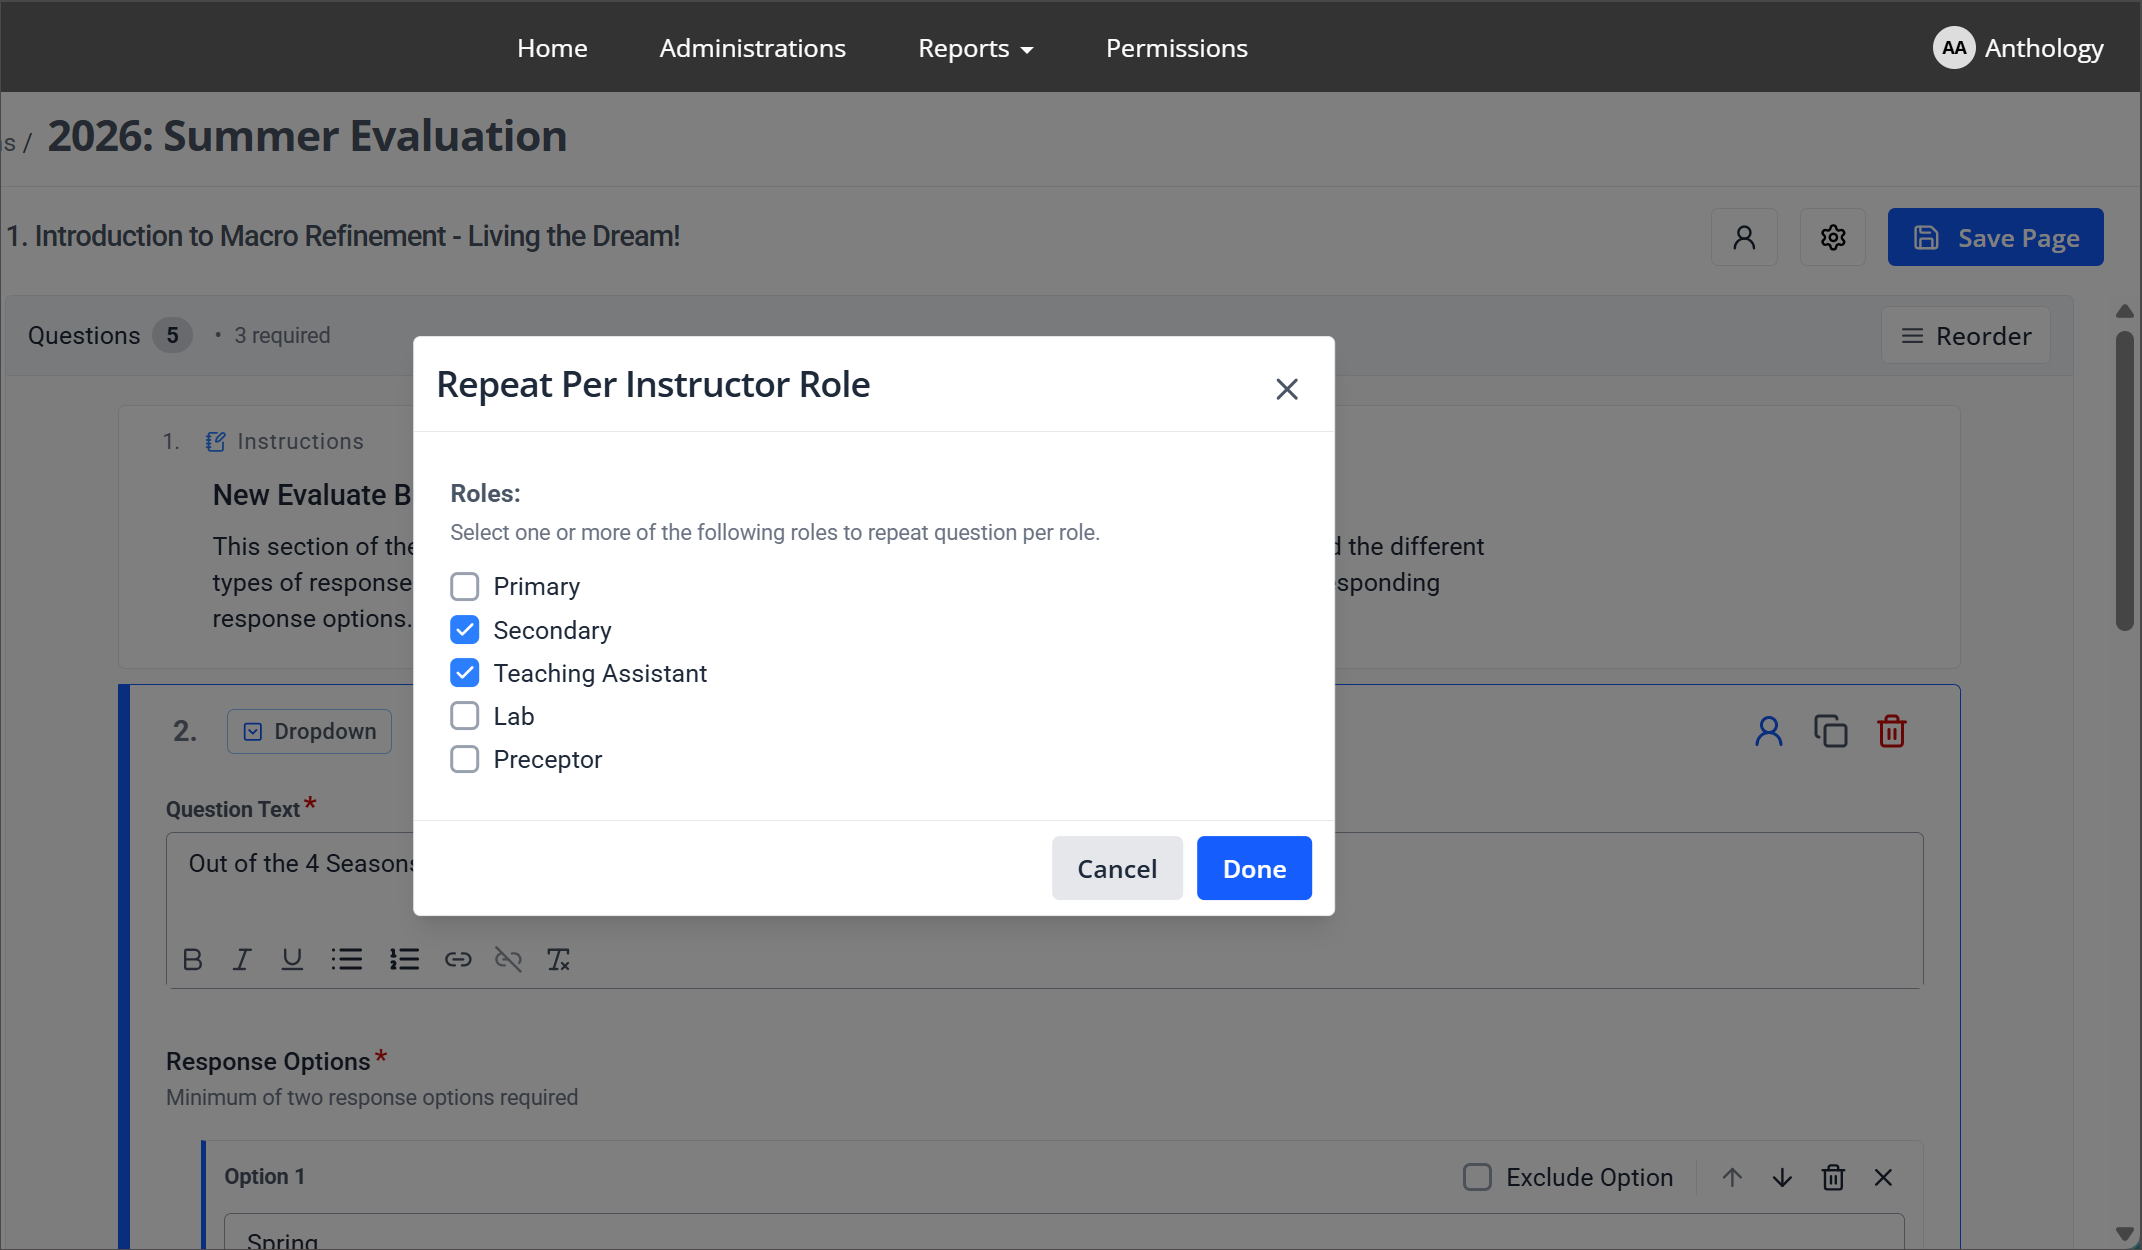
Assign an Instructor Role
Select the Instructor Role Repeat button to assign an instructor role to a question, allowing it to be repeated for each selected role.

This is useful when the same question needs to be answered separately for different types of instructors. More than one role can be selected at the same time.
Duplicate a question
To duplicate a question, select the Duplicate Question button above the question text box.
Delete a question
To delete a question, select the Delete Question button above the question text box.
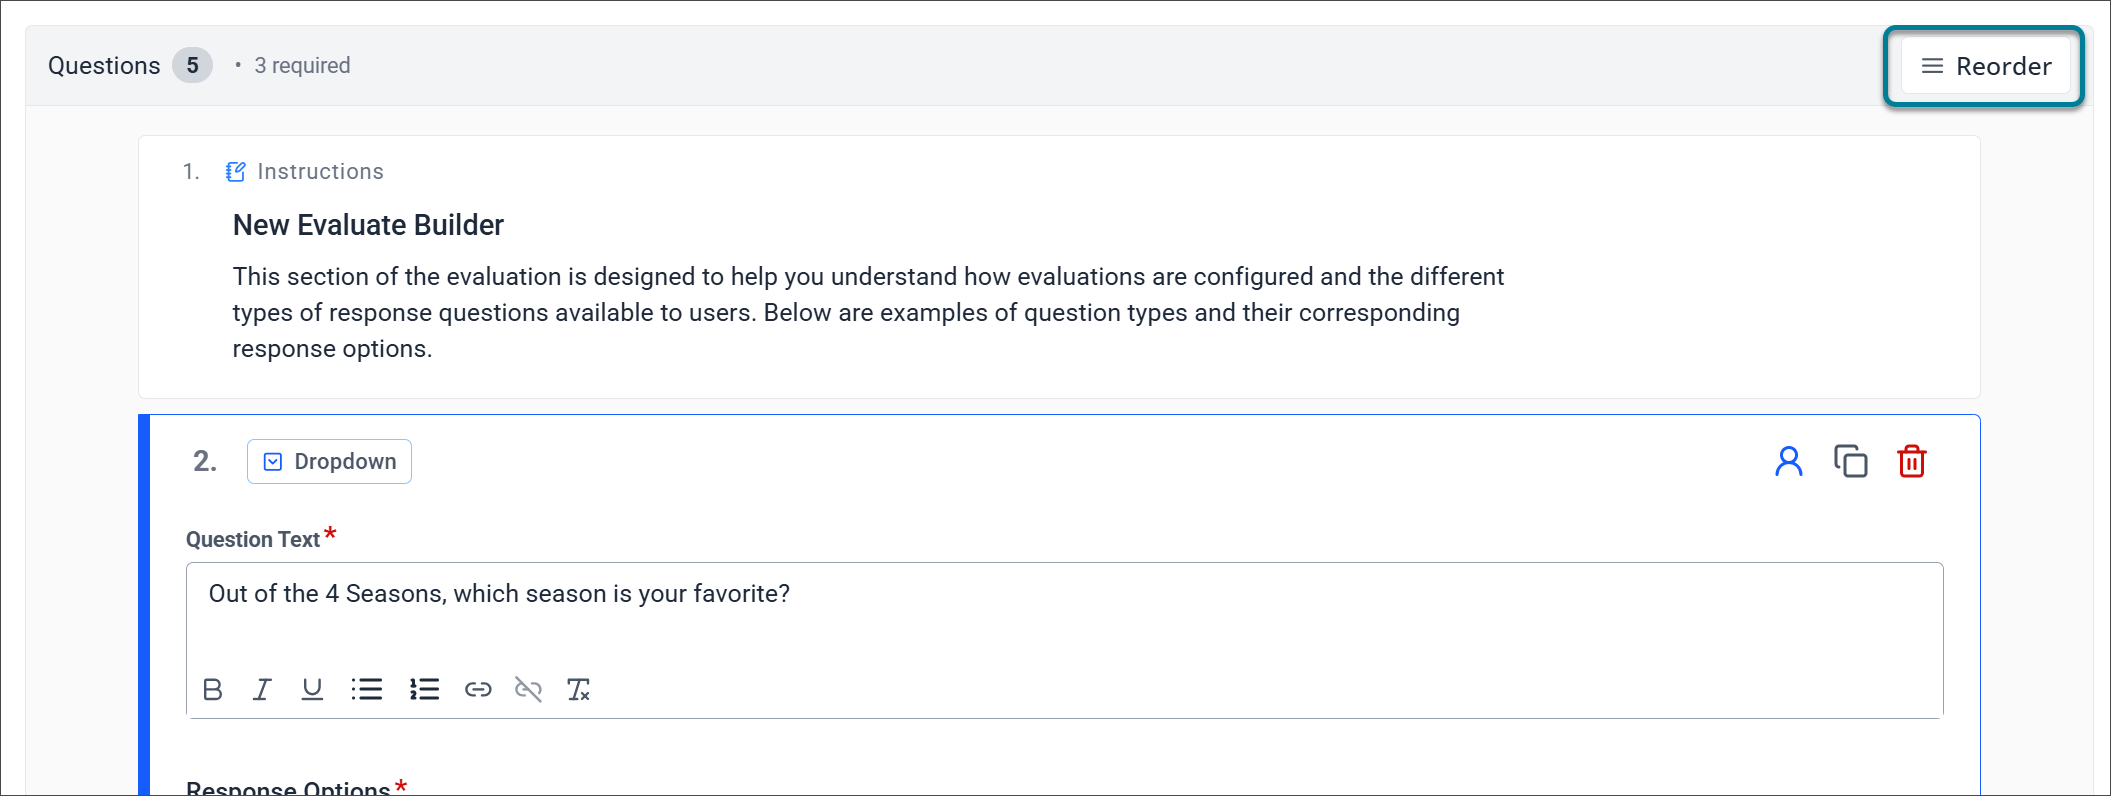
Reorder questions
You can organize questions into the order you prefer.
Select the Reorder button in the upper right.
Arrange the questions using drag and drop.
Select the Done button in the upper right.
Response options
Response options vary depending on the question or question group type. Note that there is a minimum of two response options required.
To add a response option, select Add Option and enter the response text. All the formatting options that are available for question text are also supported for the response options.
For question groups, responses will be in a set of Shared Response Options that are shared across all questions in the group. All standard configuration settings and features available for response options will also be supported for shared response options.
From the box where you enter the option, you can:

Exclude Option — Excludes the option from the question.
Move option — Moves the option up or down in the list.
Delete option — Deletes the option from the builder.
Close editor — Closes the option editor.
Option Settings
Option Settings are different based on the type of question. They may include:
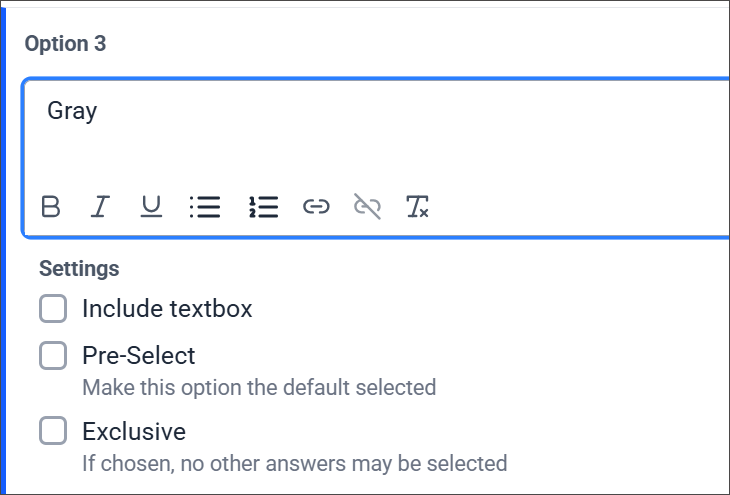
Include textbox — Includes a free-response text box for respondents.
Pre-Select — Makes this option the default selected option.
Exclusive — Prevents other answers from being selected in multiple-select questions.
Response settings
Additional configuration options for responses include:

Include Opt-Out — Allows respondents to skip the question.
Shuffle Options — Randomizes the order of response options for each respondent.
Set Answer Limits — Sets the maximum number of options a respondent can select. Available for Multiple Select questions only.
Report settings
You can define how response values appear in reports:
None
Scale value (Only available in Single and Dropdown questions)
Ascending
Descending
Custom
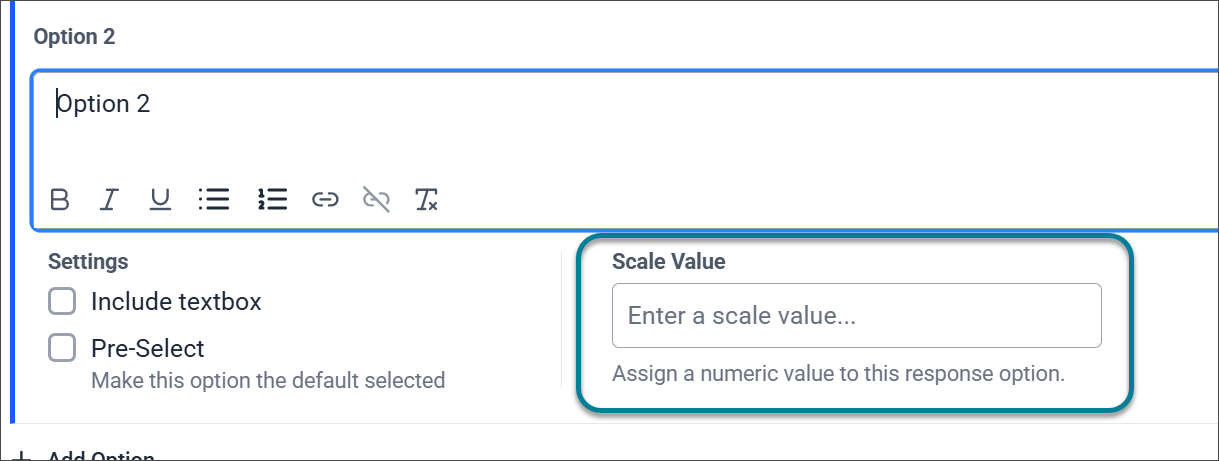
Select Custom in the dropdown menu in the report settings.
You must then define a custom scale value for each response option. Select each option and enter a custom scale value in the Scale Value field for that option.
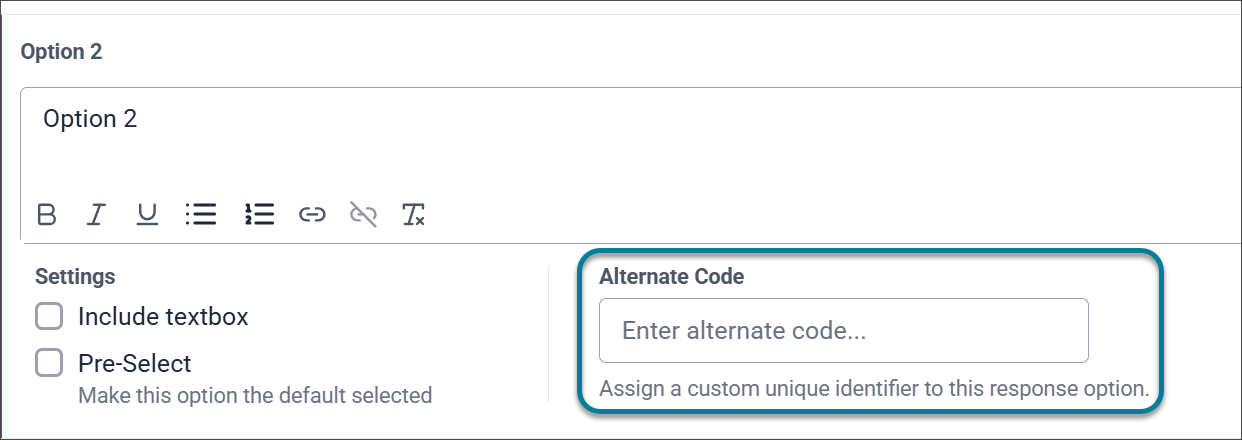
Alternate Code
If you select Alternate Code, you must then define an alternate code for each response option. Select each option and enter an alternate code value in the Alternate Code field for that option.
When you switch the reporting setting, any codes (Scale Value or Alternate Code) associated with the current report settings are cleared. A notification appears asking you to confirm that you want to clear the codes.
Question settings
Additional question settings can be applied to each question:
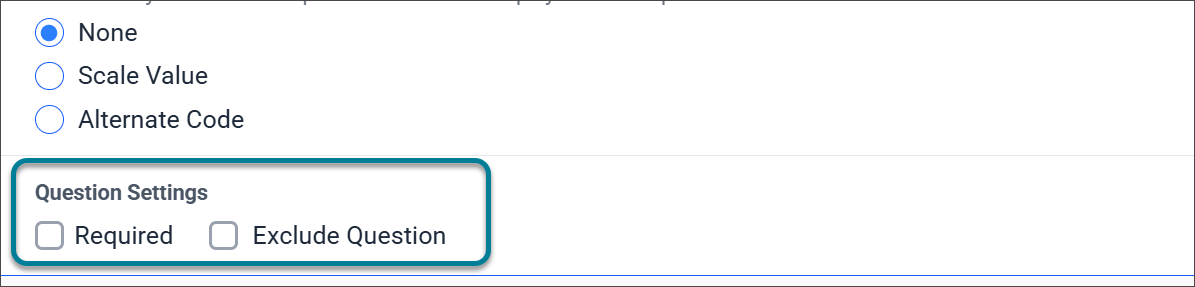
Required — Respondents must answer this question before completing the evaluation.
Exclude Question — Removes the question from the evaluation.
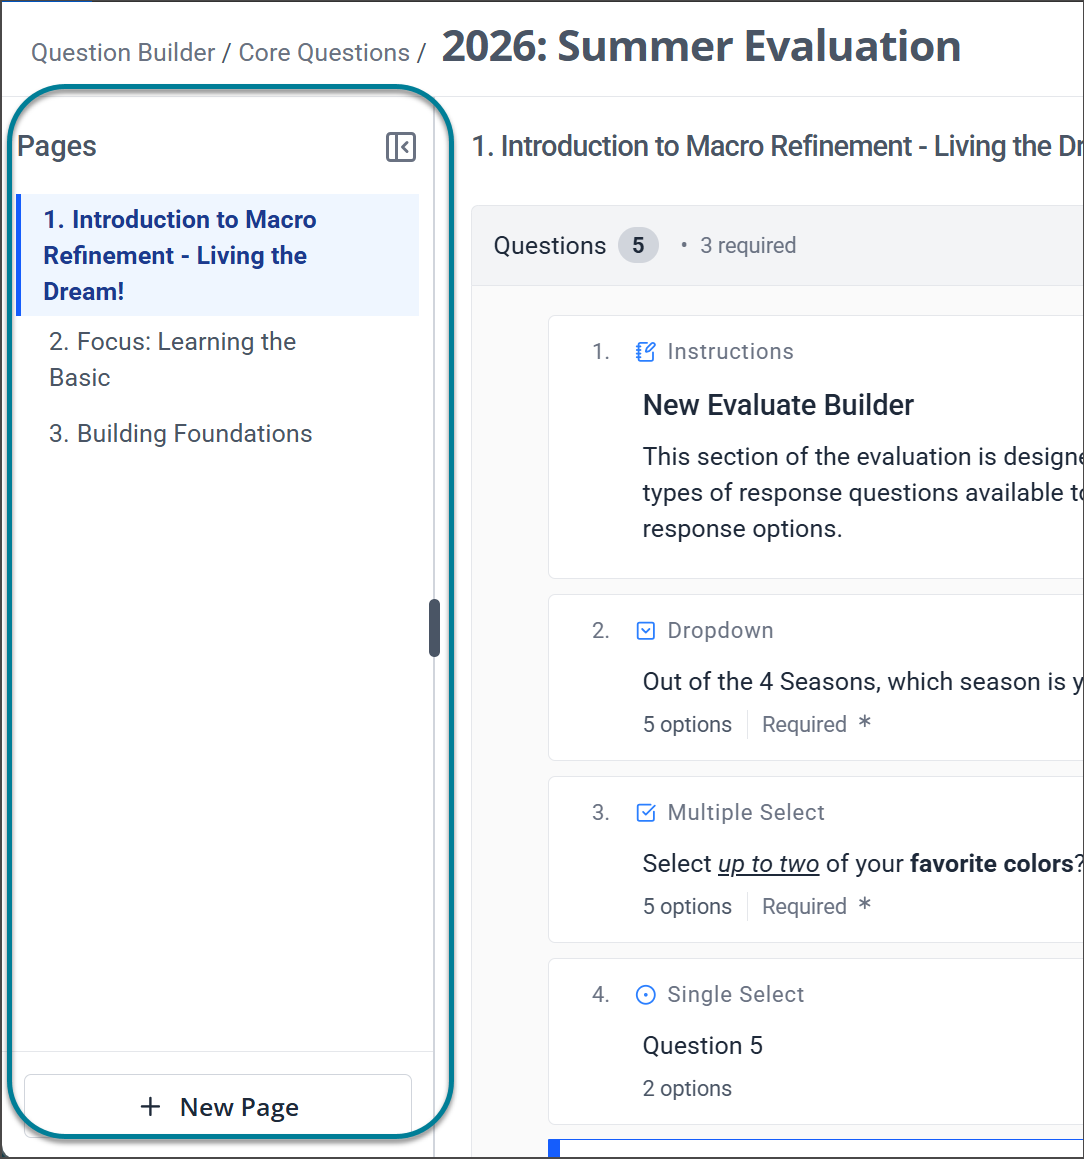
Create pages in Evaluate Builder
You can organize your evaluations by segmenting questions into different pages. You can group questions by instructor role, topic, or any other logical structure that fits your institution's needs.
Access pages
The pages panel is located on the left side of the screen. You can expand or collapse this panel for easier navigation and workspace management.
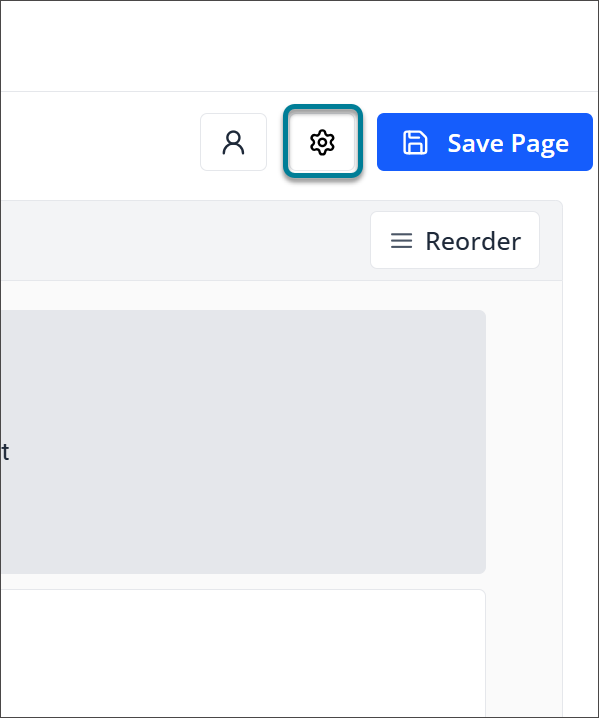
Edit a page title
Select the Page Properties button, which looks like a gear, in the upper-right corner of the page.
Enter the new title.
Optionally, select Exclude from evaluation.
Select Update.
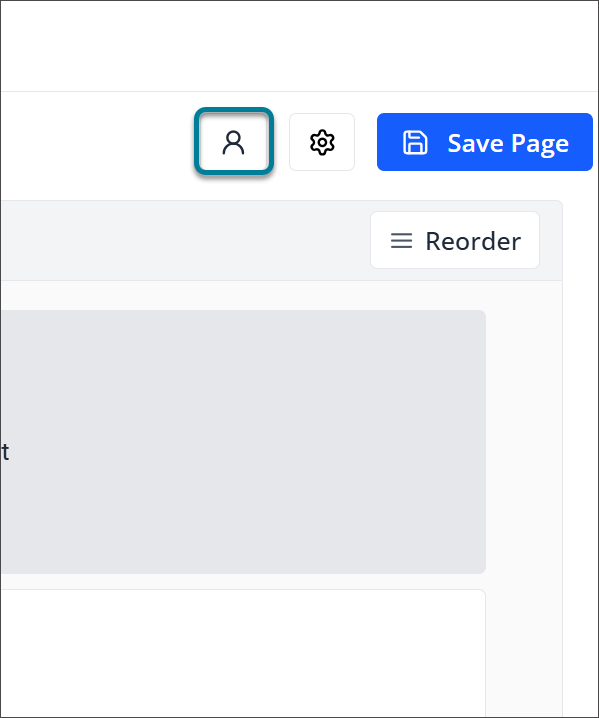
Repeat a page per role
You can configure which roles a page should repeat for, so you can gain insights by different instructor roles rather than only viewing information at the class level.
Select the Instructor Role Repeat button, which looks like a person, in the upper-right corner of the page.
Select the instructor roles you want the page to repeat for.
Note
If questions on the page are repeated by instructor role, repeating by page will remove those repetitions.
Select Update.
Create a page
Select the + New Page button at the bottom of the pages panel.
Optionally, enter a name in the Page Name field. If no name is entered, the page will automatically be named "Page #."
Select Create Page.
Delete a page
Hover over the page title in the pages panel.
Select the Delete button, which looks like a trash can, when it appears.

Select Delete Page in the confirmation window.
Note
This action cannot be undone, and all data associated with the page will be permanently removed upon deletion.