Inclusive Learning Experiences
The goal of Blackboard LMS is to provide an accessible platform for students and instructors for equal access to online courses. Find out how you can create and participate in inclusive learning experiences by using the accessibility features in Blackboard.
Embark on Inclusivity: Watch 'Blackboard’s Inclusive Learning Experience'
The following narrated video provides a visual and auditory representation of some of the information included on this page. For a detailed description of what is portrayed in the video, open the video on Vimeo.
Provide clear instructions or expectations
Be sure that you provide your students with clear expectations, instructions, and directions for all assignments and tests. Students with cognitive impairments or learning disabilities can have trouble focusing on even simple tasks. Clear directions and understandable expectations can help them focus, making them much more likely to succeed.
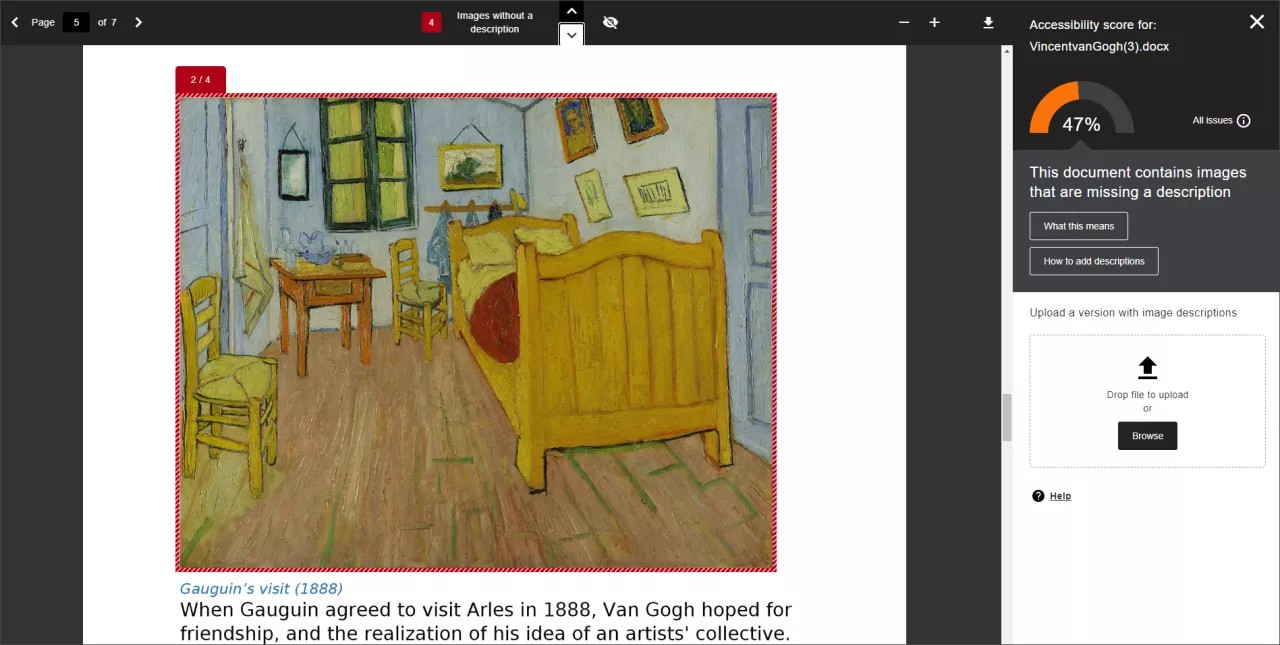
Check content accessibility with Anthology Ally
Anthology Ally automatically checks course materials against WCAG 2.1 accessibility standards delivering guidance to instructors to improve the accessibility of their course content. In addition, Ally provides students with accessible alternative formats such as audio, HTML, EPUB and electronic braille.
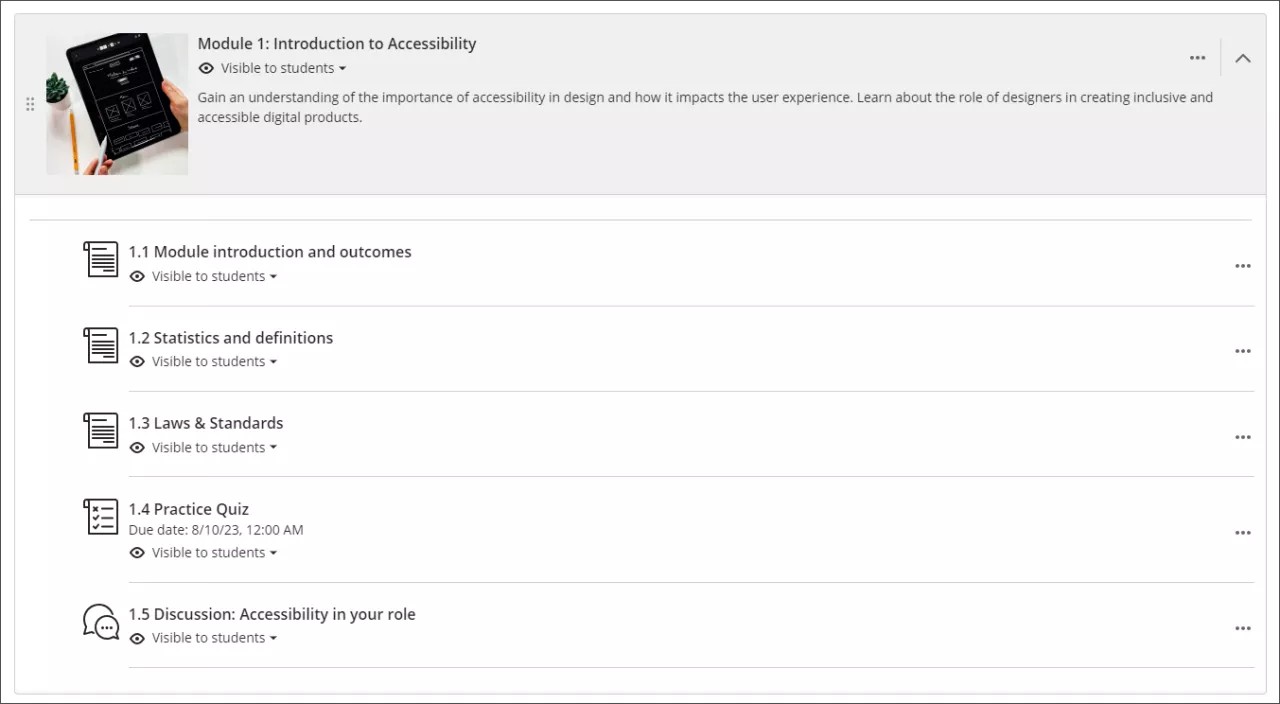
Provide specific and meaningful titles for the course content
Make sure the names or titles for your folders, learning modules, documents, tests, or any other types of content are clear and meaningful for all users. This helps reading and navigation and reduces the cognitive load required to comprehend the content. Don't use repeated or vague words, such as Go, Click here, See more, or Link.
Define meaningful descriptions for content
Alternative text for images
Provide alternative text with a concise description of the image's purpose.
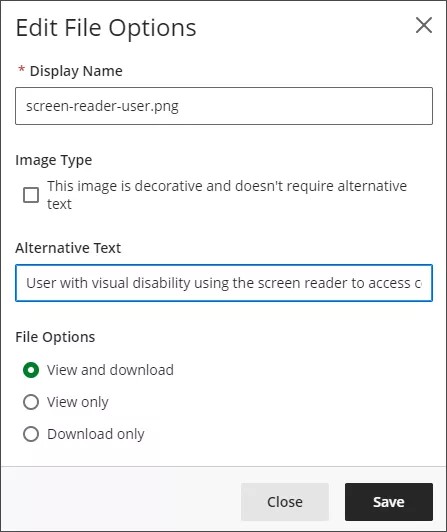
If an image is purely decorative, select the option under Image type on the Edit File Options screen.
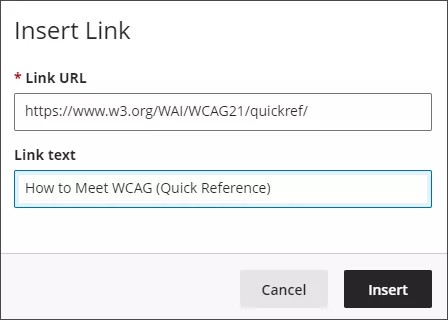
Links
Make sure to add a meaningful description for the link text.
Don't use repeated or vague words, such as Go, Click here, See more, or Link.
Don't use a URL as the link text.
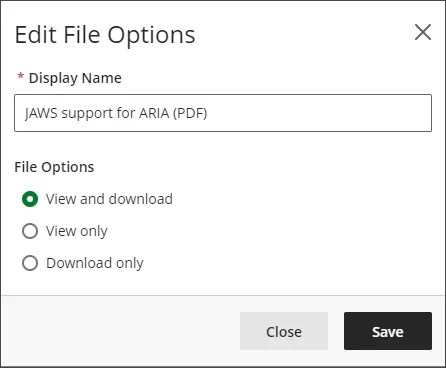
File attachments
When you upload a file attachment, replace the filename with a readable display name. A good practice is to indicate the type of file in parentheses or brackets, such as "(PDF)."
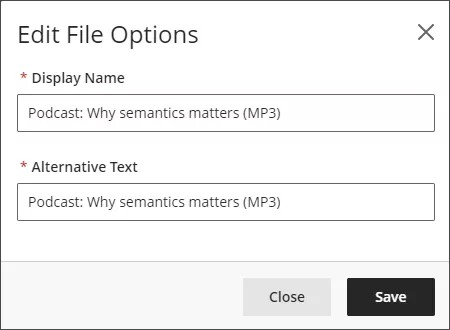
Audio and video
When you add video or other multimedia content to your course, replace the filename with a readable display name and alternative text. A good practice is to indicate the type of file in parentheses or brackets, such as "(MP4)."

Use text styles to provide readable and structural content
The content editor in Learn Ultra provides accessible controls to format content.
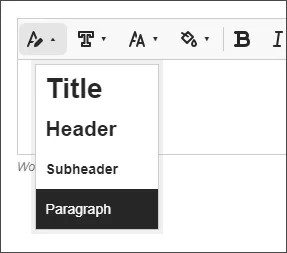
Headings
Use text heading styles to provide a structure and hierarchy. Always start with highest level and don't skip levels descending.
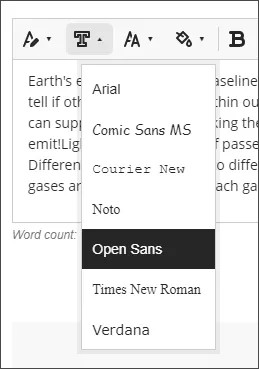
Font formats
The content editor has a size of 14pt, and the font family is Open Sans by default. You can use Sans Serif fonts like Arial or Verdana.

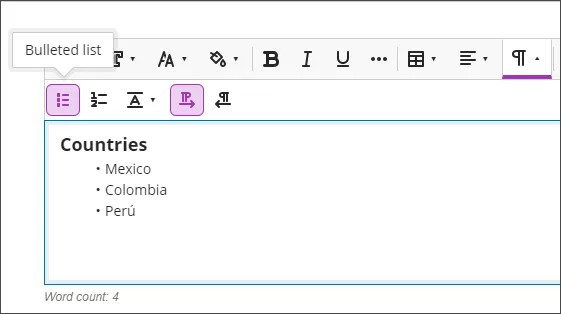
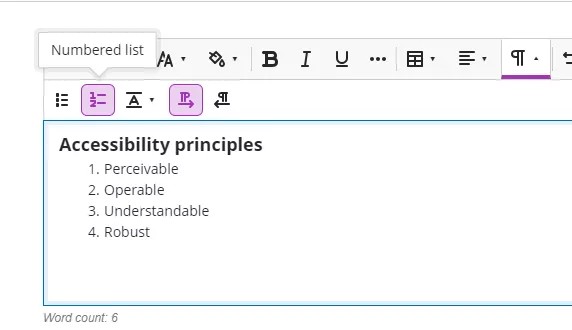
Formatted lists
Use the list buttons to create formatted lists. Use bullets for unordered lists, or numbers or letters for ordered lists. Don't create lists manually with special characters.
Tables
Use tables for tabular data — not for page layouts. Select whether to include a header row or header column in the table settings.

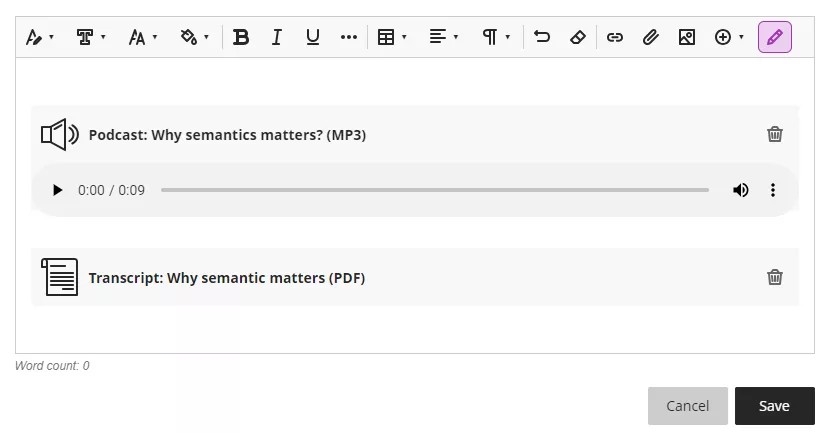
Provide descriptive captions for your multimedia content
When you add video or other multimedia content to your course, include descriptive captions and transcripts for audio to ensure users with hearing impairments can consume it.
Use colors with sufficient contrast
Generally, use dark colors on light or pale backgrounds and vice-versa. Font colors provided by the content editor meet minimum contrast with a white background.
To verify the minimum contrast for fonts you can use the contrast checker tool.

Set up accommodations
Blackboard LMS allows instructors to set up accommodations for tests based on individual needs, such as when the student requires more time, additional attempts, different display options, or an alternative testing location.
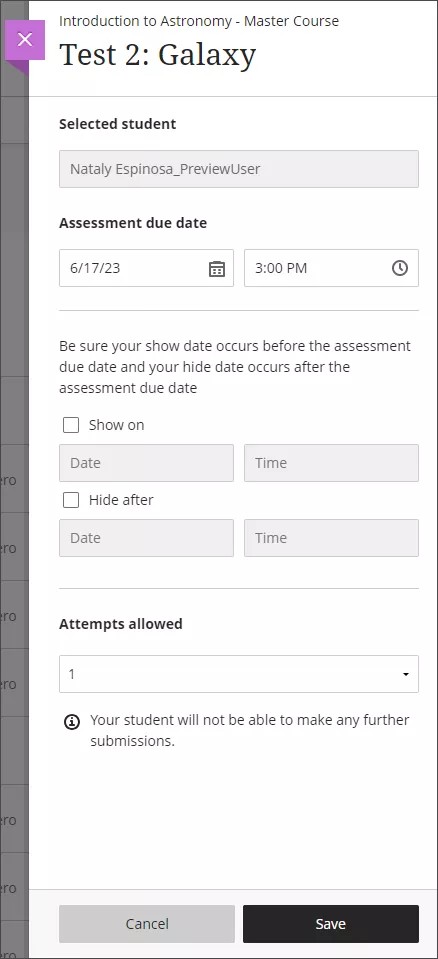
Assessment exceptions
With these settings, instructors can add exceptions to the established availability settings for a test or an assessment for an individual or group of students. Exceptions provide an accommodation to a student with a disability, such as allowing more time or attempts on the test.