Use Roles to Restrict Access to Reports
Illuminate Reporting has a variety of reports targeted to high-level institutional leadership such as provosts, heads of distance/online learning, deans, and student success leaders. However, to fully support and facilitate a data-informed decision-making culture, your institution may want to allow other users restricted access to certain types of reports.
By providing greater access to Illuminate Reporting across your teaching and learning management structure, you can support data-informed conversations without the need to export and distribute reporting data. Enabling users to quickly access data can empower them to make confident decisions and facilitate delegation, feedback, and collaboration across roles.
You can use roles to restrict the types of reports Illuminate users can access. The process for enabling role-based access depends on your authentication type:
Institutional authentication: Set up role-based access in Blackboard Illuminate
Administrators using institutional authentication with SAML as the identity provider can grant user permissions to log into reporting and access data only from the nodes they are associated with. Users must have the "BbDataReportViewer" role in Blackboard or SAML before their permissions can be managed.
Tip
Make sure to configure the Institutional Hierarchy (IH) and courses before you set up role-based access.
Restrict access to Illuminate reports by roles
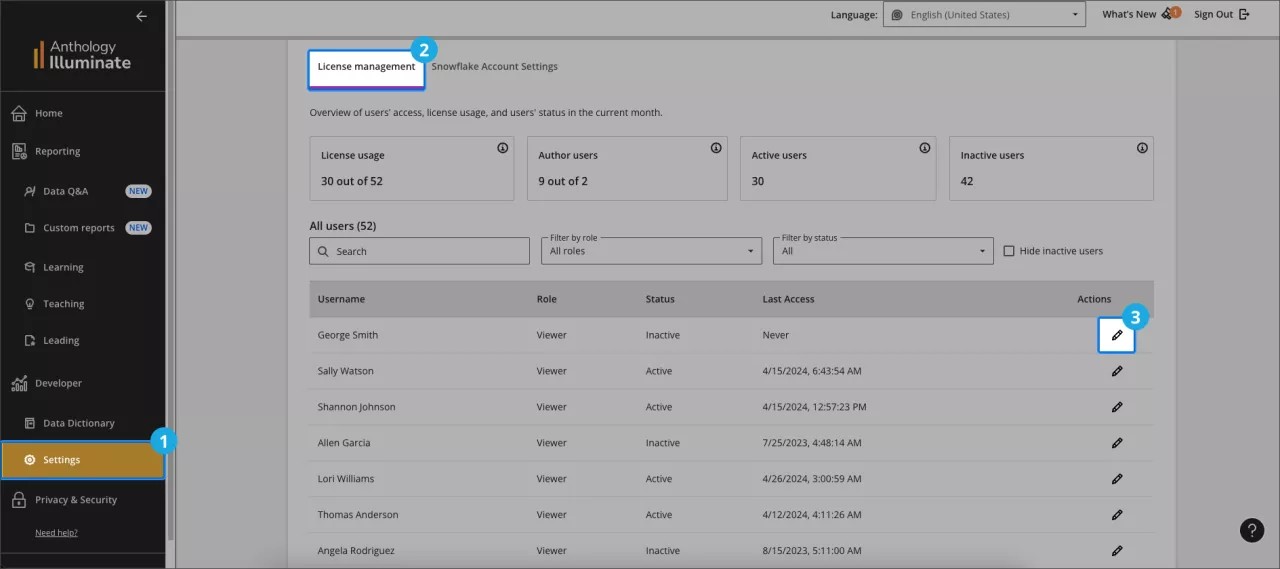
From Developer, Settings, select License management.
Under Actions, select Edit for the user to update. On the Edit User page, under User Roles, select which roles to assign.
Administrators: Have full platform access, including settings, Snowflake access, and read access to all pre-built reports and data.
Authors (exclusive for Illuminate Premium): Can create custom reports, have Snowflake access, and by default can view all pre-built reports and data, with permissions configurable.
Viewers: Have read-only access to pre-built reports by default to ensure data security. You provide restricted access
Note
Users without assigned roles can still log into Illuminate, but they will not have any permissions within the platform. These users do not occupy a licensed user seat, allowing administrators to manage license capacity efficiently.
Under Pre-built Report permissions, select a report permission to assign to the user and select Add . For a description of each permission, see Pre-built report permissions for institutional authentication.
Tip
You can select more than one report permission for a user to create a more personalized experience.
Under Institutional Hierarchy, choose the nodes corresponding to the institutional levels the user can access. You can expand each node to view its children.
Select Save Changes.
Important
Wait overnight for the permissions to be applied.
Note
When role-based access is assigned to a user, their reports initially appear unfiltered and without data due to the user's restricted access. The user needs to select their hierarchy levels to populate the reports with information based on their access rights.
Pre-built report permissions for institutional authentication
Each permission provides specific access levels to reports:
Permissions | Description |
|---|---|
Leading reports - Data restricted | Access to all Leading reports and data restricted by permissions granted to the user by institutional hierarchy |
Learning reports - Data restricted | Access to all Learning reports and data restricted by permissions granted to the user by institutional hierarchy |
Teaching reports- Data restricted | Access to all Teaching reports and data restricted by permissions granted to the user by institutional hierarchy |
All reports - Data unrestricted | Access to all reports and data |
All reports - Data restricted | Access to all reports and data restricted by permissions granted to the user by institutional hierarchy |
Native Authentication: Set up role-based access in Blackboard LMS
If your institution hasn't enabled institutional hierarchy and instead uses Blackboard as your identity provider for Illuminate, you can grant users permissions to log into reporting and access data only from the nodes they are associated with.
This method includes two processes:
Tip
Make sure to configure the Institutional Hierarchy (IH) and courses before you set up role-based access to reports.
Add the Data-restricted role to a user in Illuminate
From Blackboard Illuminate, select Settings.
Select the License Management tab and find the users list.
Select Edit in the Actions column for the user to modify.
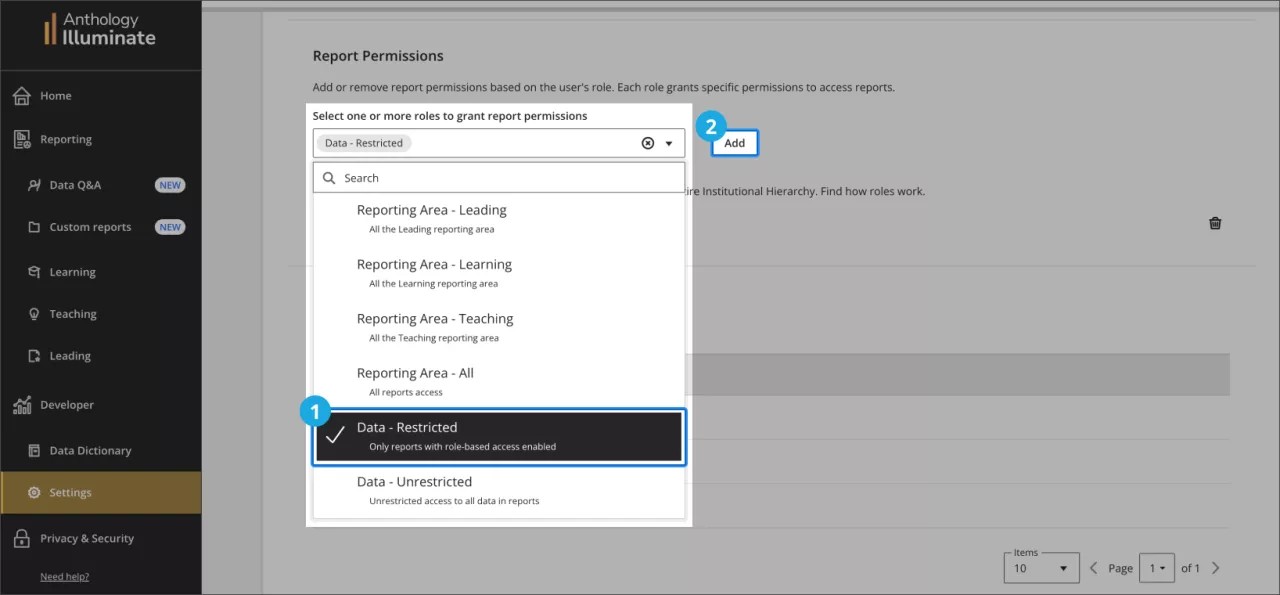
On the Edit User page, navigate to the Report Permissions section and select the Data – Restricted option from the dropdown menu. Then, select Add .
Set access by institutional hierarchy levels in Blackboard LMS
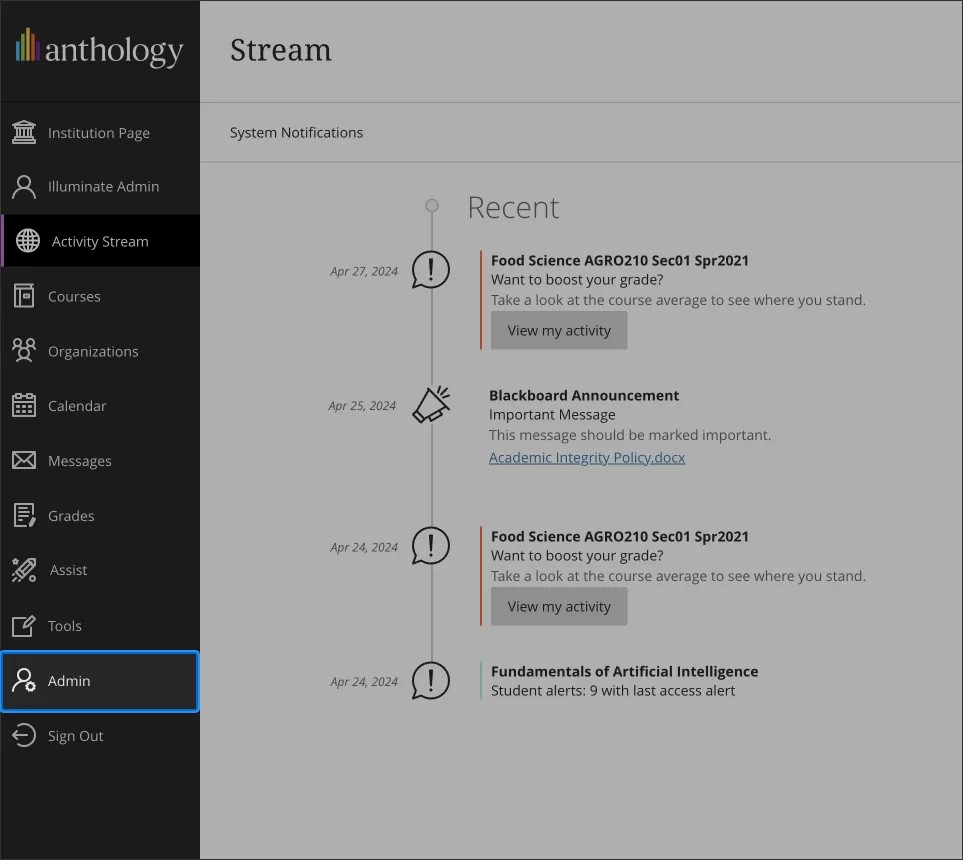
In Blackboard LMS, go to the Administrator panel.
Under Communities , select Institutional Hierarchy.

Navigate through your institutional hierarchy and choose the nodes and child nodes you would like to grant access to the user.
When you set up access, it's important to carefully choose the level you assign to each user. Keep in mind that users can access information from their assigned level and any levels below it, but not from levels on the same tier or above.
Consider this example:
Institution Level 1 - A
Institution Level 2 - B
Institution Level 3 - C
Institution Level 4 - D
Institution Level 4 - E
Given this structure, if you grant User1 access to Institution Level 3 - C, the user will also have access to data from both Institution Level 4 - D and Institution Level 4 - E. This is because Levels 4 - D and 4 - E are nested under Level 3 - C, and access privileges extend down to lower levels.
However, if you grant User2 access only to Institution Level 4 - D, the user won’t be able to access data from Institution Level 4 - E. Access at Level 4 - D is limited to that level only and doesn’t include other nodes at the same level or any higher levels.
Once you have selected the desired node, go to Administrators and select Add Administrator .

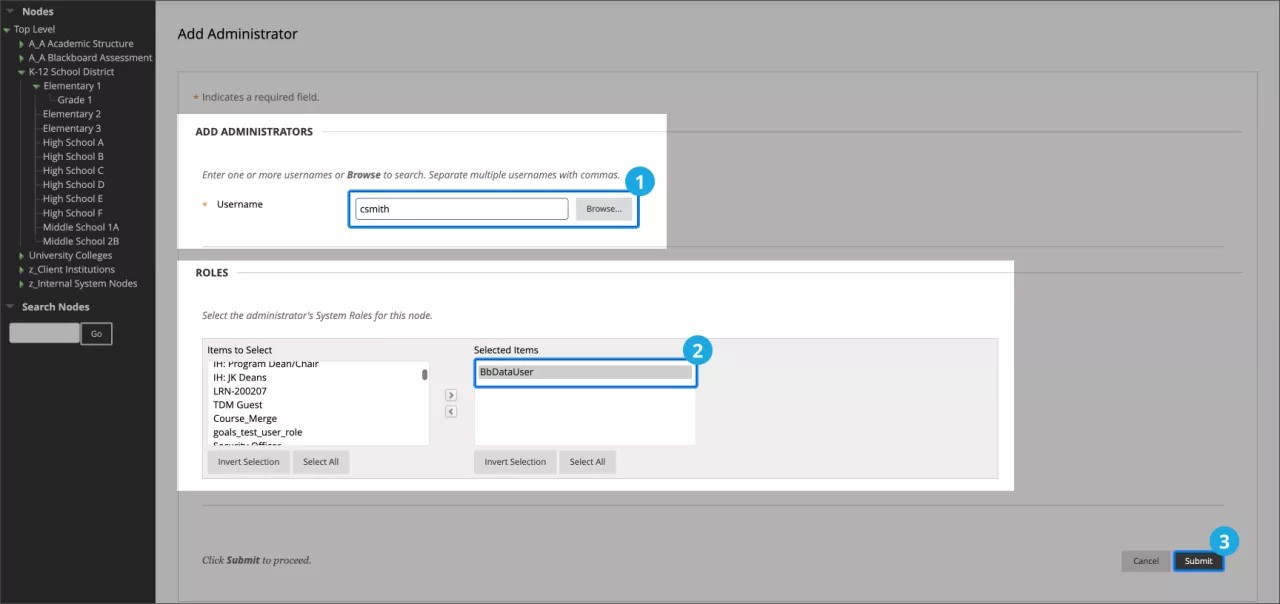
From the Add Administrators screen:
If you know the username you want to add as an Administrator, enter it in the username field.
Otherwise, select the Browse button and search by fields including Name, Email address, or System role. Select all relevant results and then Submit.
In the Roles section, select the administrator’s system role for use in the node.
Important
The specific role is not relevant to compartmentalized reporting in Illuminate but will impact the user's permissions within the node in Blackboard LMS.
You can modify the association at any time by changing the node administrator associations or entirely revoke access by removing the user's Institutional Authentication role/group or disabling their SSO account.
Select Submit.
Warning
Wait overnight for the rules to be applied.
Report permissions for native authentication
Tip
You can select more than one report permission for a user to create a more personalized experience.
Each role provides specific access levels to reports:
User role | Permissions |
|---|---|
Reporting Area - Leading | Access to all Leading reports |
Reporting Area - Learning | Access to all Learning reports |
Reporting Area - Teaching | Access to all Teaching reports |
Reporting Area - All | Access to all reports |
Data - Restricted | Access to data restricted by permissions granted to the user by institutional hierarchy |
Data - Unrestricted | Access to all data in all reports available for the user. |
Remove report permissions from an Illuminate user
From Settings.
Select the License Management tab and find the users list.
Select the Edit next to the user you want to modify.
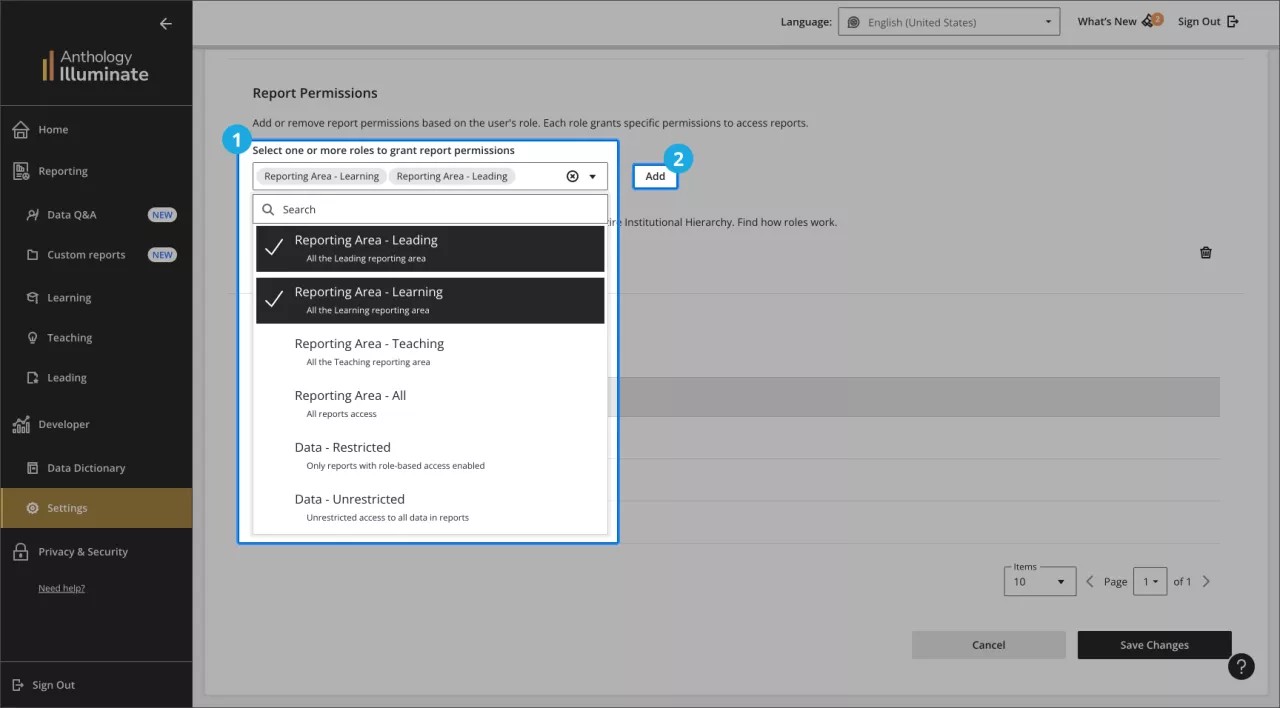
To assign permissions for reports, navigate to the Report Permissions section, select one or more roles, and then select Add .
Reports that support role-based access
Before setting up role-based access, check this table to ensure the report is supported.
Area | Report | Status |
|---|---|---|
Learning | Student Engagement | Supported |
Learning | Student Performance and Grades | Supported |
Learning | Social and Collaborative Engagement | Supported |
Learning | Student Summary | Supported |
Teaching | Instructional Practices | Supported |
Teaching | Assessment and Grading | Supported |
Teaching | Course Summary | Supported |
Leading | Learning Tools Adoption | Supported |
Leading | Collaboration Session Activity | Supported |
Leading | Learning Platform Adoption | Work in progress |
Leading | Course Administration | Supported |