Verification Check
When documents are accepted, they must be verified and the information changed where indicated so that the correct information is submitted with the verification acceptance.
Note: All document approvals must be completed before a verification check of the student's information can be performed.
To perform a verification check:
-
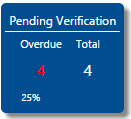
From the Site Sections menu at the top of the page select Verification > Dashboard and select the Pending Verification tile.
You can filter the tiles using the options at the top of the page. For more information, see Filters.
-
Select the student name to perform the verification check. This opens the Student Details screen for that student.

-
Expand the Verification Check section by selecting the + on the left side of the screen.
-
If the student is independent, you will see only student data that needs to be verified.
-
If the student is dependent, you will need to verify both the student and parent data.
-
-
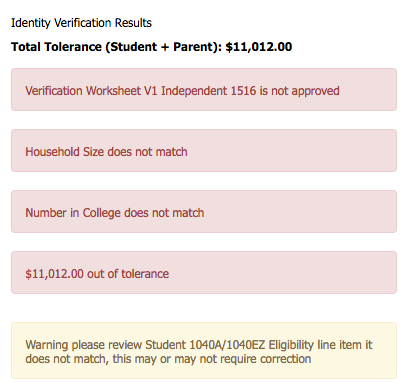
Identity Verification Results and Tolerance show issues found in the verification check.
As you move through the verification process and correct these issues, they will disappear from the Identity Verification Results screen.
These are the issues you are addressing when performing verification.
-
Issues in yellow are warnings that you should pay attention to, but they will not affect verification if not addressed.
-
Issues in red are major conflicts that you must address before completing verification.
-
-
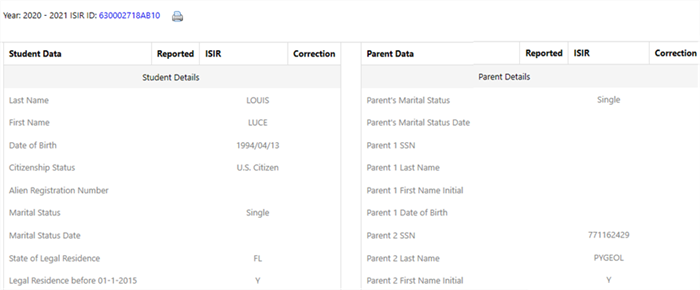
Review the table within the verification check section. There may be both student and parent verification data to check.
Compare the Reported vs. ISIR data to make accurate corrections to the student's information.
-
Reported - The current data is reported by the student on documents provided within the Student Verification Portal.
-
ISIR - Student data taken from the most recent official ISIR transaction.
Important: Most often, the Reported value is correct.

-
-
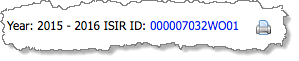
Select the link next to the award year to download the student's most recent ISIR.
-
Compare the ISIR values from the ISIR with the Reported values for any row that has a
 next to it to identify if any corrections are necessary.
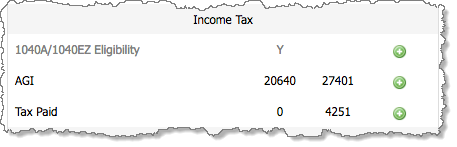
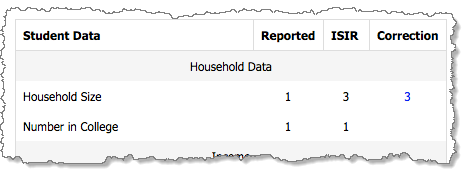
The value in the Reported column is the value taken from the student’s required documents. When a new ISIR is imported, the ISIR and Reported values should be the same as a correction has been applied.
-
If there is a conflict and the Reported value is correct, proceed with the ISIR correction. The subsequent imported ISIR imports the corrected values into the system for that student.
-
If there is a conflict and the ISIR value is correct, there is no correction to perform. The reported document is not correct and needs to be revised and uploaded again by the student via the Student Verification Portal.
Important: Institutional policies determine how a conflict is resolved and how to determine which value (Reported or ISIR) is correct.
-
-
Select
next to any row that needs a correction to change the value. This opens the ISIR Correction window. 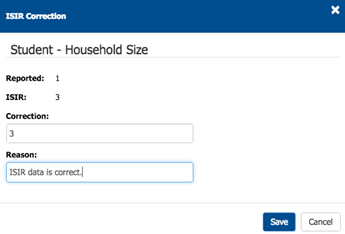
-
Make the necessary correction, provide a reason for the correction, and then select Save.
Continue to make changes to the rest of the data, as necessary. Any items that have been corrected will display the new, correct value in the Correction column.
-
When one or more corrections have been made to the student and/or parent data, you can submit the corrections at any time.
When at least one correction is made, a Submit Corrections button is exposed within the Verification Check section.
Continue to make corrections as necessary. When you are satisfied that the data is correct and complete, select the Submit Corrections button.
This locks the student record so no more changes can be made to the verification check or the documents in the RDL. The administrator must extract these changes and submit them to the ED Central Processing System (CPS) for processing. The corrections will not be reflected in the system until the new ISIR is imported into the system during the daily import process.
To complete the verification process for a student:
-
If you have made a correction to any values, you must import the subsequent ISIR before completing the verification process.
-
When the new ISIR is imported, it is put into the Pending Documents state and subsequent verification check. If there are no new documents triggered, or no changes to the ISIR, you can select Complete <Award Year> Verification for the student.

-
Select Approve Verification.

Complete Second Level Approval
Important: If there is only a second level approver assigned to a student, only second level approval is required to approve documents.
Perform second-level approval. if a second level reviewer is specified, the first level reviewer cannot approve verification, and it must be done by the second level reviewer.
-
Perform a Verification Check.
-
Select Complete <Award Year> Verification. This completes verification, locks the student approval and verification sections so that no changes can be made.
-
Select the Approve Verification button.
-
If you are a second level reviewer that is approving verification, the following window is displayed.
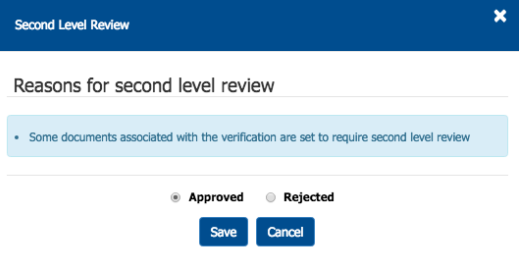
You may accept or reject the review.
-
If you reject the review, all approval is removed from the student's documents, and the status is set to Second Level Reject. At this point the student is locked out of being able to make any changes to their documents.
-
If you approve the review, the student is moved to a Complete status and verification is completed.
-
IF YOU HAVE REJECTED verification, you may change the student's status from Second Level Reject to Cancelled or Pending Verification.
To do this, complete the following steps:
-
Select the Second Level Reject link. This opens the Change Verification Status dialog box.
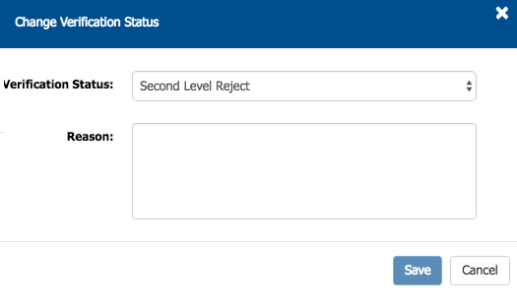
-
Select the status to which you would like to move the student.

You may change the student's status to one of the following.
-
Cancelled - This cancels the student verification and puts the student into a Cancelled state.
-
Pending Verification - This puts the student back into a pending verification state. All previously approved documentation is once again marked as approved. If the student is returned to Pending Verification, start the verification process from step 1 of this section.
-
-
-
IF YOU APPROVE VERIFICATION, the student is moved to Complete, and the verification process is finished.
-
At this point the process is complete, and the student's status can only be moved to Compliance Review. For more information, see Compliance Review.
Change the Verification Status
At some point it may become necessary to change a student's verification status directly from their student record. Changing a status directly from the student record allows very specific status changes, which are described below. Changing the verification status in this manner does not exclude the need for following the normal verification workflow and is primarily (but not exclusively) used to move a student to Cancelled status.
| Status | Can be moved to ... | Notes |
|---|---|---|
| Pending Documents | Cancelled | Once a student is placed in the Cancelled status, you can selected the Uncancel option to reinstate the previous status. |
| Pending Verification | Cancelled | Once a student is placed in the Cancelled status, you can selected the Uncancel option to reinstate the previous status. |
| Pending Correction | Cancelled | Once a student is placed in the Cancelled status, you can selected the Uncancel option to reinstate the previous status. |
| Pending Second Level Review | Cancelled | Once a student is placed in the Cancelled status, you can selected the Uncancel option to reinstate the previous status. |
| Rejected ISIR | Stop Verification Rejected ISIR Cancelled |
If a student ISIR is rejected, they may be moved to the Stop Verification Rejected ISIR or Cancelled status. |
| Cancelled | Previous status | Once a student is placed in the Cancelled status, you can selected the Uncancel option to reinstate the previous status. |
| Complete | Compliance Review | A student for which verification is complete can only be moved manually from Complete to Compliance Review. |
| Compliance Review | N/A | Once a student is moved to Compliance Review, they cannot be moved to another status until the compliance review is completed. |
| No Verification | Cancelled | Once a student is placed in the Cancelled status, you can selected the Uncancel option to reinstate the previous status. |
| Stop Verification Rejected ISIR | Cancelled Status student was in before moved to this status |
If a student is put into the Stop Verification Rejected ISIR status, they can be placed either into Cancelled status, or can be returned to the status the student was in before they were moved to Stop Verification Rejected ISIR. |
During the verification process it may be necessary to change a student's verification status. The following instructions provide you with information on how to change a student's verification status.
To change verification status:
-
From the Site Selections menu, navigate to Verification > Dashboard.
-
Select the Dashboard tile that corresponds to the status you'd like to change for a student.
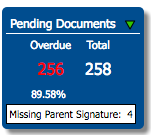
Important :Depending on the tile you are viewing the status may not be Pending Documents, but the process of changing the verification status is the same.
-
Find the student for which you want to change their status and select their name. This takes you to the Student Details Page screen for that student.
-
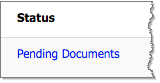
Select the blue link in the Status column.
-
From the Verification Status list, select the new verification status.
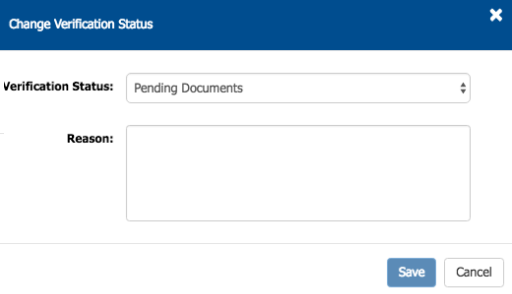
-
Provide a reason for the cancellation in the Reason text box.
Once a student is placed in the Cancelled status, you can selected the Uncancel option to reinstate the previous status.
-
-
Select Save to save changes made to the student's verification status.
Cancel or Stop Student Verification
Cancelling or stopping student verification removes the student from the verification flow completely based on institutional policies. Students will only appear in the All and Cancelled tiles.
Use the following guidelines when determining whether to cancel or stop verification for a student.
-
If the student's ISIR is rejected and you wish to cancel verification for the student, choose "Stop Verification Rejected ISIR". This option stops processing for the student completely. You may subsequently change the student status to Cancelled from Stop Verification Rejected ISIR, but the student can never be put back into the verification flow.
-
Select "Cancelled" if you wish to halt the student's processing but want the option to return the student to the verification status they were in before cancelling. For more information, see Uncancel a Student in Cancelled Status.
Important: If a student is in Pending Corrections status, you may not cancel their verification until the ISIR corrections have been imported into the system.
To cancel student verification:
-
Locate the student record (see Find a Student).
-
On the Student Details page, in the ISIR list, select the link in the Status column of the active ISIR. The active ISIR has a check mark (
 ) in the Active column.
This opens the Change Verification Status page.
-
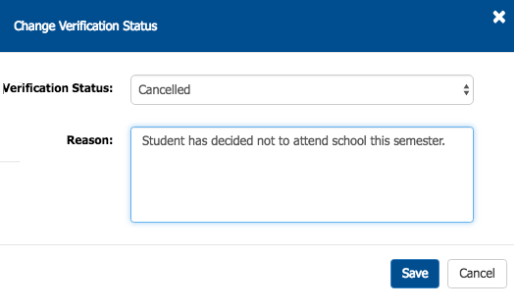
Select Cancelled from the Verification Status list.

-
Provide a Reason for the cancellation.

Once a student is placed in the Cancelled status, you can selected the Uncancel option to reinstate the previous status.
-
Select Save.
This puts the student in a Cancelled state and verification is halted.

The student is moved to the Cancelled tile. The Cancelled tile contains students in both the Cancelled status and the Stop Verification Rejected ISIR status.

You can "uncancel" a student and return them to the previous status. To do this, see Uncancel a Student in Cancelled Status.
Important: When changing a student's status to Cancelled or Stop Verification Rejected ISIR, the status change is immediate. However, it could take up to 10 minutes for the student to move to the correct tile on the verification Dashboard.
Stop Verification for a Rejected ISIR
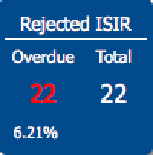
You may also cancel a student that is in the Rejected ISIR status, but the process is a little different. Rejected ISIR status means that, although there has been an ISIR imported for the student, there is a problem with the ISIR, and it has been rejected.
-
Find the student in the Rejected ISIR status (see Find a Student) that you wish to cancel and navigate to the Student Details page.
You may also select the Rejected ISIR tile from your Dashboard to get a list of students.
-
Select the student in Rejected ISIR status for which you want to cancel and select the link in the Status column.

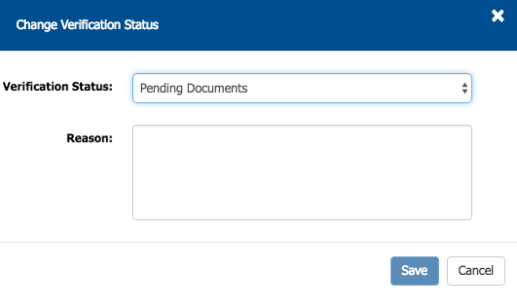
This opens the Change Verification Status page.
-
Select Stop Verification Rejected ISIR or Cancelled from the Verification Status list. Choosing either option stops the student verification.

-
Provide a reason for canceling verification in the Reason field.
-
Select Save.
The student is moved to the Cancelled tile. The Cancelled tile contains students in both the Cancelled status and the Stop Verification Rejected ISIR status.
Uncancel a Student in Cancelled Status
After cancelling a student's verification, you may subsequently return them to the verification flow. For example, this may be done in situations where a student has been cancelled due to not wishing to attend classes, but subsequently changes their mind. You can uncancel a student in Cancelled status and place them back into the verification flow at any time.
To uncancel a student:
-
You can cancel a student's verification following the instructions in Cancelling or Stopping Student Verification. Following these instructions allows you to uncancel a student that is in cancelled status.
-
In the Site Selections menu, select Administrators > Dashboard.
-
Find the student you wish to remove from "Cancelled" status. Any students in the "Stop Verification Rejected ISIR" status cannot be returned to the verification flow. If you wish to view a student's detailed information, select the student name.

-
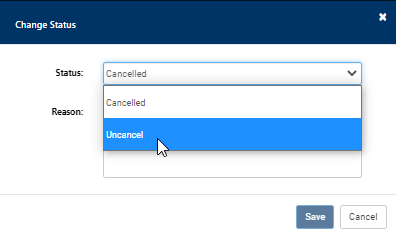
Select Cancelled in the Status column.

-
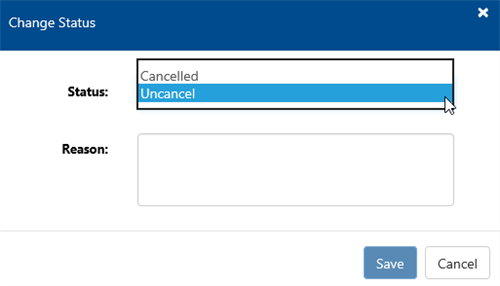
From the Verification Status list, select Uncancel. The student status will revert to the status the student was in prior to cancelling verification.
-
Provide a reason for the verification status change in the Reason field.
-
Select Save to save the verification status change and move the student verification into that status or Cancel to cancel the verification status change.