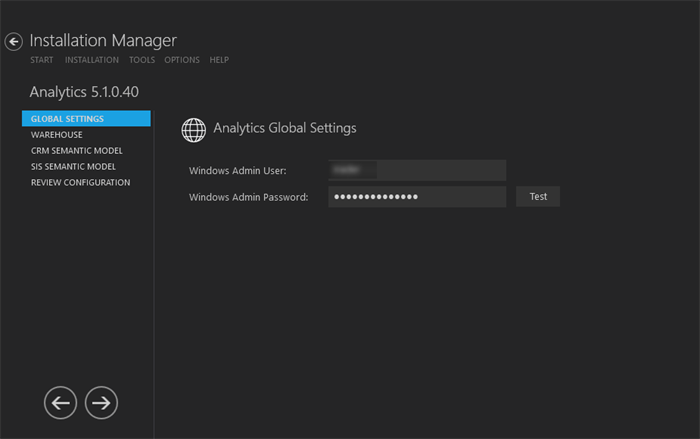
The Global Settings screen contains the user name and password of the system administrator performing the Student Analytics installation. This user must have:
- Administrator permissions on all machines where Student Analytics components are installed
- An account on all databases associated with the Student Analytics installation
- Sysadmin rights on all databases associated with the Student Analytics installation.
Important: Information on all Installation Manager screens is not saved until you exit the screen by clicking ![]() or by clicking another component on the navigation menu.
or by clicking another component on the navigation menu.
Specify the Global Settings
-
In the Start screen of Installation Manager, click the Analytics tile. The Analytics Global Settings screen is displayed.

-
In the Windows Admin User field, specify the user name of the user with Administrator permissions on the computer where the installation will occur. Depending on your network environment, specify one of the following:
- User name
- Domain\User name
- Email address of Admin User
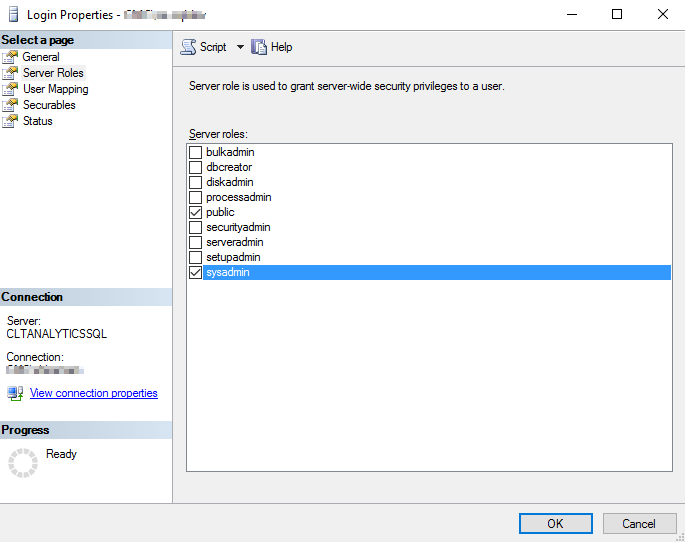
Important: This user must have sysadmin permissions on the SQL Server instances / SQL Server Analysis Services where warehouse databases and semantic model databases are installed. To check permissions, access SQL Server Management Studio, select the database, and navigate to Security > Logins > Properties > Server Roles. Ensure that the sysadmin role is selected.

-
In the Windows Admin Password field, specify the password for the Administrator user name. This password is used in the background for other installation steps.
-
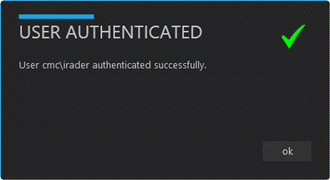
Click Test to ensure the user authentication settings are correct. A confirmation message is displayed.

-
If the user is authenticated, click OK and click
 to continue.


