Student Portal Templates Configuration
Student Portal templates allow schools customize the layout of the Student Portal and to select from configuration options that will change the layout of the Student Verification Portal. In this area, you can create one or more templates which can then be set in the Application Configuration page in the Student Portal Layout Template section.
The Student Portal Templates Configuration sections include the following:
- Login
- Home
- Required Documents
- Completed Documents
- Form Center
- Useful Links
- Contact Us
Note: A General Template is available. This template is associated with all campuses and locations. Please use this template as a guide for future template creations.
Required Permissions:
-
System: Has the Administrator Home Screen
-
Staff: Can View Application Configuration Page
-
Can View Application Configuration Audit Log Page
To edit content in Student Portal Templates Configuration, users must be assigned to a role with permission:
-
Verification: Can Manage Student Verification Portal Templates
Access the Student Portal Templates Configuration
-
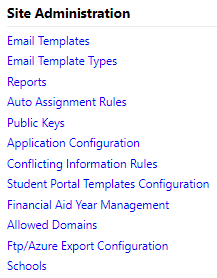
Navigate to the Site Administration section of the Administrators menu.
-
Select Student Portal Templates Configuration.
-
The Student Portal Templates Configuration homepage displays the general template and the following search parameters and row headers.
-
- Search by Name
- Search by Active or Inactive Status
-
- Name
- Schools
- Campuses
- Last Modified By
- Last Modified Date
- Active
-
Search Templates
To search for a template, navigate to the Student Portal Template Configuration page, locate the Search Templates area.
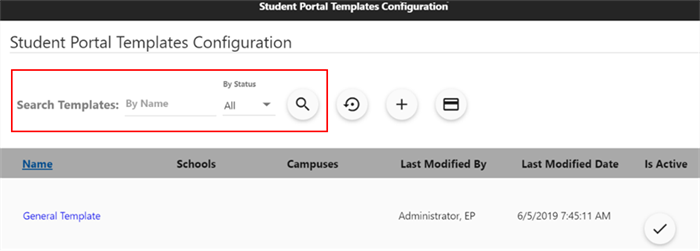
This search function enables a user to enter in a template name and/or search by status. Upon successful entry of template name or status, the user will select the search icon to filter results.
Column Headers
The Student Portal Templates Configuration homepage list several column headers to assist the user in identifying the desired template.
The column headers are as follows:
- Template Name
- Associated Schools
- Associated Campuses
- Last Modified By
- Last Modified Date
- Is the template Active
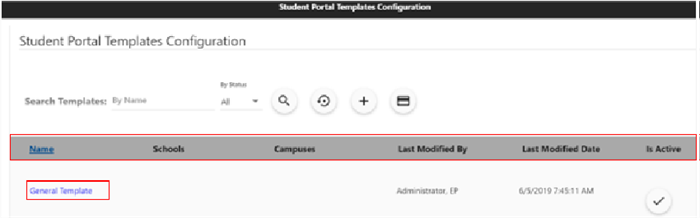
Each template name is hyperlinked and reflects blue. Selection of the template name will direct the user to Verification Template Configuration page.
Reset a Filter
To reset a filter, select ![]() on the Student Portal Templates Configuration homepage or the Verification Template Configuration page.
on the Student Portal Templates Configuration homepage or the Verification Template Configuration page.
Add a Template
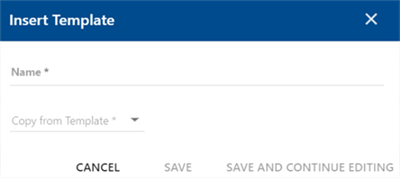
To add a new template, select ![]() . The Insert Template box will appear. Enter in the name of your template, then select which template you would like to copy.
. The Insert Template box will appear. Enter in the name of your template, then select which template you would like to copy.
-
To edit, select Save and Continue Editing. To create a template name only, select Save or Cancel to remove edits.
Note: First time users, please copy the general template when inserting a new template. Subsequent templates created can copy from any template.
-
Proceed to the Verification Template Configuration page after selection of Save and Continue Editing.

The page displays the following:
- Name of Template
- Template Color Scheme
- Template Color Pallet
- Template Layout
- Is Active Check box
- Reset Filter Icon
- Save Icon
-
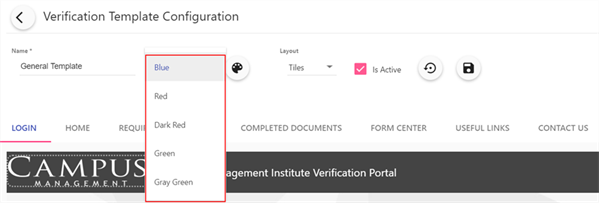
The name of the template carries over from the insert template page. To pick a color scheme that best suits your institution, select from the Color Scheme drop-down list.
-
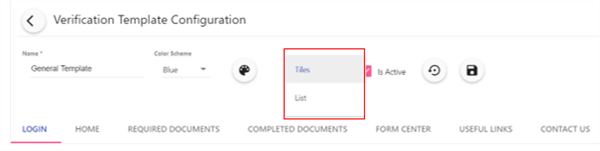
Next, proceed to the Layout. The Verification Template Configuration has two types of layout options one for tiles and second is list. To choose a Layout, select the drop-down list below Layout.
-
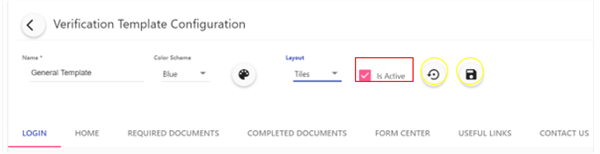
To activate a new template, select the check box located by Is Active, uncheck to deactivate a template.
-
To Save a new or existing template, select
 . To Reset Filter, select
  .
.
Listed below the main template information are the Student Portal pages. The pages included in the Verification Template Configuration are as follows:
- Login
- Home
- Required Documents
- Completed Documents
- Form Center
- Useful Links
- Contact Us

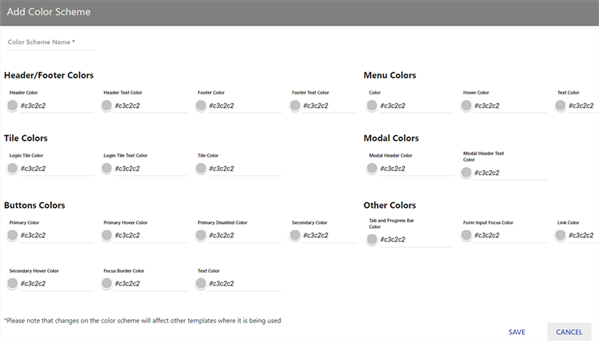
Color Scheme
The Student Portal Templates Configuration page allows a user to add a color scheme. The color scheme controls the range of colors visible on the Student Portal that match the institution’s portal theme.
Required Permissions: Can Allow Adding Color Scheme For Student Portal Templates
Basic color schemes are not editable, only viewable.
To add a color pallet:
-
Select the
 icon on a new or existing template.
 -
The Edit Color Scheme page will be displayed.
-
Enter the Name of the new Color Scheme. The name must be unique.
-
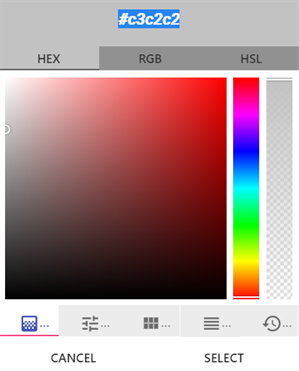
Select the color selection option.

-
Enter the HEX, RGB, or the HSL. You can use the color grid to find the exact color.
-
Select a color for each area in the color pallet. Be sure to review each section.
-
Select Save. The color scheme will be saved and will take effect on other templates where it is used.
To select an existing color pallet:
-
Navigate to a template in the Student Verification Template Configuration.
-
Select the drop-down list located underneath Color Scheme.

Login
The Login page duplicates the Student Portal Login Page. The user can edit the following items highlighted in red on the Login page:
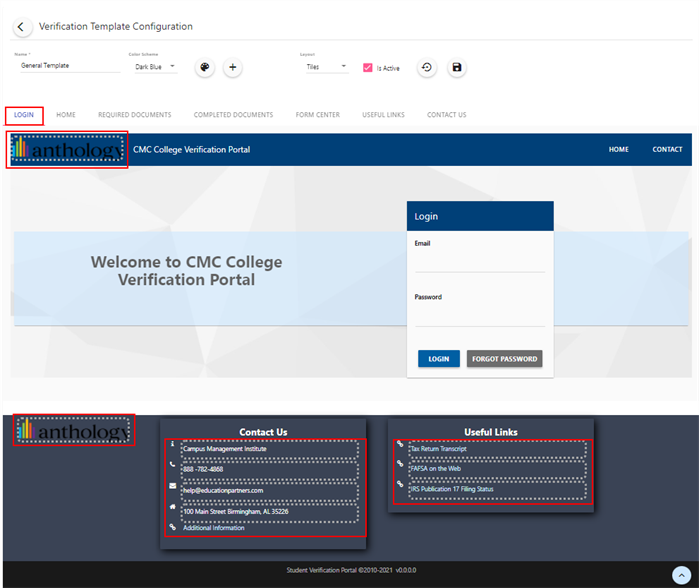
The system populates the logo field based on the following checks:
-
If Campus Logo 1 is configured in the Campus Details, the logo field displays Campus Logo 1.
-
If Campus Logo 1 is not configured in the Campus Details, the logo field displays the logo from the template assigned to the school.
-
If the school does not have an assigned template, the logo field displays the logo from the General Template.
You can also select the logo field in the Student Portal template and use File Explorer to upload a logo image directly into the system.
Note: The Contact Us section located at the bottom of the page has a character limit on text.
Please see below:
- Institution Name max limit 250 characters
- Phone Number max limit 30 characters, validation on phone number format
- Format validation for URL and Useful Links
- Address max limit 250 characters
Home
The Home page duplicates the Student Portal Home Page. The user can edit the following items highlighted in red on the Home page:
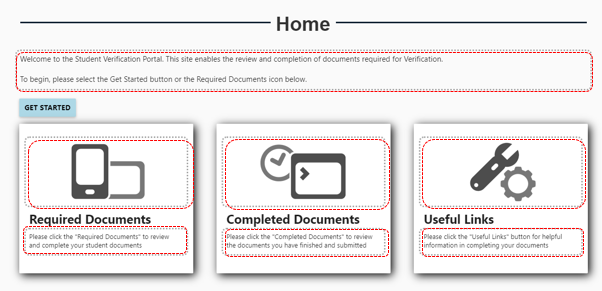
Note: The Image and text below Required Documents, Completed Documents, and Useful Links have the following character limit on text. The character limit is 500 and the image size must be small or medium. Small/Medium size image
Required Documents
The Required Documents page duplicates the Student Portal Required Documents Page. The user can edit the following items highlighted in red on the Required Documents page:
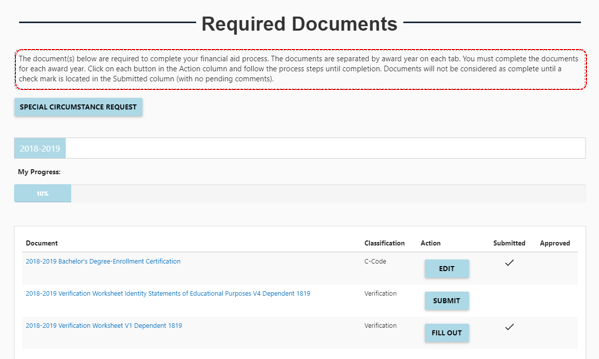
Note: The text box on the Required Documents page has a character limit of 1000.
Completed Documents
The Completed Documents page duplicates the Student Portal Completed Documents Page. The user can edit the following item highlighted in red on the Completed Documents page:
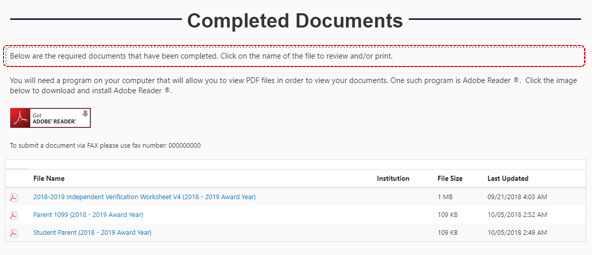
Note: The text box for the Completed Documents page has a character limit of 1000.
Form Center
The Form Center page duplicates the Student Portal Form Center Page. The user can edit the following item highlighted in red on the Form Center page:
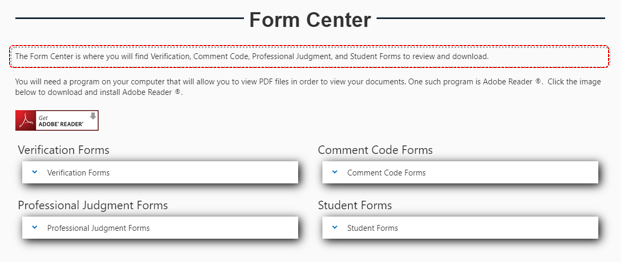
Note: The text box for the Form Center page has a character limit of 1000.
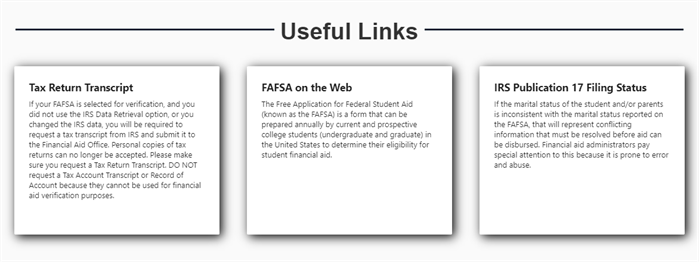
Useful Links
The Useful Links page duplicates the Student Portal Useful Links Page. Useful Links is managed from the Campus Administration menu.
No edits can be made to the Useful Links page in Verification Template Configuration.
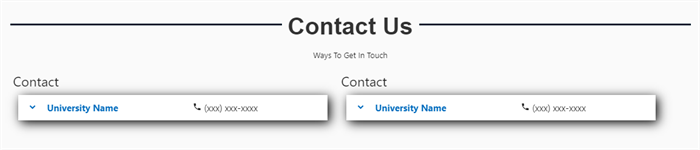
Contact Us
The Contact Us page duplicates the Student Portal Contact Us Page. Contact Us is managed from the Campus Administration menu.
No edits can be made to the Contact Us page in Verification Template Configuration.
Activate the Student Portal Template
After successful saving of a template, a user can associate the template to a single campus or multiple campuses. The associate of a template to a campus enables the context, layout changes, and color scheme to be visible in the Student Verification Student Portal.
-
A user can navigate to the Configuration Settings from the Student Portal Templates Configuration page, by selecting the
 icon.
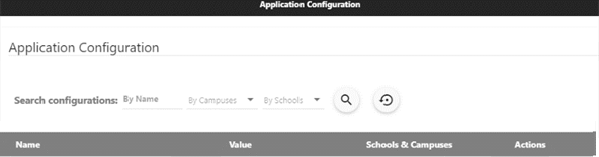
icon.This link navigates to the Application Configuration page (this page can be accessed from Site Administration > Application Configuration).
-
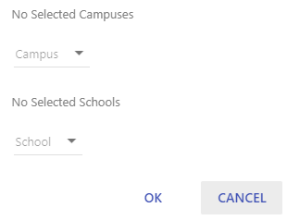
To activate a campus to a template, navigate to Student Portal Layout Template on the Application Configuration page. The default value for all campuses/locations is the General Template.

-
To configure a new template, select
 for a subset menu to appear.
-
Select the desired template and define schools and campuses to be associated to the new template.