The topic "Embed Web Chat in TPC Portal" is not available in Version 1.2.0
The topic "Embed Web Chat in TPC Portal" is not available in Version 1.1.0
Embed Web Chat in TPC Portal
When the Anthology Digital Assistant is deployed with Anthology Reach and the TPC Portal, clients can choose to embed the web chat widget in the TPC Portal pages instead of using the out-of-the-box Live Assist widget.
Prerequisites: You must have access to the TPC Portal website published in Azure.
-
Log in to <domain>/Sitefinity.
-
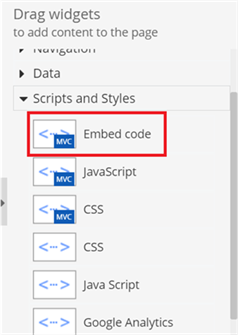
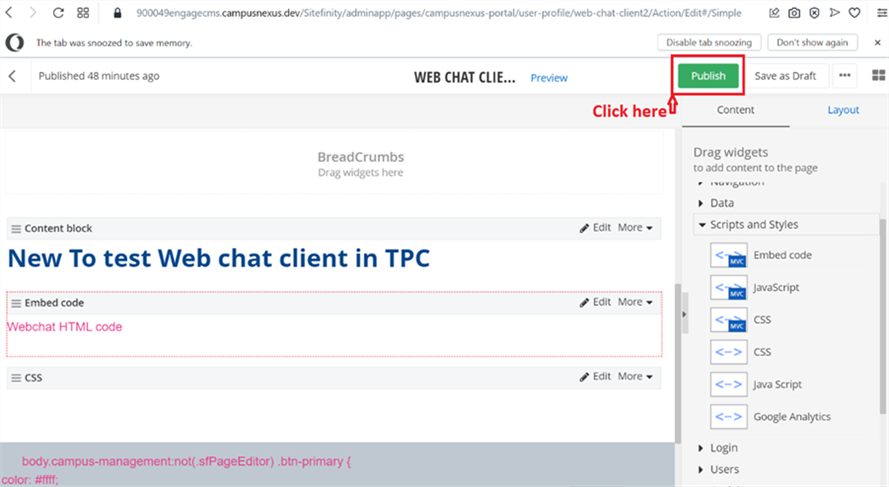
From the right-hand side panel under Script and Styles, drag and drop the Embed Code widget on the body of the page.
-
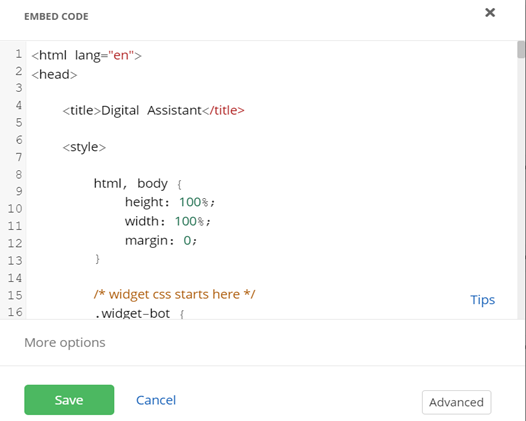
Click Edit button to open the Embed code widget in edit mode.

-
Go to GitHub at: https://github.com/anthology-inc/renee-integration-samples/tree/main/channels/webchat/src and download the Webchat-ui.html.
-
Copy and paste the entire Webchat-ui.html into a text editor (e.g., Notepad) and edit the following items:
-
Change the href (URL) for the all.min.css link by specifying the subdomain name for your instance of the TPC Portal and save your changes.
<link type="text/css" rel="stylesheet" href="https://<subdomain>.azurewebsites.net/ResourcePackages/DigitalAssistant/css/all.min.css" /> -
In the value field for iframe-src, paste the embed code that you received from Anthology and save your changes.
<input type="hidden" id="iframe-src" value="https://<subdomain>.campusnexus.cloud?t=11c5f444-ec19-4b6a-912f-772b2bd8171c"> -
Change the URLs and file names of the logo and images to customize the Digital Assistant and save your changes.
botAvatarImage: 'https://<subdomain>azurewebsites.net/ResourcePackages/DigitalAssistant/Images/Anthology Logo.jpg'
userAvatarImage: 'https://<subdomain>.azurewebsites.net/ResourcePackages/DigitalAssistant/Images/Visitor1.jpg',
-
-
Copy and paste the content of the text file into the Embed code widget (see step 3 above) and click Save.
-
Upload your custom images to the TPC Portal site using the following steps:
-
Log in to Sitefinity CMS.
-
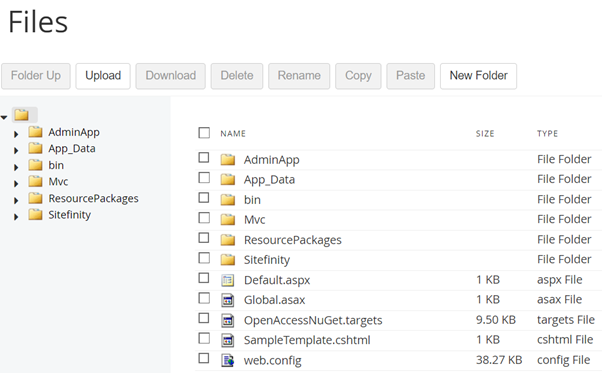
Go to Administrator > File Manager.
-
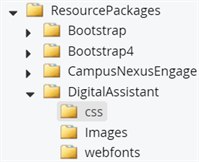
Click on the ResourcePackages > DigitalAssistant > Images folder.
-
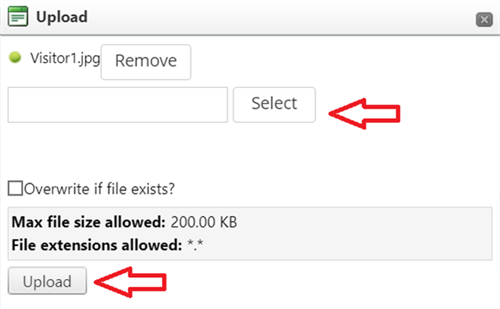
Select the Images folder and click the Upload button.

-
Click the Select button to locate a custom image and then click Upload.
For each custom image that you upload to the TPC Portal, you also need to update the files names in the webchat-ui.html.
In addition to images and logos, you can modify styles and labels in the widget. For more information, see Styles and Labels.
-
-
Click the Publish button on the upper-right side of the TPC login page.
Troubleshooting Tips
Widget Content Blocked
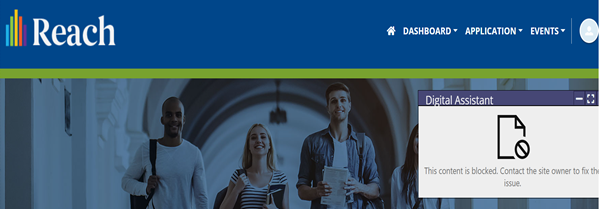
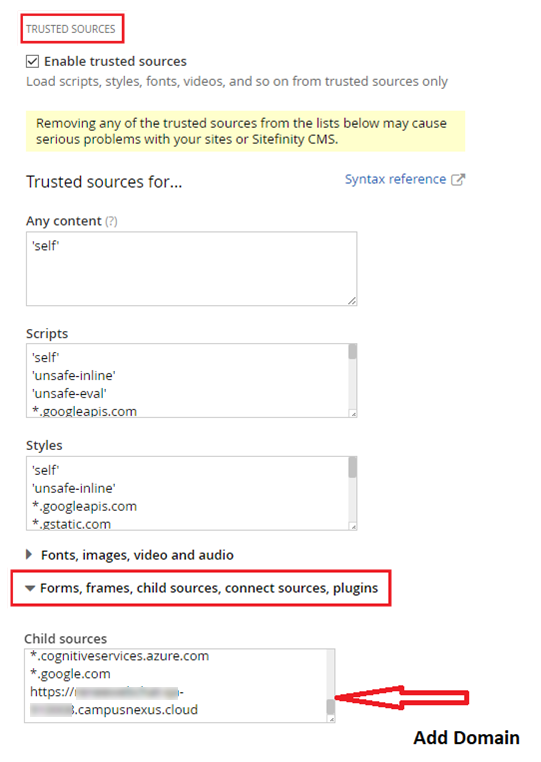
If the web chat widget is blocked on the TPC Portal page, ensure that the domain you added was put under “Child Sources”.
Follow the steps below to add the domain name:
-
Log in to Sitefinity CMS. Open your website and in the address bar of your browser, after the address of your website, enter /Sitefinity.
-
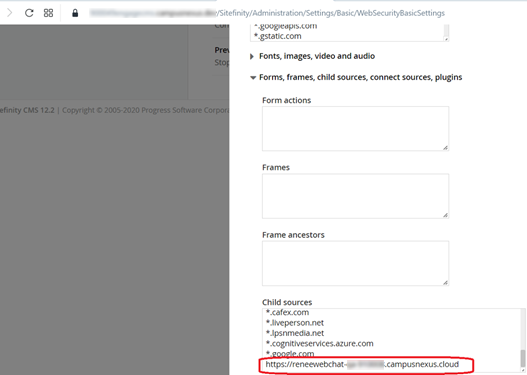
Go to Administrator > Settings > Web Security.
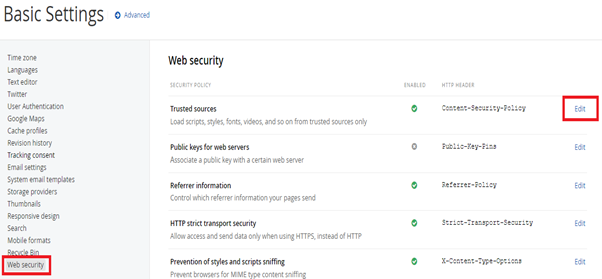
-
Expand Trusted sources by clicking on the Edit button.
-
On the Trusted sources page, expand Forms, frames, child sources, connect sources, plugins. Add the domain name under Child Sources.
Insufficient Window Height
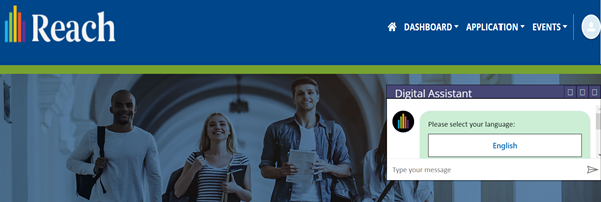
If the web chat window height is not sufficient to show all the content on the TPC Portal login page, locate the "reneeBotContainer" div in the Embed code widget (which contains the copied Webchat-ui.html) and specify an appropriate height in the style property.
