The topic "Bot Channels Registration" is not available in Version 1.0.0
Bot Channels Registration
The steps below need to be performed to register a bot with the Azure Bot Service. A bot, registered with Azure, uses channels to facilitate the communication with users.
The registration of bot channels in Azure will be completed by Anthology staff (DevOps Cloud Team).
Add a Bot Channels Registration
-
Log in to the Azure Portal (Anthology Tenant Azure Directory) and click the Home link.
-
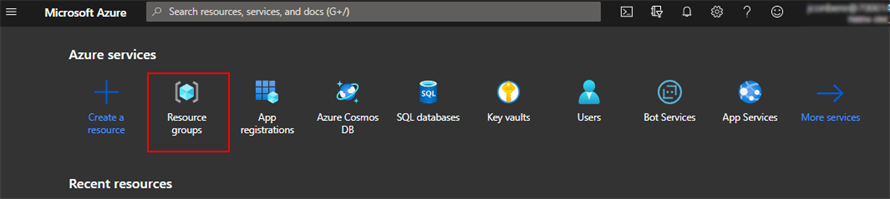
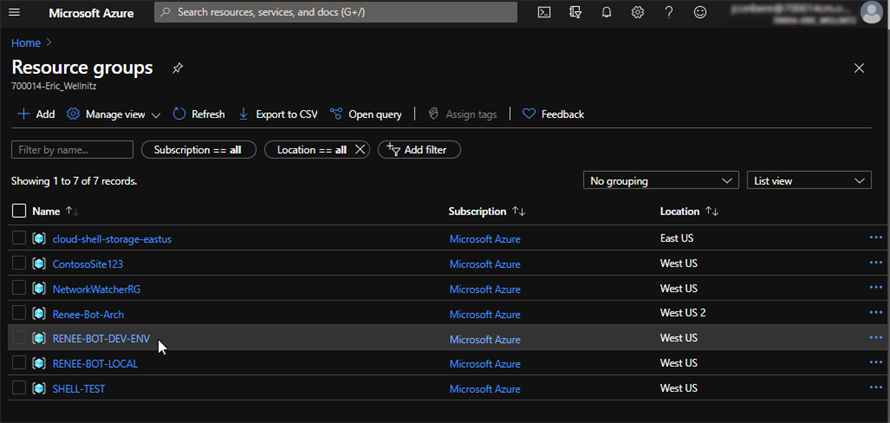
Select Resource groups.

-
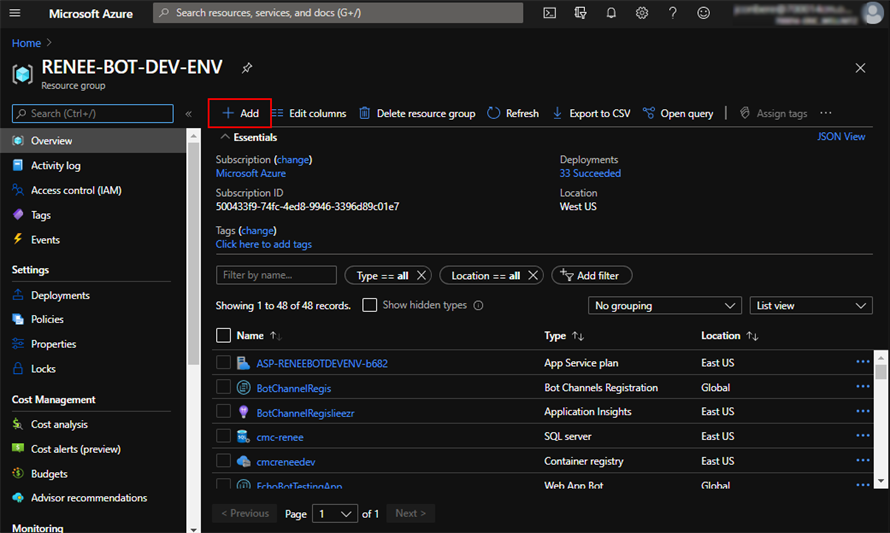
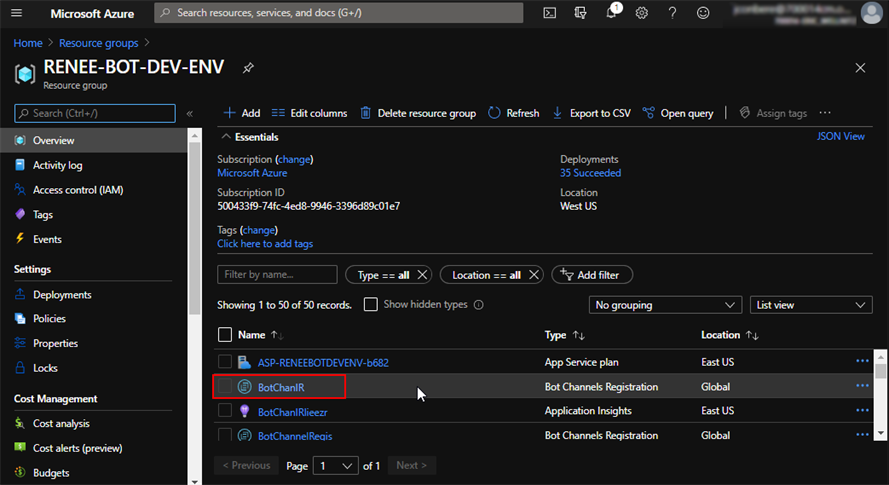
On the Resource groups page, select the resource group for the environment you want to configure. In our example the resource group is RENEE-BOT-DEV-ENV. When configuring the bot for clients, select an appropriate production environment.
-
To add a bot channels registration, click the Add button.
-
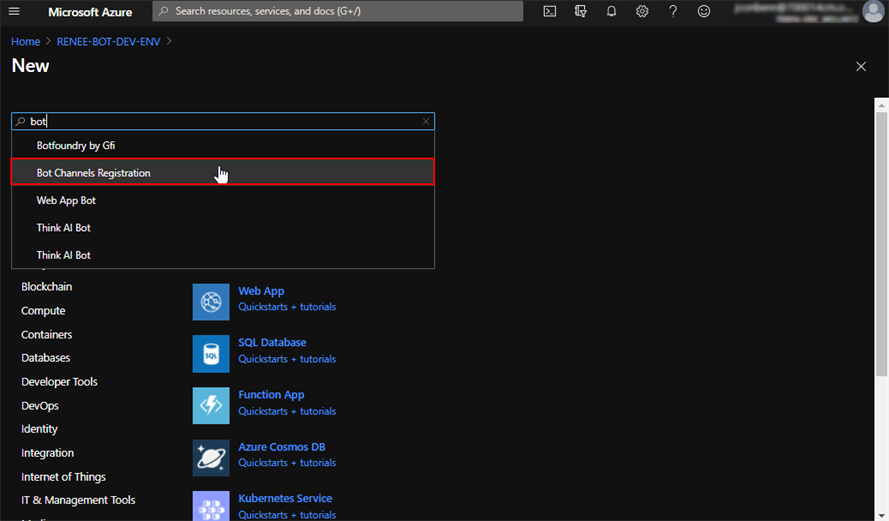
On the New page, use the Search tool and search for Bot Channels Registration.
-
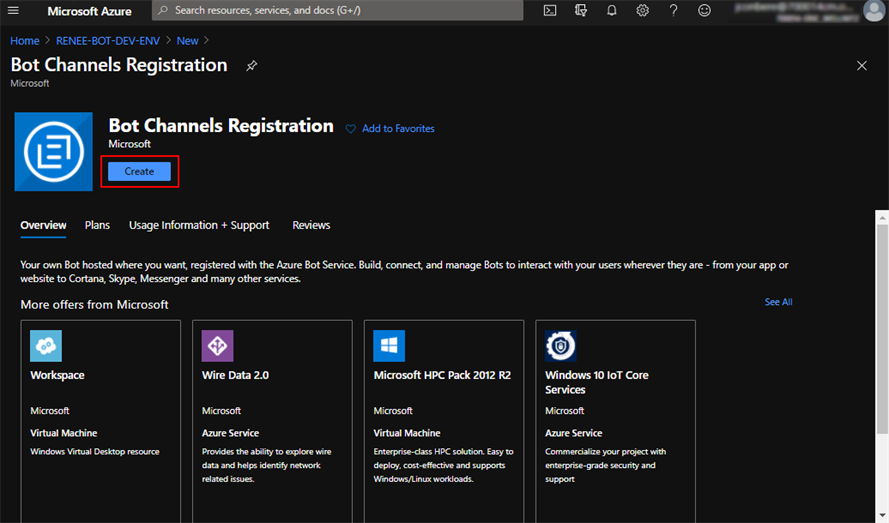
On the Bot Channels Registration page, click the Create button.
-
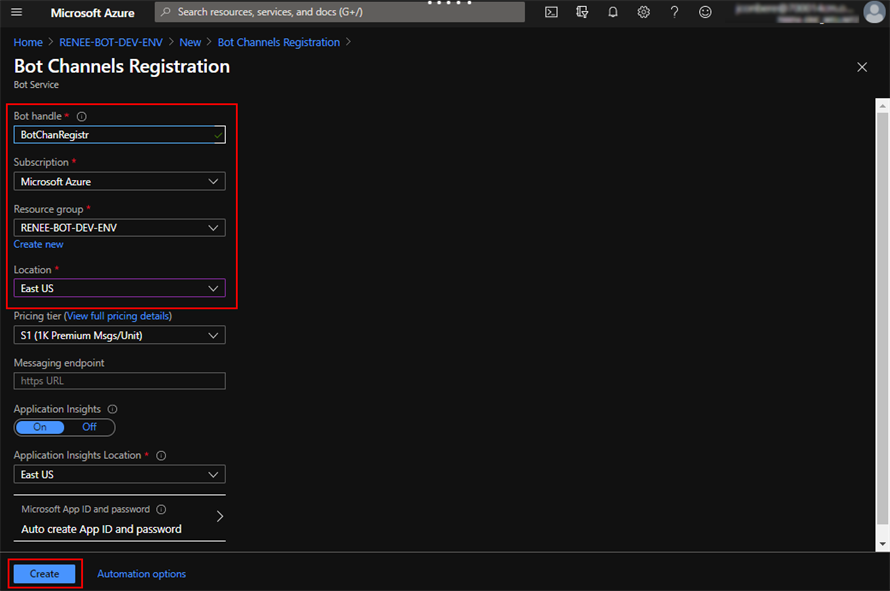
On the Bot Channels Registration details page, specify/select the following values.
Field Description Bot handle Specify a name/handle for the new bot channels registration. The naming convention is: <CustomerId>ReneeBotChannel-<env>
The <env> placeholder will be blank for the production environment.
Subscription Microsoft Azure Resource Group Select your resource group Location East US Accept the defaults for the remaining fields on this page.
-
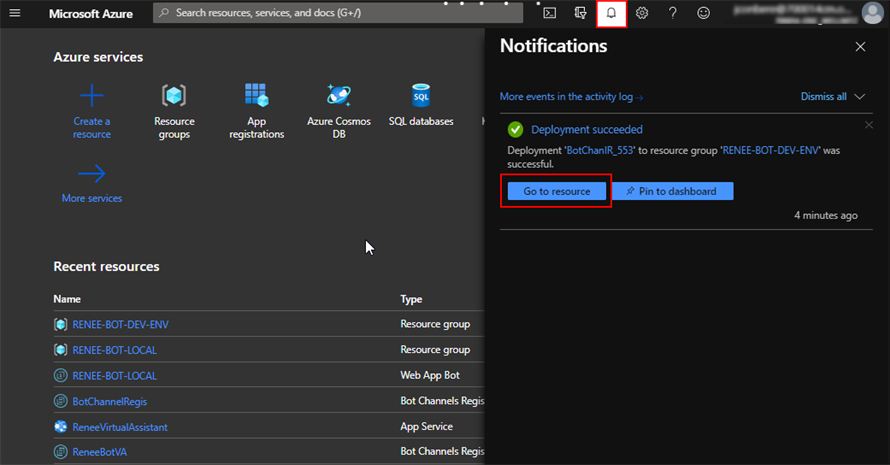
Click the Create button. The process of registering the new bot channels takes a few minutes. You will see a notification when the process is completed.
-
When the deployment process is completed, click the Go to Resource button.
-
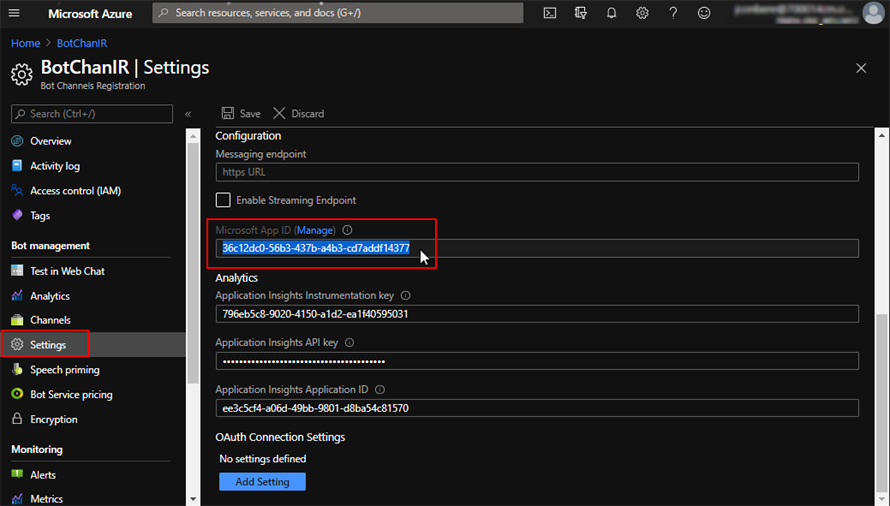
Select Settings under Bot management in the left pane and scroll down in the right-hand pane.
The Microsoft App ID will be the App ID value in the Internal Administration Portal for the particular tenant.
-
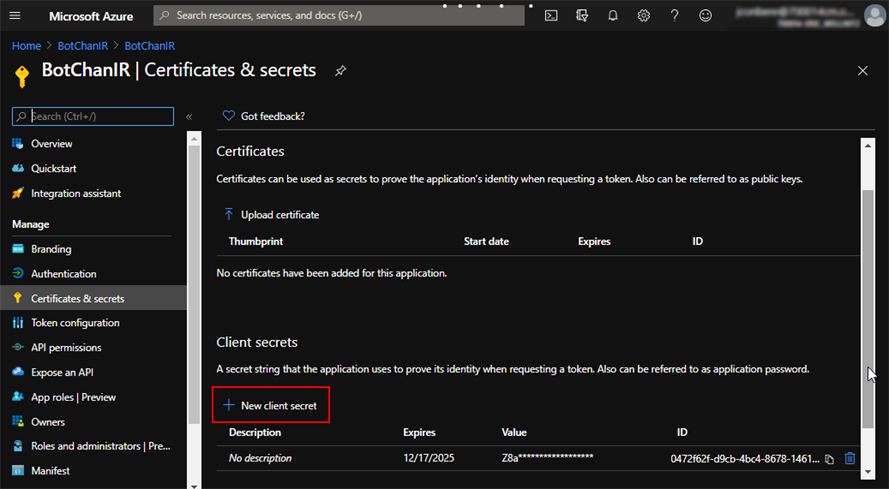
Click the Manage link next to Microsoft App ID to access the Certificates & secrets page and click the New client secret button.
-
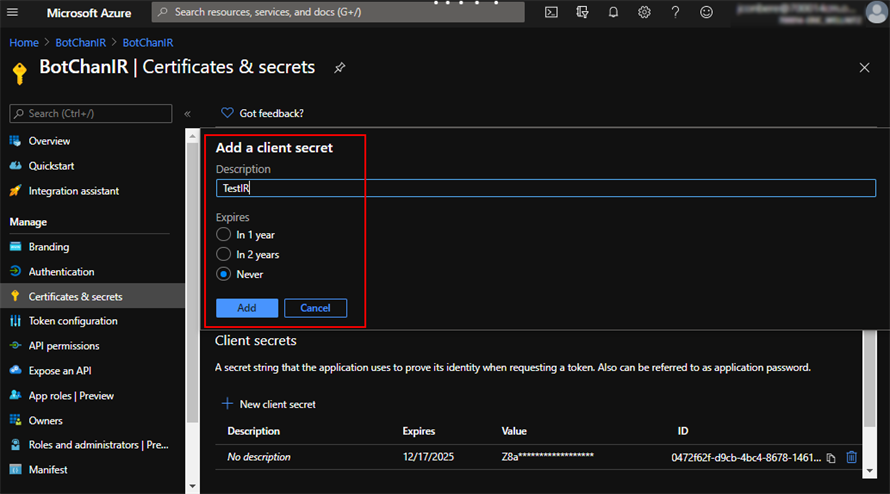
Specify a Description for the new secret, select an Expiration time, and click the Add button.
-
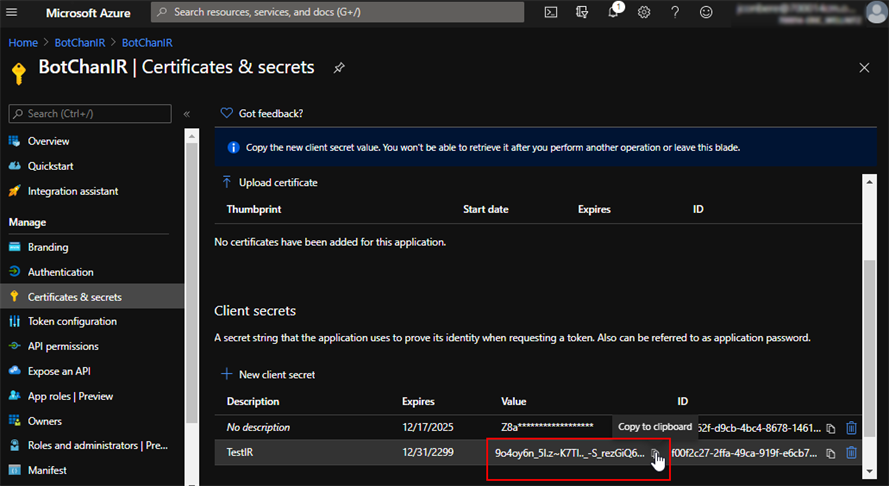
Once the secret is added, scroll to the Client secrets section and click the Copy to clipboard link on the Value field of the new secret.
The secret value can only be copied after the secret is first created. Subsequently, the value will be masked and can no longer be copied.
The client secret obtained on this page will be the App Password value in the Internal Administration Portal for the particular tenant.

Enter the App ID and App Password values obtained in the steps above in the Internal Administration Portal for the particular tenant. See Add Tenant in Internal Administration Portal.
Configure Messaging Endpoints
-
Open your Bot Channels Registration from the Bot Resource Group.
-
Select Settings under Bot management in the left pane.
-
Construct a messaging endpoint with the following format:
BotAppServiceUrl + /api/ + TenantID + /messagesWhere TenantId is the value specified in the Tenant ID field in the Internal Administration Portal.
Example
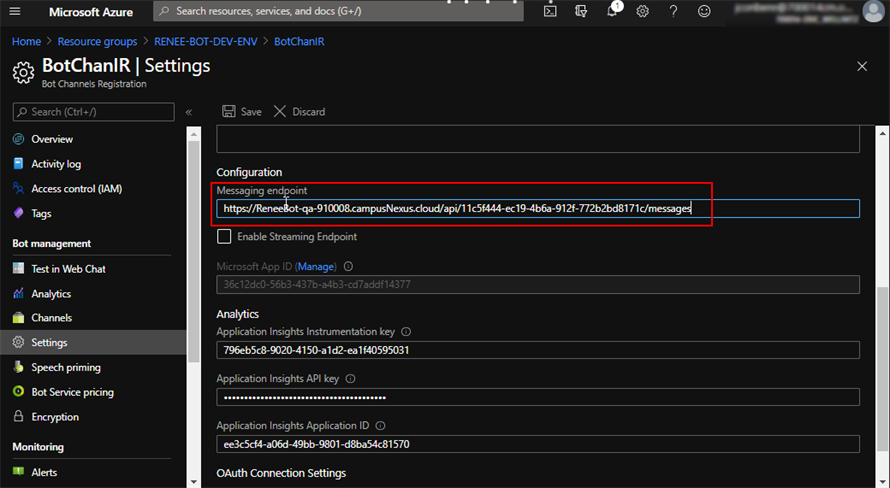
https://ReneeBot-qa-910008.campusNexus.cloud/api/11c5f444-ec19-4b6a-912f-772b2bd8171c/messagesSee Retrieve the Bot App Service Url for instructions on locating and copying the BotAppServiceUrl value.
-
Scroll down to the Configuration area in the left pane of the Settings page and add the constructed messaging endpoint in the Messaging endpoint field.
-
Save the configuration.

Create Channels from the Bot Channels Registration
-
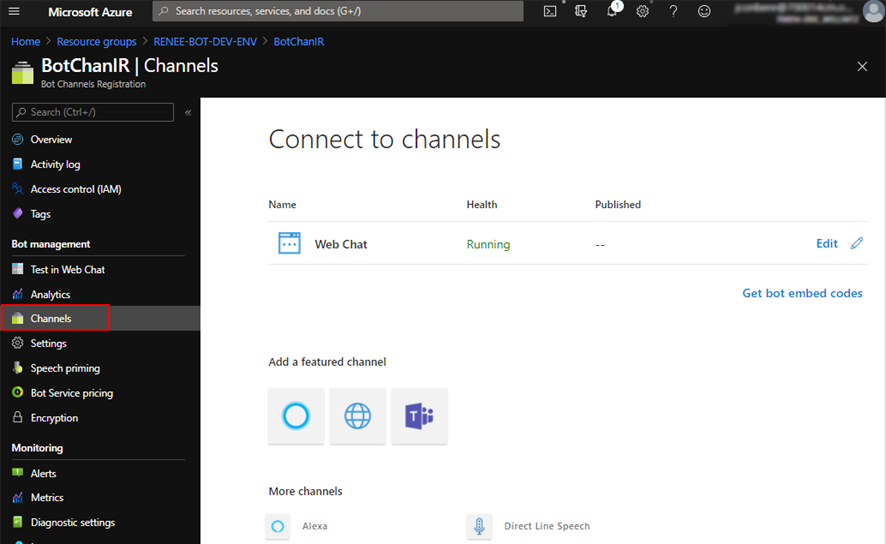
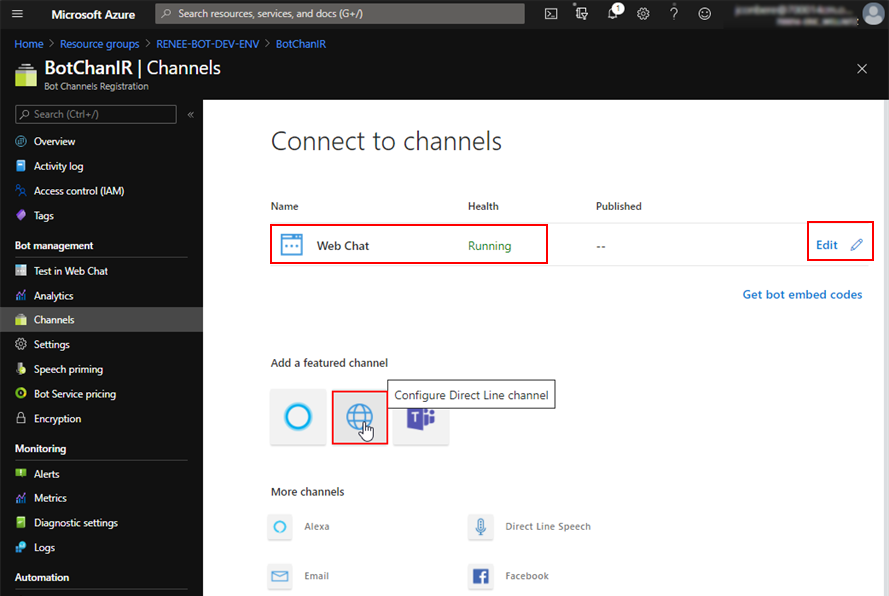
Select Channels under Bot Management in the left pane.
-
To configure a channel, click the appropriate icon. Direct Line Channel configuration is located under featured channels.
The steps of creating a Direct Line channel site, retrieving the connection key and pasting it into the Live Assist Administration Portal are described here: Create Channels and Sites, steps 7-11.
Other channel types will be supported in future releases of Digital Assistant.
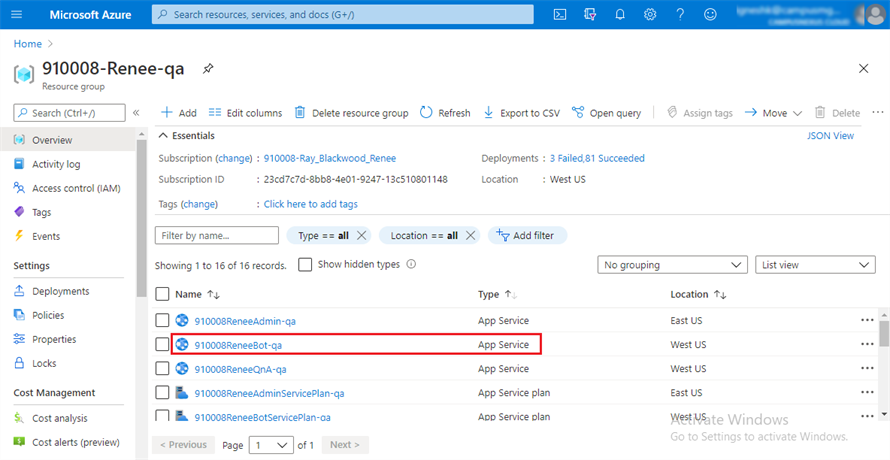
Retrieve the Bot App Service Url
-
Access the Bot App Service link from the Resource Group. Sort the Type column in ascending order to find your App Service.
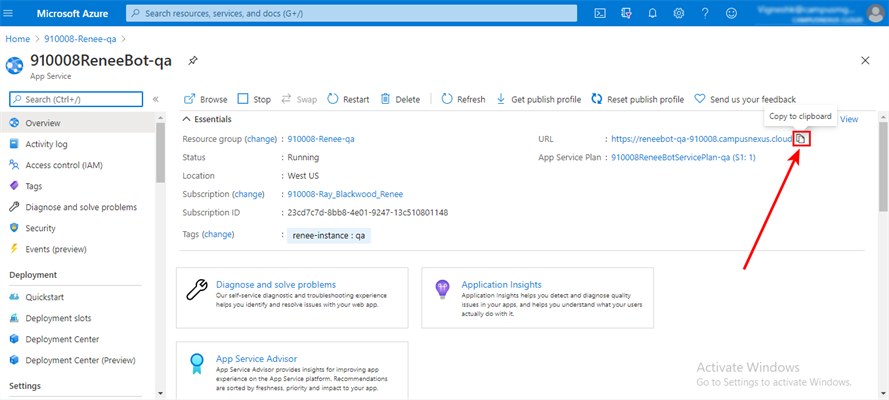
-
Click the Copy to clipboard icon for the Bot App Service URL.