Automated Awarding Fund Source Rules
Use the tabs on the Automated Awarding Fund Source Rules page to define properties and rules that control the auto-awarding process in Anthology Student.
Every fund source must have a rule. A rule can be as simple as “ISIR must be on file”, but there must be a rule. Anthology Student will not auto-award funds if there is no rule. Rules also enable the system to run more efficiently.
Prerequisites
You must have:
-
Common - Configuration - View authorization
-
Financial Aid Automation - Configuration - Automated Awarding Fund Source Rules - Calculated Fields - Delete, Edit, New, and View authorization
-
Financial Aid Automation - Configuration - Automated Awarding Fund Source Rules - Conditional Templates - Delete, Edit, New, and View authorization
-
Financial Aid Automation - Configuration - Automated Awarding Fund Source Rules - Edit and View authorization
Access Method
Select the Configuration tile > expand Financial Aid > select Automated Awarding Fund Source Rules.
Procedure to Configure Automated Awarding Fund Source Rules
Fund Source Rules Tab
Use the Fund Source Rules tab to specify the campus selection criteria and configure Awarding Rules, Eligibility Rules, and Award Limits per fund source.
-
Select one or more campuses in the Campuses field.
Fund sources for the default campus are loaded automatically based on the campus you are logged in from.
-
Select the Apply Filters button. The grid is populated with the fund source records for the selected campus(es).
Select Clear Filters to reset the selection criteria.
-
Review the data in the grid. The fund sources are sorted by Awarding Priority in ascending order starting with priority 1. Fund sources with priority 0 are listed at the bottom of the grid.
Crossover Payment Period by Award Year 2

Non Term Payment Period Enrollment Allocation
Term Payment Period Enrollment Allocation
Best Practice for Rounding Configuration:
The system does allow administrators to configure disbursement amounts in exact pennies using the following features:
-
Alternative Disbursement Schedule (refer to Award Limit Rule Tab > Alternative Disbursement Schedule Sub-Tab)
-
Auto Repackaging using the Term Payment Period Enrollment Allocation
option (refer to Configure Fund Source Repackaging Enrollment Range Allocation)
However, in both cases, when Rounding Disbursements to Whole Dollars
is selected in the Automated Awarding Fund Source Rule grid, standard rounding will be applied to the decimal value. Therefore, it is best practice to configure only whole-dollar disbursements if the institution wants whole-dollar disbursement amounts.The system updates only the newly awarded funds and funds in Estimated status to be Approved when the "Auto Approve" column is enabled for that fund source. The system will never change the fund source status from Approved to Estimated when the "Auto Approve" column is disabled for the fund source.
The items displayed on the page depend on whether the following advanced feature is enabled (refer to Advanced Features):
-
Enable Advanced Auto Packaging
Read details.
For more details, refer to General Auto Repackaging Rules
-
-
To create or edit automated awarding rules, select the link in the Fund Source column. The workspace for creating fund source rules is displayed. Continue with the Rules Workspace topic.
-
To configure specific enrollment ranges for a Standard Term or a Non-Standard Term based on credit hours (utilizing an assigned percentage or dollar range) that adjusts paid or scheduled disbursements during the Auto Repackaging process, select the link displayed in the Term Payment Period Enrollment Allocation or Non Term Payment Period Enrollment Allocation column (refer to Fund Source Repackaging Enrollment Range Allocation).
A Program Versions field is available for both allocations. The default for this field is "All Program Versions". Configuring this field enables you to select a specific program version and set it against an enrollment allocation for that fund source.
The allocation for a fund source can be configured up to two decimals. The lowest range is 0.01 while the highest range is 9999.99 and the system includes ranges to the exact decimal.
The enrollment allocation will only be awarded for the fund sources Other Need-based Loan and Other Non-need-based Loan by the low/high credit configuration when awarding the fund for the first time.
Continue with Fund Source Repackaging Enrollment Range Allocation.
When Auto Repackage is enabled and the Repackage Method is Simulation, the Term/Non Term Payment Period Enrollment Allocation can be configured for all fund sources except:
- Pell grant
- TEACH grant
- Direct loans (Direct Subsidized Loan, Direct Unsubsidized Loan, Direct Parent PLUS Loan, Direct Graduate PLUS Loan, HEAL)
- Federal Stafford Loan (Subsidized, Unsubsidized, PLUS)
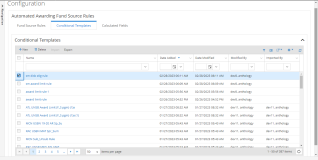
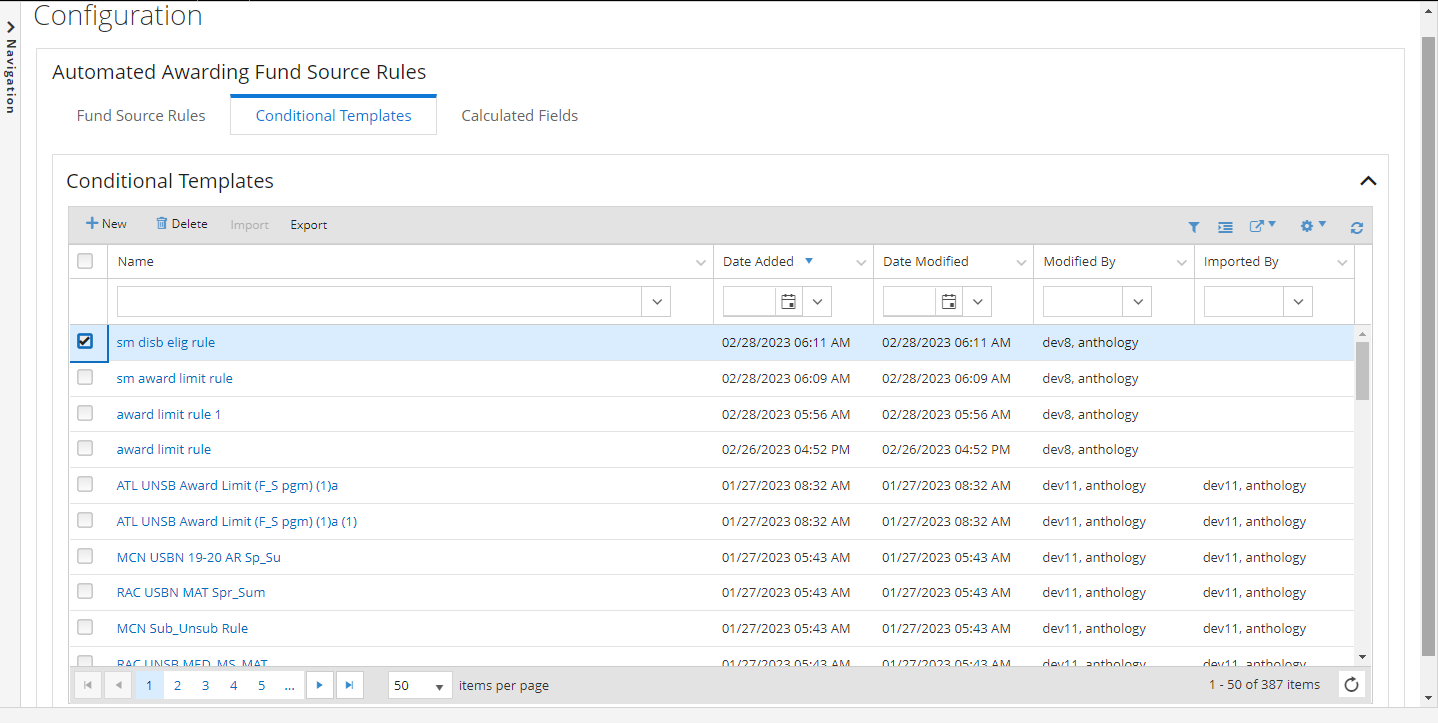
Conditional Templates Tab
Use the Conditional Templates tab to create and edit conditions that can be re-used when building auto-awarding rules for different fund sources. Saved templates are added to the Conditional Templates section below Condition Builders in the left pane of the rules workspace. Conditional templates contain only rules (no amounts).
-
Review the list of existing Conditional Templates in the grid.
-
To create a template, select New in the grid toolbar. The New Conditional Template workspace is displayed.
The workspace allows you to build rules by dragging and dropping Database Fields, Calculated Fields, and Condition Builders into the canvas. For more details, refer to Rules Workspace.
-
To view the details of an existing template, select the link in the Name column. The Edit Conditional Template workspace is displayed.
Example
-
Select Cancel to close the New/Edit Conditional Template form.
-
To delete a conditional template (or multiple templates), select the record(s) in the grid and select Delete in the grid toolbar.
-
To Import conditional templates, ensure there are no templates currently selected within the grid. Select Import in the grid toolbar to open the Import Conditional Templates pop-up.
Select Browse, select the desired template file(s) (only XML files are presented), and select Import.
If you import a conditional template with the same name as an existing conditional template, a message is displayed prompting you to rename the file ("Conditional Template currently exists with the file name selected. Please rename the imported file and try again." .)
-
To Export a configured conditional template(s) as an XML file to your browser's default download location, select the record(s) from the grid and select Export in the grid toolbar. If the local default folder contains a file with the same name, you will be prompted to rename the new files.
-
If you want to save and:
-
Continue making changes, select the Save button
-
Close, select the Save & Close button
Calculated Fields Tab
When you need to create a rule that cannot be built using the available Database Fields, you can create calculated fields. To do so, you must be familiar with VB.NET coding.
Calculated fields enable you to extend the rules engine and simplify fund source rules by re-using calculated values for dollar amounts or other conditions. Calculated fields are mostly used for state or institution-specific awarding rules.
-
Review the list of existing calculated fields in the grid.
-
To create a calculated field, select New in the grid toolbar. The New Calculated Field workspace is displayed.
-
Specify a Name for the field.
-
Select the Return Type. The options are:
- Int32
- String
- Boolean
- DateTime
- Decimal
- Double
- Single
-
Select the View Generated Source Code check box to view or copy and paste the generated code for your calculated field definition.
-
Build the code for your calculated field as needed, e.g., define variables, specify calculations using Database Fields, create IF/ELSE statements, etc.
-
-
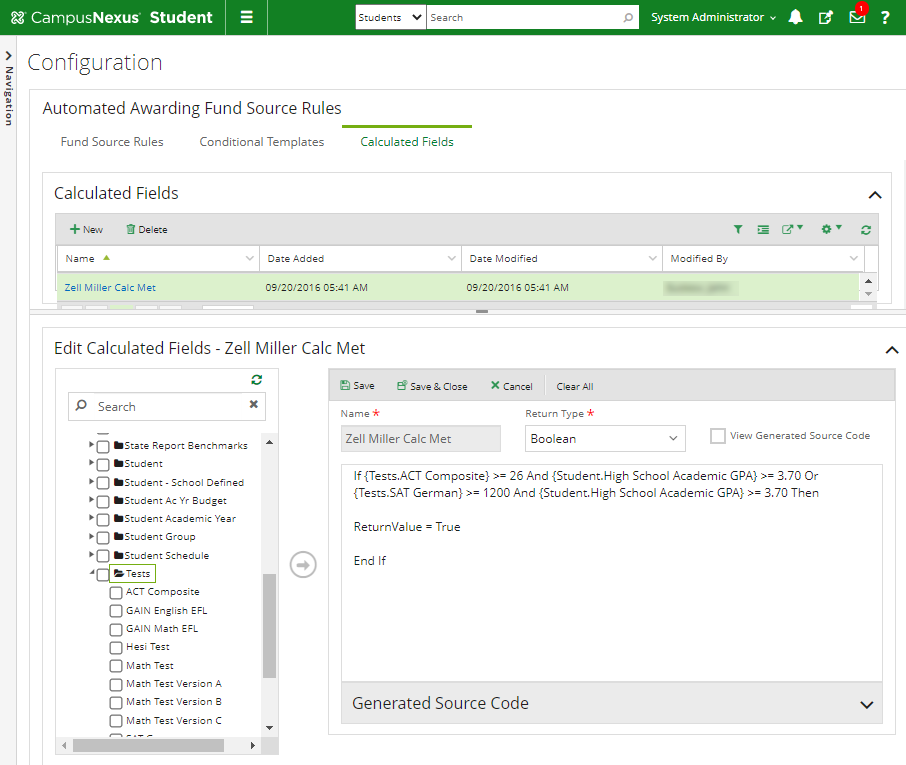
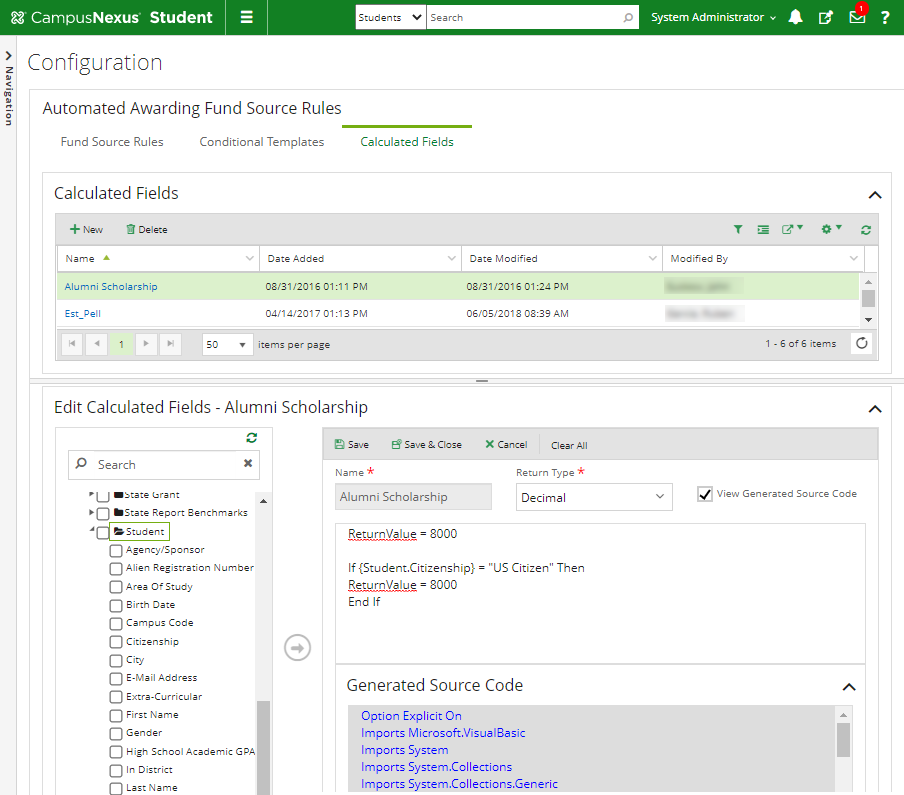
To view the details of an existing calculated field, select the link in the Name column. Edit Calculated Fields workspace is displayed.
Example 1: The calculated field returns a Boolean value (True) the student has a specific GPA and score in the ACT Composite test or German SAT.
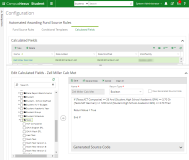
Example 2: The calculated field returns a decimal value (8,000.00) if Student.Citizenship = "US Citizen". In this example, the View Generated Source Code option is selected.

-
To close the New/Edit Calculated Field form, select Cancel.
-
To delete a calculated field, select the record in the grid and select Delete in the grid toolbar.
-
If you want to save and:
-
Continue making changes, select the Save button
-
Close, select the Save & Close button
The system adds the saved calculated field to the Calculated Fields grid and the Calculated Fields section in the left pane of the rules workspace.
You can now insert the calculated field into any awarding rules as needed.
Note: When you configure Awarding Eligibility Rules, Disbursement Eligibility Rules, and/or Award Limit Rules for a fund by adding a new rule without a condition builder, the system automatically adds the database fields to the bottom of the rules. The database fields are only placed below the existing highlighted rule when you select an existing rule.