Create a Second Transactional Publication (with Snapshot)
To create a second Publication in the Anthology Student database, do the following.
Note: This publication will be used in the case of a Anthology Student database upgrade, wherein any new tables created as part of the upgrade will be added to this second publication such that the replication snapshot is generated and replicated to the subscriber.
-
Launch Microsoft SQL Server Management Studio (SSMS) and connect to the SQL Server instance (referred to as the Publisher) containing the Anthology Student (Publisher) database that you wish to replicate to another SQL Server Instance.
-
Execute the script below on the Anthology Student (Publisher) database to create a sql table that will be used for the purpose of the second Transactional Publication.
IF NOT EXISTS ( SELECT 'true' FROM sys.tables WHERE object_id = object_id('dbo.SyReplTableForSnaphotReplicationWork') ) BEGIN CREATE TABLE dbo.SyReplTableForSnaphotReplicationWork ( SyReplTableForSnaphotReplicationWorkId INT NOT NULL CONSTRAINT PK_SyReplTableForSnaphotReplicationWork PRIMARY KEY CLUSTERED ,DateAdded DATETIME NOT NULL CONSTRAINT Def_SyReplTableForSnaphotReplicationWork_DateAdded DEFAULT getdate() ,ts ROWVERSION NOT NULL ) ON [PRIMARY]; PRINT 'DDL: Table SyReplTableForSnaphotReplicationWork Successfully created.'; END ELSE PRINT 'DDL: Table SyReplTableForSnaphotReplicationWork already exists.'; -
In the Object Explorer, select the (+) sign to expand the Replication folder, right-click on the Local Publications folder, and select New Publication.

-
On the starting page of the New Publication wizard, select Next.
-
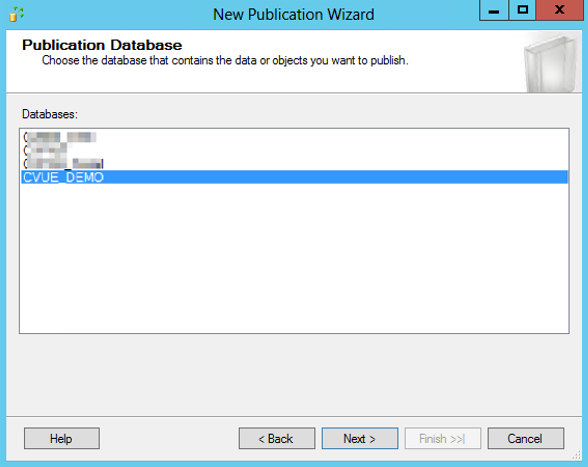
On the Publication Database page, select the Anthology Student database to be replicated (referred to as the Publication Database), and select Next.
-
On the Publication Type page, select Transactional publication, and select Next.

-
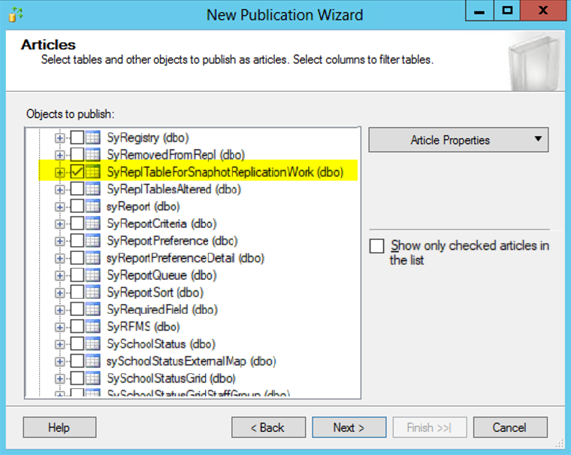
On the Articles page, select the check box for the SyReplTableForSnaphotReplicationWork (dbo) table under the list of tables in the database, and select Next.
-
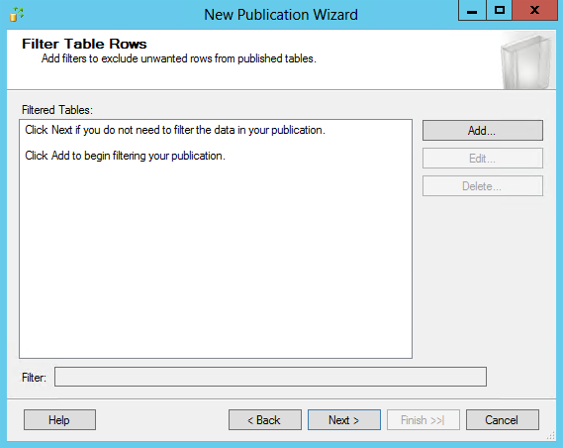
On the Filter Table Rows page, select Next. Row filtering will not be added to the Publication.
-
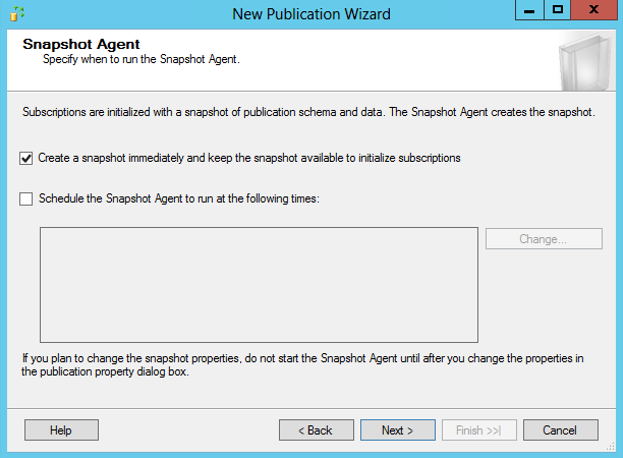
On the Snapshot Agent page, select the check box Create a snapshot immediately..., and select Next.
-
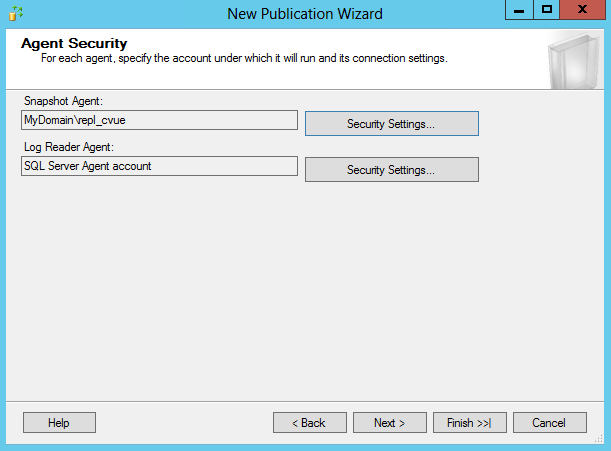
On the Agent Security page, select Security Settings to launch the Snapshot Agent Security page.
-
On the Snapshot Agent Security page, select the first option Run under the following Windows account to run the Snapshot Agent using a Windows account.
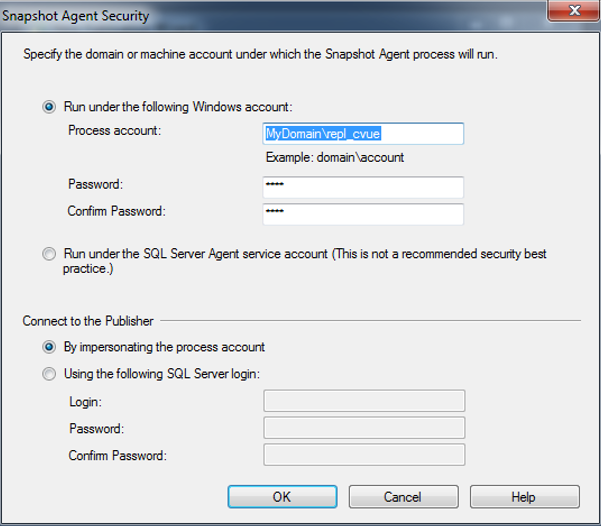
In the Process account field, type a Windows user account under which the security agents will run. Then, type and confirm the password for the Windows user, and select OK.
Notes:
-
For more information about the permissions that are required for the Log Reader Agent, refer to the Replication Agent Security Model section in SQL Server Books Online.
-
The Windows user name and password are not validated in this wizard. Any issues, such as insufficient permissions, will occur only after the Publication is created and the Log Reader Agent runs and tries to replicate the changes.
-
-
On the Agent Security page, select Security Settings to launch the Log Reader Agent Security page.
Specify the same settings for the Log Reader Agent like in Step 11, and select Next.
-
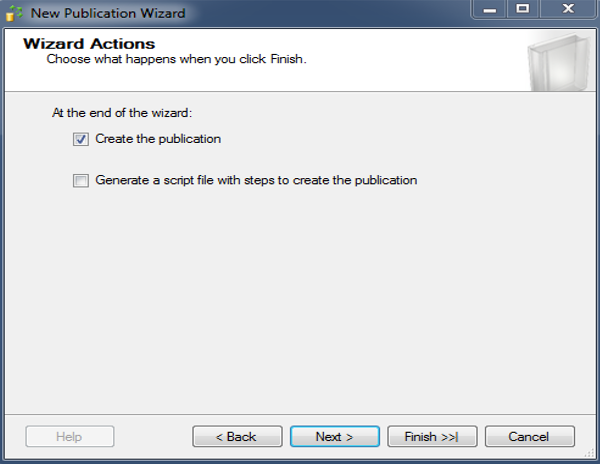
On the Wizard Actions page, select the Create the publication check box, and select Next.
-
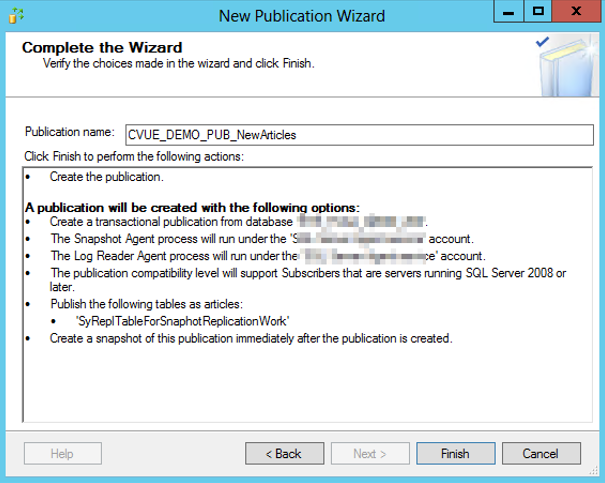
On the Complete the Wizard page, type the name of the Anthology Student database for the Publication.
-
Verify the displayed actions. Select Back to change the settings if needed.
-
Select Finish.
-
On the Creating Publication page, wait until the wizard finishes, and select Close.