The topic "QnA Maker" is not available in Version 1.0.0
QnA Maker
QnA Maker allows you to create a natural conversational layer that will be used to find the most appropriate answer for any input from your custom knowledge base (KB) of information. For an overview of the QnA Maker, please review the documentation at https://docs.microsoft.com/en-us/azure/cognitive-services/qnamaker/.
Once you have a good understanding of QnA Maker, proceed with creating a QnA Maker resource in Azure Portal.
Create QnA Maker Resources in Azure
-
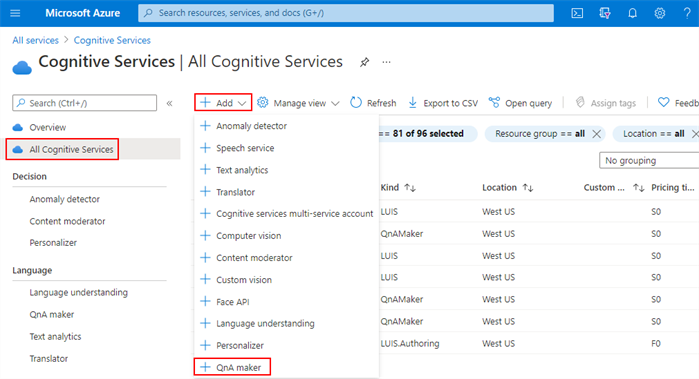
Log in to the Azure Portal and select Cognitive Services on the home page.
-
In the menu on the left, select All Cognitive Services, click Add, and select QnA Maker.

— OR —
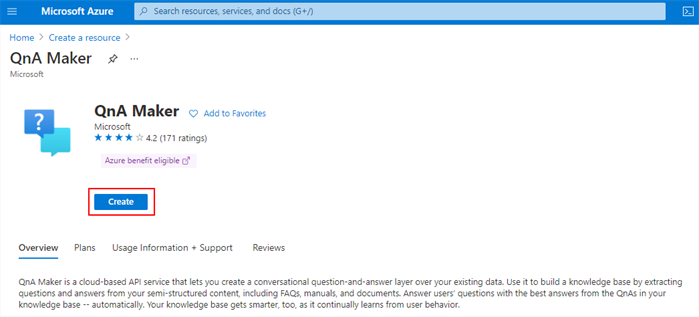
Select Create a resource on the Home page and enter QnA Maker in the search field.
-
Click Create to create a resource for QnA Maker.
-
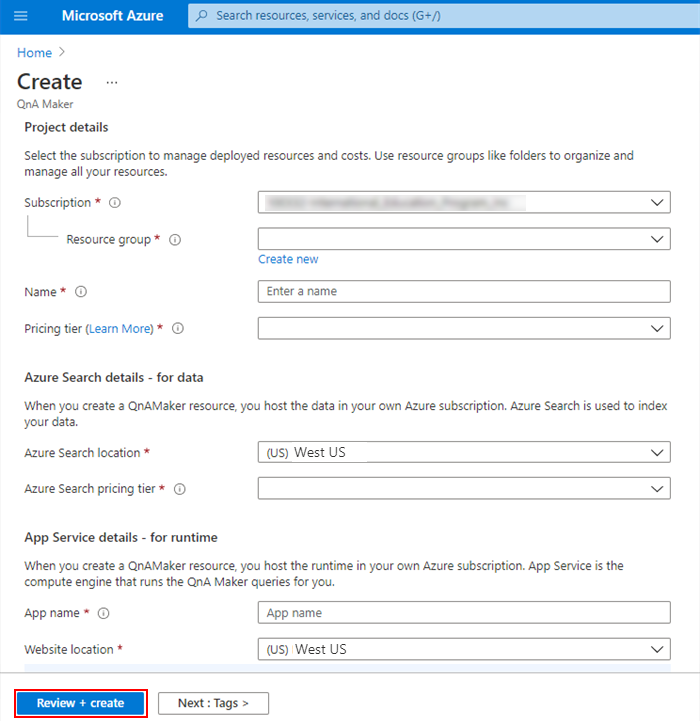
Populate the fields on the Create QnA Maker page and click Review + create.
-
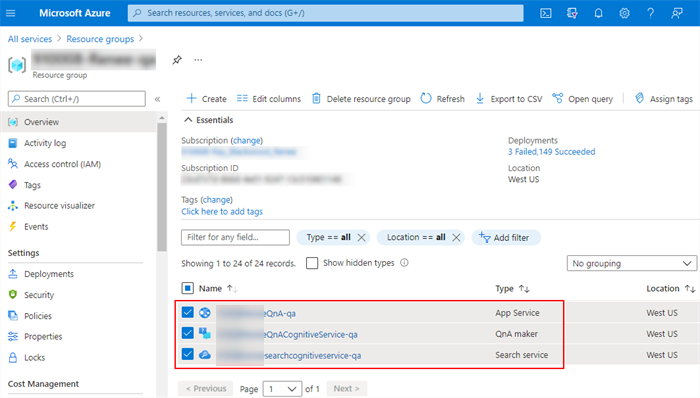
On successful creation of the QnA Maker resource, the following Azure services are made available:
- QnA Maker (Cognitive service)
- Search service
- App service
You can locate these services under the Resource group provided on the Create page above.
-
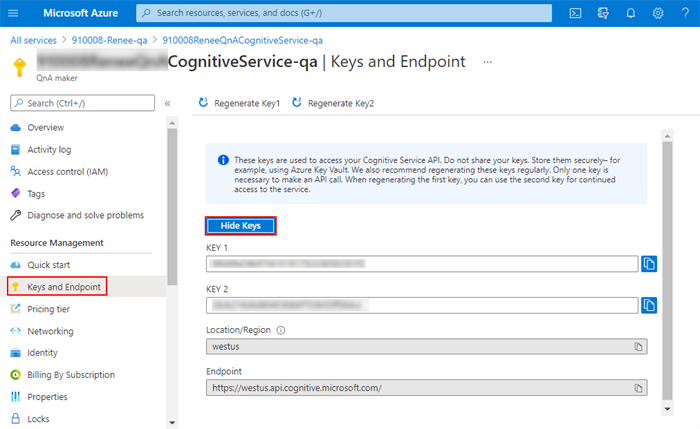
Select the QnA Maker service type, select Keys and Endpoint under Resource Management in the left menu, and click Show Keys.
-
Copy either key and paste it into subscriptionKey field in the AppSettings.json file.
Create a Knowledge Base in QnA Maker
Please see Quickstart: Create, train, and publish your QnA Maker knowledge base at https://docs.microsoft.com/en-us/azure/cognitive-services/QnAMaker/Quickstarts/create-publish-knowledge-base?tabs=v1
-
Once you have created the QnA Maker resources in the Azure Portal, sign in to https://www.qnamaker.ai/ using your Azure credentials.
-
To create a new knowledge base, select Create a knowledge base and follow the steps on the page.
-
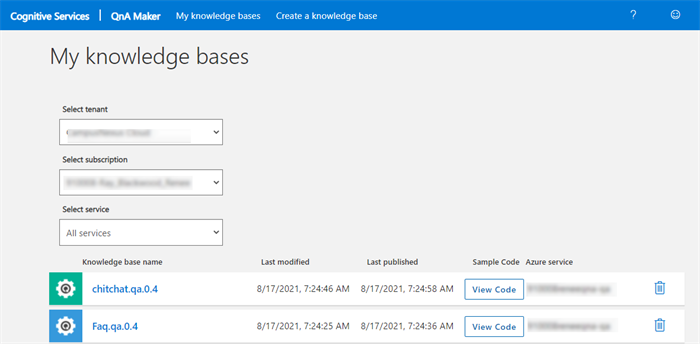
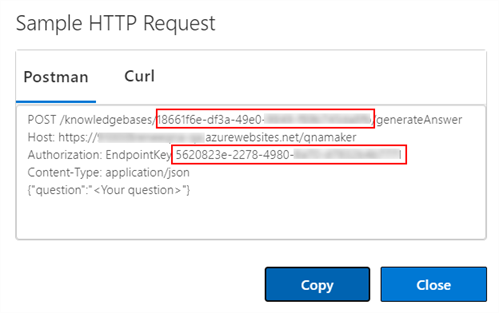
If you have already created a knowledge base, select it on the My knowledge bases page and click the View Code button.
The code view displays the kbId and endpointKey values you need provide in the AppSettings.json file.