After you have downloaded the CampusNexus CRM using Package Manager, the Start screen of Installation Manager displays a tile for the downloaded patch. The patch tile links to the Configure Patch screen used to specify patch installation settings.
-
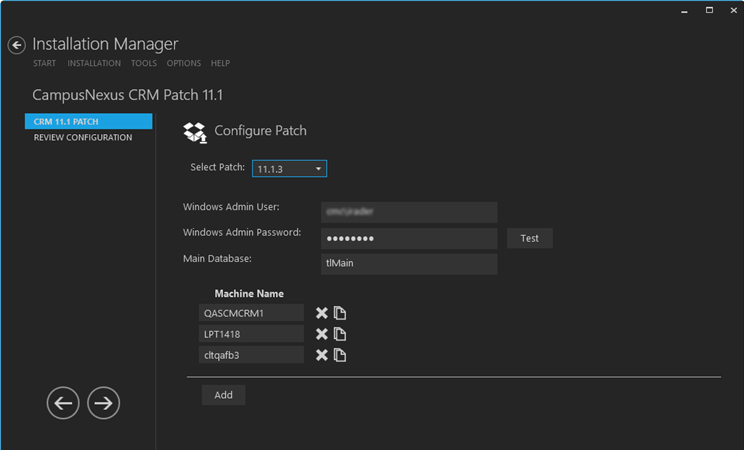
In the Start screen of Installation Manager, click the CampusNexus CRM Patch <Version> tile. The Configure Patch screen is displayed.

-
From the Select Patch list, choose the patch version.
-
In the Windows Admin User field, specify a user name with Administrator permissions on the computer on which the installation will occur, as well as the local machine. Depending on your network environment, specify one of the following:
- User name
- Domain\User name
- Email address of Admin User
-
In the Windows Admin Password field, specify the password for the Administrator user name. This password is used in the background for other installation steps.
-
In the Main Database field, specify the name of the Main Database.
Note: The Machine Name fields on this form are populated with information entered in a previous installation.
-
Click Add to add a line to the Settings screen.
-
Enter the Machine Name for the component to be installed.
-
Click
 to copy a line. Edit the copied line as needed.
 -
Click
 to delete a selected line.
 -
Click Review Configuration.