DocuSign Settings
When Forms Builder is installed, it is installed without an account for DocuSign. Customers can create a free developer account (sandbox) for test purposes at the following URLs: https://go.docusign.com/o/sandbox/ or https://www.docusign.com/developer-center.
Sandbox accounts operate in a DocuSign demo environment, which is identical to production except that documents sent through demo are not legally binding and have test stamps on them. Sandbox accounts do not expire and have enterprise level features enabled by default that allow you to test all scenarios before going live.
Customers wishing to integrate with DocuSign need to obtain their own licensing information with DocuSign to use in a live environment. Additionally, other required OAuth framework settings need to be updated in the Properties pane of the Settings screen.
Important: Do not use your live account credentials in test mode.
Setting up Forms Builder for DocuSign
Perform the following steps in a new implementation and in an upgrade scenario.
-
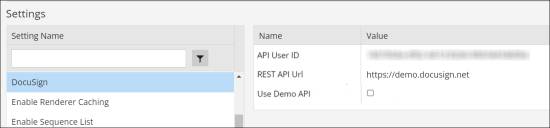
On the Forms Builder home page, click the Settings tile and select DocuSign in the Settings pane. The Properties pane is populated with DocuSign properties.
-
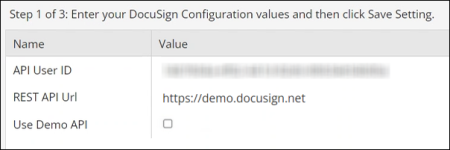
In Step 1 of 3, update the following fields in the Properties pane:
DocuSign Properties
Name Value API User ID Log on to DocuSign at https://admin.docusign.com/, and on the Apps and Keys page in DocuSign (Settings > Apps and keys), navigate to your account and click  to copy the User ID value.
Paste the copied value into this field.
Rest API Url https://demo.docusign.net This the default DocuSign URL that can be used in a demo environment.
Alternatively, in a production environment, on the Apps and Keys page in DocuSign (Settings > Apps and keys), navigate to your account and click
to copy the Account Base URI value. 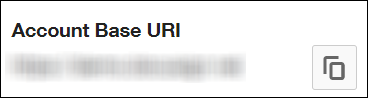
The DocuSign e-Signature REST API lets you e-sign documents, request signatures, and automate your forms and data.
This URL may vary based upon the region of your account. Customers can contact their DocuSign representative if they are not sure about the base URL for their account. The following link from DocuSign help provides different options: https://docs.docusign.com/.
Note: In an upgrade scenario, note the value of the Rest API URL from the previous version. Copy its value into this field in version 4.1.Use Demo API
By default, this check box is cleared which means production integration APIs will be saved in the database. Select the check box to use demo integration APIs. -
Click Save Setting.
After the page is refreshed, click DocuSign Settings in the left pane to view Step 2.
-
In Step 2 of 3, the Use Demo API field will be hidden and other fields will no longer be editable as their values were saved in the previous step.
Click Start Consent.
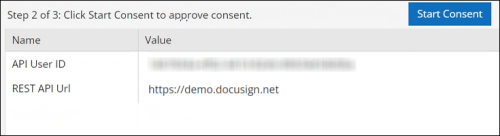
The API User ID specified above will be consumed to impersonate the user logged on to DocuSign. You will be redirected to DocuSign to enable consent. When consent is obtained, focus will return to Forms Builder.
Click DocuSign Settings in the left pane to view step 3.
-
In Step 3 of 3, click Verify to complete the integration process with DocuSign.
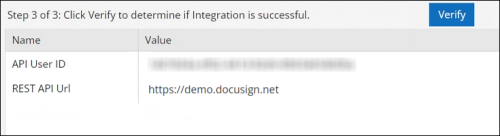
In the background, the value of the Account ID will be fetched from DocuSign and stored in Forms Builder.
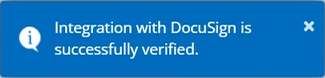
Once integration with DocuSign is successful, the following message will be displayed:
-
Specify the DocuSign Error Message Text in the Settings panel.
Note: Click
 to clear saved integration settings. For example, administrators can clear configurations of a demo account and then type information specific to a production account.
After configurations are cleared, the integration process must be repeated from step 1.
-
Save the setting.
-
Once the DocuSign configuration is complete, reset IIS or wait an hour for the changes to take effect.
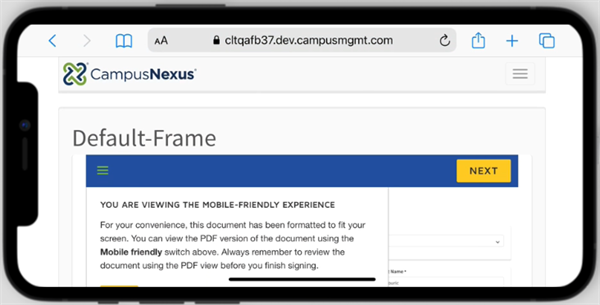
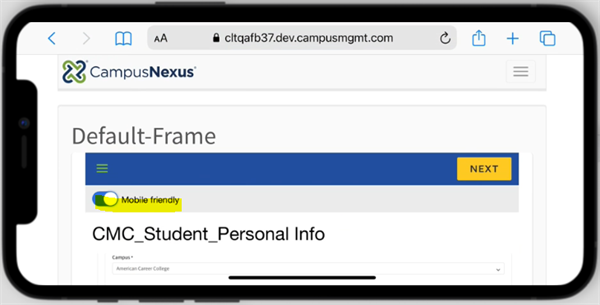
DocuSign supports responsive signing based on the signer's device type (mobile, tablet). Responsive signing automatically converts documents to HTML and allows users to preview the conversion across device types prior to sending. Signers will see the mobile-friendly HTML and can toggle to view the original document.
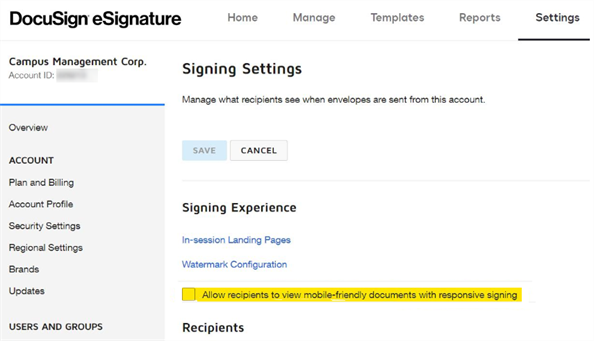
The responsive signing feature is disabled by default and must be enabled by an account administrator. To enable it, log in to your DocuSign account, select Settings > Allow recipients to view mobile-friendly documents with responsive signing.
For more information, see https://developers.docusign.com/docs/esign-rest-api/esign101/concepts/responsive/.
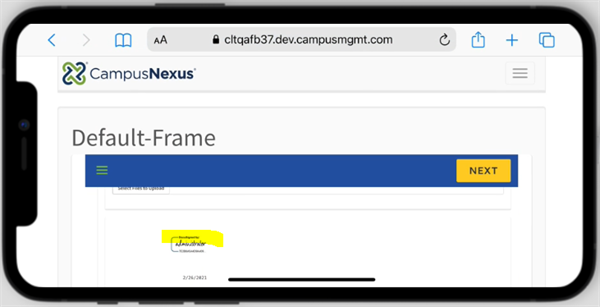
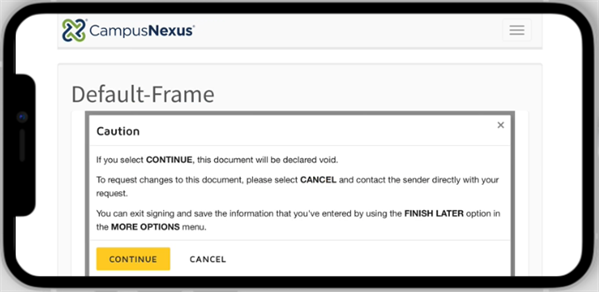
Users will see instructions about switching to the PDF view. They can tap the Next buttons to navigate through the document, sign it and submit it.
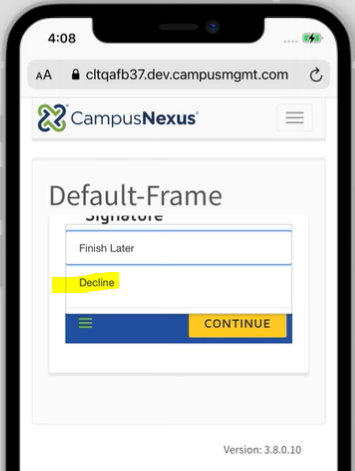
The Decline option is available on the first 'Continue' screen. When Decline is selected, a 'Caution' note indicates that the document will be declared void.
When Forms Builder is installed, it is installed without an account for DocuSign. Customers can create a free developer account (sandbox) for test purposes at the following URLs: https://secure.docusign.com/signup/develop or https://www.docusign.com/developer-center
Sandbox accounts operate in the DocuSign demo environment, which is identical to production except that documents sent through demo are not legally binding and have test stamps on them. Sandbox accounts do not expire and have enterprise level features enabled so you can test everything before going live.
Customers wishing to integrate with DocuSign need to obtain their own licensing information with DocuSign to use in a live environment. Based on the customer’s location, DocuSign assigns a region and provides the API URL and credentials to the customer. This information needs to be updated in the Properties pane of the Settings screen for the DocuSign setting.
Important: Do not use your live account credentials in test mode.
-
On the Forms Builder home page, click the Settings tile and select DocuSign in the Settings pane. The Properties pane is populated with the DocuSign properties.
-
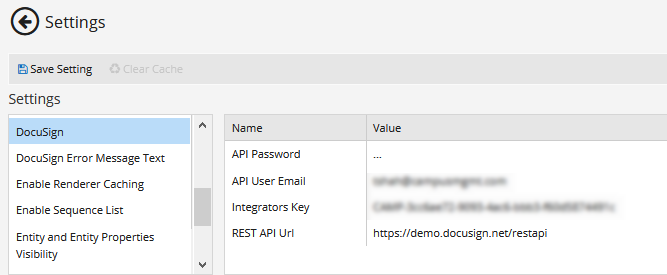
Complete the following fields in the Properties pane:
DocuSign Properties Name Value API Password API password API User Email API user's email address Integrators Key CAMP-3cc6ae72-9093-4ac6-bbb3-f60d5874491c The key is preconfigured by Anthology Inc.
REST API URL https://docusign.net/restapi This the default DocuSign URL that gets stored in the database by the initial script (hard-coded). The DocuSign e-Signature REST API lets you e-sign documents, request signatures, and automate your forms and data.
This URL may vary based upon the region of your account. Customers can contact their DocuSign representative if they are not sure about the base URL for their account. The following link from DocuSign help provides different options: https://docs.docusign.com/
-
Specify the DocuSign Error Message Text in the Settings panel.

Whenever you edit a field in a Settings panel with hidden fields (i.e., sensitive data that are removed from the client-side view like passwords, keys, and secrets), you must re-enter the hidden values, otherwise they will get cleared upon update and resave of all the Settings.
-
Save the settings.
-
Once the DocuSign configuration is complete, reset IIS or wait an hour for the changes to take effect.
DocuSign supports responsive signing based on the signer's device type (mobile, tablet). Responsive signing automatically converts documents to HTML and allows users to preview the conversion across device types prior to sending. Signers will see the mobile-friendly HTML and can toggle to view the original document.
The responsive signing feature is disabled by default and must be enabled by an account administrator. To enable it, log in to your DocuSign account, select Settings > Allow recipients to view mobile-friendly documents with responsive signing.
For more information, see https://developers.docusign.com/docs/esign-rest-api/esign101/concepts/responsive/.
Users will see instructions about switching to the PDF view. They can tap the Next buttons to navigate through the document, sign it and submit it.
The Decline option is available on the first 'Continue' screen. When Decline is selected, a 'Caution' note indicates that the document will be declared void.