Groups
Groups can be created for users added based on the school’s business needs. The Groups added in this section will be presented in the Groups drop-down list to filter Dashboards. When a Groups filter is selected on the Dashboard, students assigned to staff members in that group will be displayed.
Required Permissions: System: Add, edit, and delete groups
To access Groups, go to Administrators > User Administration > Groups.

-
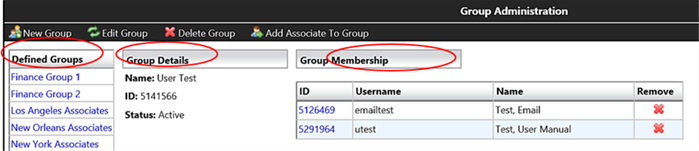
This opens the Group Administration page.
-
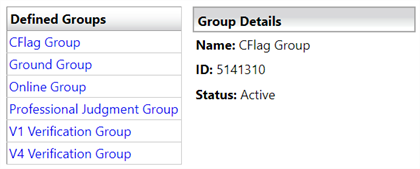
This page displays a list of Defined Groups.
-
The Group Details indicate which defined group is selected to edit, delete, or modify associates.
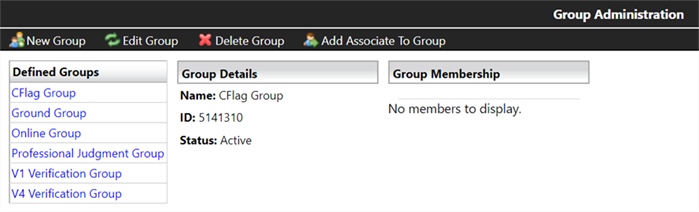
The following functions can be accessed on the Group Administration page:
- New Group
- Edit Group
- Delete Group
- Add Associate To Group
New Group
-
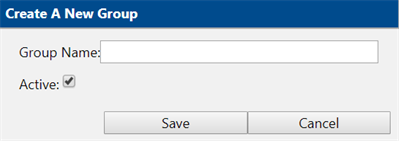
To create a new group, select the New Group tab.

-
Enter the name of the group you would like to create in the Create A New Group window. The Active box is selected by default.
-
Select Save.
The new group will be displayed on the Group Administrator page under the Defined Groups section.
Edit Group
-
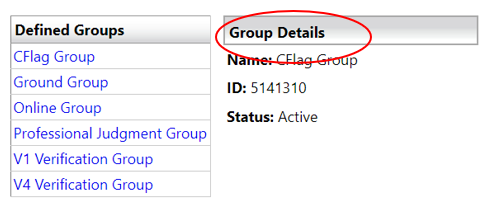
Select the name of the group you would like to edit under the Defined Groups section on the Group Administrator page.
-
Verify your selection under Group Details.
-
Select the Edit Group tab.

-
Edit the Name and/or the Active selection box and select Save.
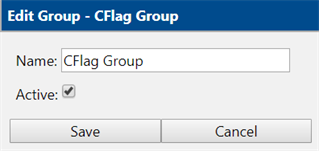
Important: Clearing the Active box will make the Group Inactive under the Group Details section, and it will no longer be presented as a Dashboard filter option. However, the group will still be saved in the Defined Groups section of the Group Administration page. The group can be returned to Active status by editing the group and selecting the Active box.
Delete Group
-
Select the name of the group you would like to delete under the Defined Groups section on the Group Administrator page.
-
Verify your selection under Group Details.
-
Select the Delete Group tab.

-
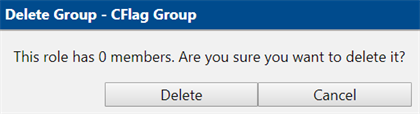
The Delete Group - Group Name window confirms the number of members associated with the group. Select Delete.
The group will be removed from the Defined Groups section on the Group Administration page and will no longer be presented as a Dashboard filter option.
Add Associate to Group
When associates are assigned to a group, the students assigned to those associates will be displayed when the Group is selected as a Dashboard filter.
The additional permission Staff: Manage group membership is required.
-
Choose the group you would like to add members to under the Defined Groups section on the Group Administration page.
-
Verify your selection under Group Details.
-
Select the Add Associate to Group tab.

-
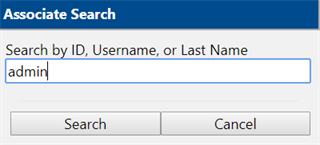
Enter associate’s name in the Associate Search window and select Search.
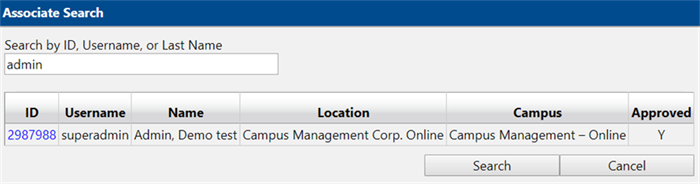
The Associate Search window displays the associate details.
-
Select the User ID associated with the user you would like to add.
The selected associate will now appear in the Group Membership area on the Group Administration page.

Delete Associate from Group
When associates are deleted from a group, the students assigned to those associates will be no longer be displayed when the Group is selected as a Dashboard filter. Additional permission, Staff: Manage group membership, is required.
-
Select the group you would like to edit in the Defined Groups section of the Group Administration page.
-
Verify your selection under Group Details.
-
Select the
 icon by the associate’s name in the Group Membership section to remove the associate from that group.
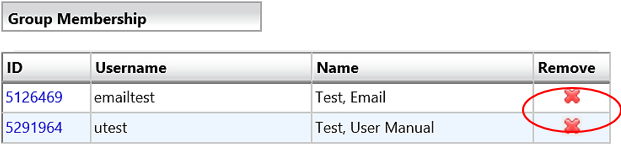
The associate’s name will be removed from the Group Membership section.
