Email Templates
There are several email templates available out of the box that are sent to students throughout the verification process. Schools can configure these templates to suit their needs and create different versions for different campuses, groups of campuses, or regions.
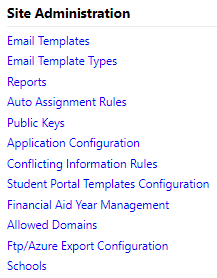
View the Email Templates Management page by navigating to Administrators > Site Administration > Email Templates.
From here you can:
- Create new templates
- Search for existing templates
- View and edit existing templates
- Assign campuses
- Clone templates
- Delete templates
Create an Email Template
-
Go to Administrators > Site Administration > Email Templates.
-
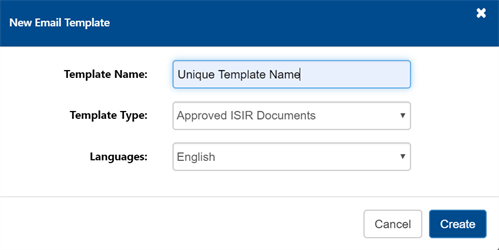
Select the New Email Template button and make selections:

-
Enter a unique Template Name.
-
Select Template Type.
-
Select Languages.
-
Select Create.
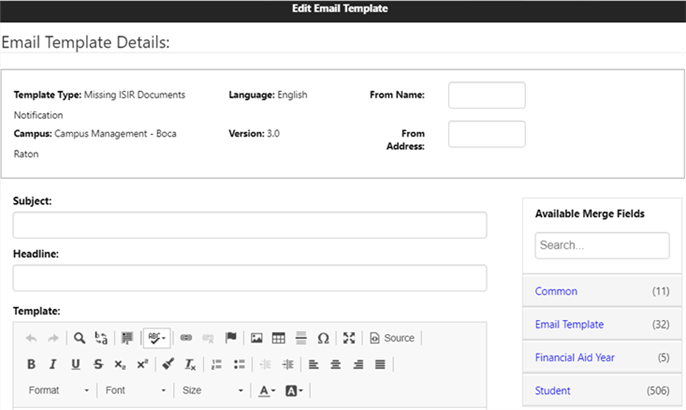
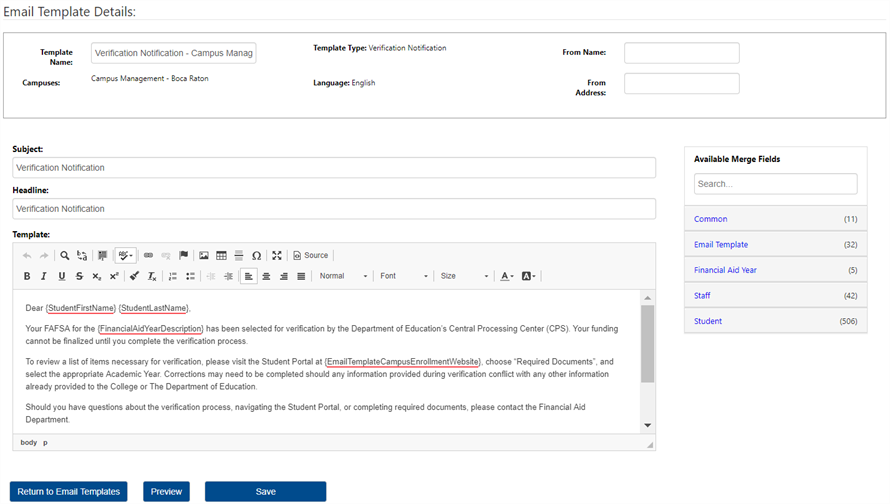
This will open the Edit Email Template page where the email template details can be managed.
-
-
Enter From Name and From Address that will be displayed to the email recipient.
Notes: If the From Address is:
-
Specified in the template, any system-generated or manually sent (Utilities > Email Student) emails will include the email address specified in the template
-
Not specified in the template, any system-generated or manually sent (Utilities > Email Student) emails will include the email address of the staff user
When an email is resent by selecting the Resend option on the Activity History page, the From Address of the original email will be used.
The From column on the Student Activity History > Emails grid will display the email address associated with any system-generated, manually created, or resent emails in parenthesis after the staff user's name.
-
-
Enter Subject and optional Headline
-
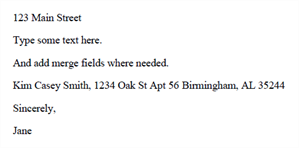
Add the body of the email in the Template box.
-
Use Available Merge Fields on the right to populate specific data elements within the body.
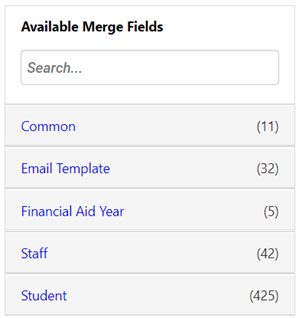
Available Merge Fields are divided into categories:
- Common
- Email Template
- Staff
- Student
-
The total number of merge fields in each category are listed in parentheses. Options can be narrowed by typing a key word in the search field. The number in each category decreases based on search entered.
-
The categories can be expanded and collapsed by selecting the category name. Expand a category to view the specific merge fields available.
-
Drag and drop the merge field into the body of the email template where needed.
-
Hover over the merge field name to get an example of what information the filed will stamp. Once the body of the email is finalized, it can be previewed or saved.

-
Select Preview to view the email with data and formatting as it will be seen by the recipient.
-
Select Save to save the email for future edits or review. This template will not be available for automated or ad hoc email communication until campus(es) have been assigned.
-
Select Return to Email Templates to return to the Email Template Management page.
Note: Changes will need to be saved prior to returning to email templates or they will be lost.
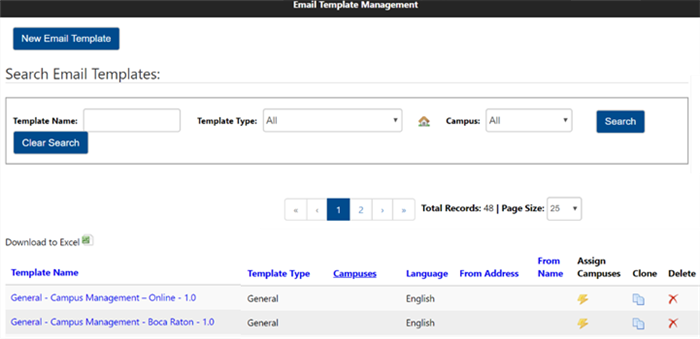
Search Templates
Email Templates Search menu allows searching Email Templates by Email Template Name, Email Template Type and Campus.

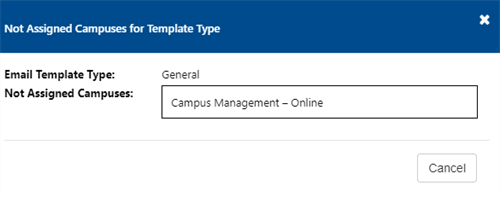
Additionally, next to the Email Template Type dropdown in the search area, selecting the icon will show a modal that will display all the campuses which do not have Email Template assigned of such type.
Note: It is important to assign a campus to each Email Template Type if you want students at those campuses to receive that email message.
Find Campuses without assigned templates
-
If you have unassigned Campuses from Email template, they remain not assigned to any template of that type. You will need to identify all Campuses with missing template assignment of that type.
-
Navigate to the Email Templates page.
-
From the Search bar, select the Email Template Type to identify the Campuses with missing assignments
-
Select on the icon next to the Email Template Type drop-down list.

-
A list appears containing all Campuses which don’t have any template of that type assigned.
-
Additionally, email templates listings can be further managed by:
-
Page Size: increase or decrease the number of results per page:
-
Download to Excel: the current search results will be listed in Excel.
-
Sort the list by selecting any of the Headers in blue.
-
Select a Template Name: Email templates can be viewed and edited.
-
Assign Campuses by selecting the
 icon in the Assign Campuses column.
 -
Clone a template by selecting the
 icon in the Clone column.

Professional Services can assist with setting up automated communications using these email templates in conjunction with events or statuses on the student’s record.
Examples of how E-mail Templates can be triggered E-mail Template Type Code Description of E-mail Scheduled E-mail? Frequency Days Max to Send FPWelcome Message sent when a Financial Planner is assigned if the student does not have a Financial Planner Assignment No Verification Sent to verify a user's account No EmailChangeVerification Sent when a student changes their e-mail address No PasswordSend Sent when a user requests their password No Welcome Lead e-mail sent from e-mail leads page No RegistrationConfirmation Sent when a student verifies their e-mail address No CompleteFafsaReminder Sent to active students who have a budget against an estimated ISIR who have Title IV funds Yes 4 1 CompleteRdlReminder Sent to active students who have pending RDL items on their active funding plan where the Financial Planner has accepted the plan Yes 3 5 -
Edit a Template
An Email Template can be edited by selecting the Template Name listed on the Email Template Management page.
Edit Email Template page will also include Template Name text box for updating Email Template Name. If there are campuses assigned to the template those will be shown on the Edit Page but will not be editable here. If the template has assigned campuses, a confirmation modal will be shown when saving the template to confirm or cancel the update. You will not be able to assign the template to campuses on the Edit Page.
Edit content of Email Template which is not associated with any Campus
-
From Email Templates Management page.
-
Find a template that is not associated with any Campus.
-
Select on the desired Email Template Name for editing.
-
You will be redirected to the Edit Email Template page.
-
Modify the template content and Save (no confirmation since there is not yet a campus association).
-
The template content is successfully saved.
Edit content of Email Template which is associated with at least one Campus
-
From Email Templates Management page.
-
Find a template that is associated with at least one Campus.
-
Select on the desired Email Template Name for editing.
-
You will be redirected to the Edit Email Template page.
-
Modify the template content and Save.
-
Confirmation modal appears stating that the email is associated with Campus(es) (ability to Cancel or Confirm).
-
Confirm the update - the template content is successfully saved.
From now on this email template will have the updated content when sent to students from associated Campus(es).
Assign Campuses to a Template
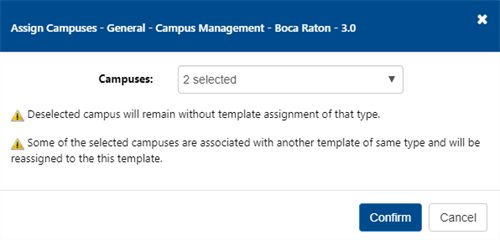
Assign Campuses action will show a modal that will display a multi-select dropdown with Campuses. When saved the given template will be associated with the selected campuses and from now on this email template will be used when sending emails to students from associated campus(es).
If some of the listed campuses in the Campuses dropdown are already assigned to another template of the same type its Name will be shown with italic font format. If you choose such campuses, a warning message will be shown indicating some of the selected campuses are associated with another template of same type.
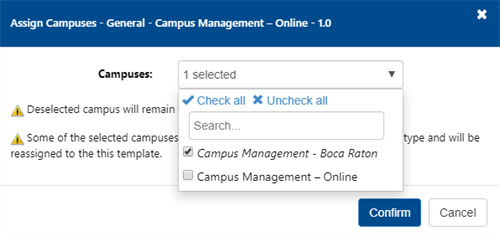
Note: When saved, such campuses will be reassigned from the original template to the current template. If you uncheck some of the assigned campuses associated with the current template, a warning message will be displayed indicating that the deselected campuses will remain without template assignment of that type when saved.
Note: Students at campuses that have not been associated with an Email Template WILL NOT be sent the associated message.
Further, the Campus Email Template assignment itself will determine whether the Email Template will be used for sending emails and SMS messages to the students at that Campus. Once at least one campus is assigned, the template is Active.
Assign Campuses to Email template (Campuses are not assigned to other templates of same type)
-
From Email Templates Management page.
-
Select on Assign Campuses icon on an existing Email template.
-
Modal is opened containing all active Campuses with ability to search and multi-select
-
Campuses assigned to other templates of same type are marked in italic font.
-
Select Campuses that are not italic and save.
-
From now on this email template will be used when sending this email to students from associated Campus(es).
Reassign Campus from one Email template to another
-
Select the Assign Campuses icon on an existing Email template.
-
Modal is opened containing all active Campuses with ability to search and multi-select.
-
Campuses assigned to other templates of same type are marked in italic font.
-
Select several Campuses that are italic font.
-
Info message appears indicating that some of the selected campuses are associated with another template of same type.
-
Save the selection.
-
Campuses will be reassigned from the previous template to the current one.
-
Return to the Email templates page – All assigned Campuses are listed next to the template.
-
Reassigned Campuses will no longer be presented next to the previous template's assignments.
-
From now on this email template will be used when sending email to students from associated Campus(es).
Unassign Campus from Email template
-
Select the Assign Campuses icon on an existing Email template which has Campus assignments.
-
Modal is opened containing all active Campuses with ability to search and multi-select.
-
Campuses that are already assigned to this template are checked.
-
Uncheck the Campuses you want to unassign.
-
Info message appears indicating that deselected Campuses will remain without template assignment of that type.
-
Select Save.
-
Unchecked Campuses will be unassigned from the template.
-
Return to the Email templates page – All unassigned Campuses will no longer be presented next to the template.
-
From now on this email template will no longer be used when sending email to students from removed Campus(es).
Note: Unassigned Campuses remain unassigned to any other template of that type
Clone a Template
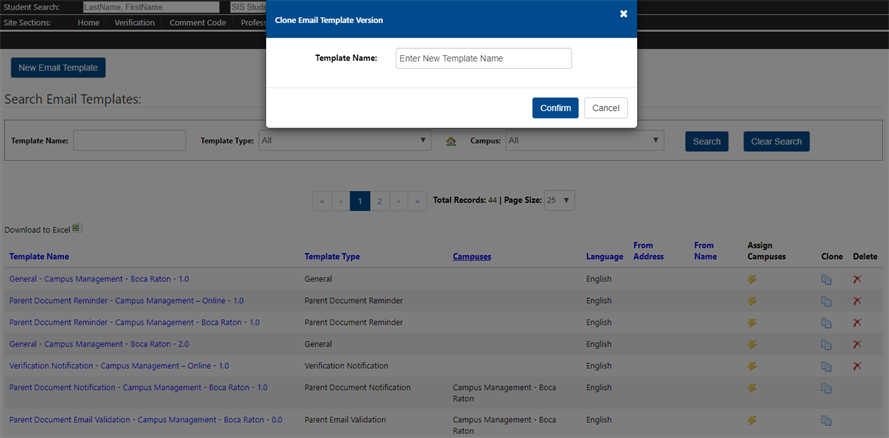
The Clone Email Template action shows a modal where you can enter a unique Template Name. The content of the cloned template will be same as the original, but it will not be assigned to any campuses. This functionality can be used if you have one Email Template that will be used multiple times with some content variations for different campus assignments. For example, you could have a Financial Planner Welcome email template with variations in verbiage for different regions, so you can clone “Financial Planner Welcome – West Region”, name it “Financial Planner Welcome – East Region”, make edits then save.
Clone an Existing Email Template
From Email Templates Management page:
-
Select the Clone icon next to existing Email template.
Modal is opened to provide unique Template name.
-
Provide a unique Email Template Name and save.
-
The new Email Template of the selected type is created and added to the grid.
-
The new Email template has the same content as the initial one.
-
The Email Template is initially not associated with any campus.
-
-
Select the Template Name to modify the content and save.
The Email Template is now ready for association with campuses.
Soft Delete Not Assigned Templates
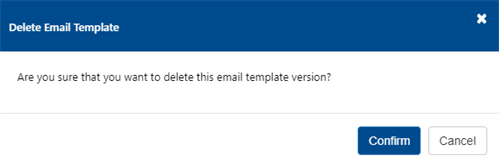
An Action column in the Email Templates grid is available for deleting templates that are not assigned to any Campus. If confirmed, the selected Email Template will be marked as deleted and will no longer be shown in the grid. The delete icon will be shown only to the templates which are not related to any Campus. This feature provides a way to “clean up” the Email Templates list after adjustments have been made to consolidate campus assignments.
Soft Delete Templates
From Email Templates page:
-
Find a template that is not associated with any Campus.
-
Select the Delete icon next to that template.
Confirmation modal appears with Cancel or Confirm options.
-
Confirm the deletion.
Template is marked as deleted and no longer appears in the grid.
With these steps you can declutter the UI.