Auto Assignment Rules
Auto Assignment Rules provides options for distributing student assignments among reviewers when student records are loaded into the system.
Required Permissions:
-
Verification: Can Add, Edit and Delete Auto Assignment Rules
-
Verification: Can View Auto Assignment Rules
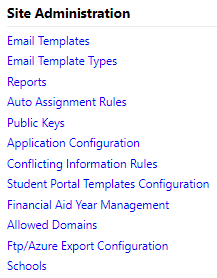
Go to Administrators > Site Administration > Auto Assignment Rules.
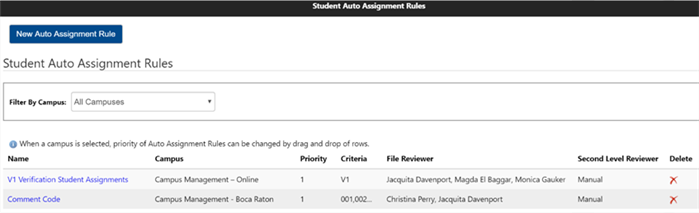
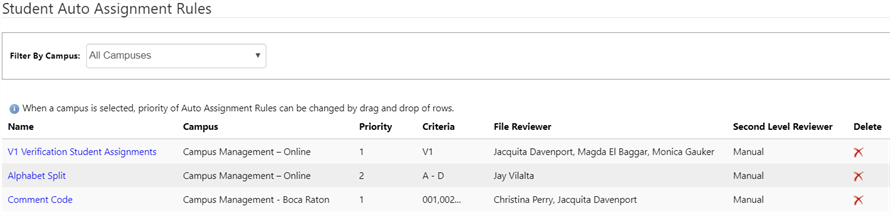
This will open the Student Auto Assignment Rules page.
Create New Auto Assignment Rules
-
Select the New Auto Assignment Rule button.
-
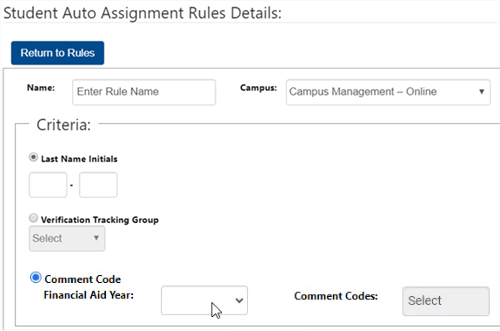
On the Student Auto Assignment Rules Details page, specify the details of the new rule.
-
Enter the Name of the rule.
-
Select the Campus.
-
Criteria options (select one per rule):
-
Last Name Initials – This is an alphabetical range. For example, students with last names beginning with A-D may be assigned to Suzie, last names beginning with D-J may be assigned to Johnny, and so on.
-
Verification Tracking Group – Use this selection if you have particular associates who review a specific V Group.
-
Financial Aid Year - Starting with award 2024-25, the comment codes are award-year specific. Select the Financial Aid Year before selecting Comment Codes.
-
Comment Codes – Use this selection if you have particular associates who review students with a specific ISIR comment code.
-
-
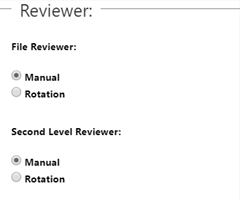
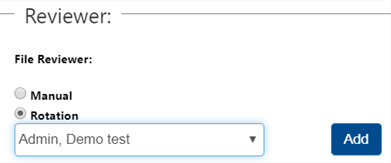
Set Reviewer options for first and second level file reviewers.
-
Under File Reviewer, select the Rotation option.
-
Select from the Employee drop-down list.
-
Select Add and you will see the employee listed.
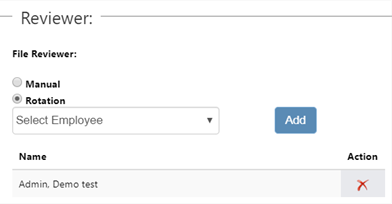
Repeat this process until all applicable employees have been added to the rotation. Repeat this process for Second Level Reviewer if applicable.
-
Select Save to save the rule. It will now appear on the list of rules.
-
When multiple rules are in place for the same campus, the Priority is automatically set. Change the priority by dragging and dropping the rows in stack ranked order. In a case where a student falls into more than one rule, the priority rule will be used.
-
Delete a rule by selecting the
 icon under the Delete column next to the rule.
 -
Edit a rule by selecting the Name of the rule.
-
You can adjust settings using steps under Create New Auto Assignment Rules.
-
To remove an associate from a rule, select the
icon next to their name in the Reviewer section.
-
-