ISIR Verification Self-Select Rules
The Institutional Self-Select (IS) feature gives an institution the ability to self-select a student that may not be selected for Verification, but based on internal policy, meets institutional self-select rules.
Example: An ISIR is received for a student that selected "Yes" to the Legal Guardianship question. The student is not selected for Verification and the question does not warrant a C-Code or PJ but based on the internal policy the staff internally selects the student.
How It Works
There are 2 methods for using the Institutional Self-Select (IS) feature to self-select a student for Verification:
-
A staff user can create a rule to automatically flag a student for IS during ISIR import based on information in the student's ISIR. The rule will be triggered only if the ISIR is not selected for Verification.
-
A staff user can select "IS" from the V-Self-Select drop-down list on the Student Details page.
Both methods will automatically trigger documents based on rules set up in Required Documents and put the student in the Verification workflow.
Create Self-Select Rules
Create a self-select rule to set the "IS" flag and trigger Required Documents when an ISIR is imported:
-
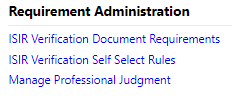
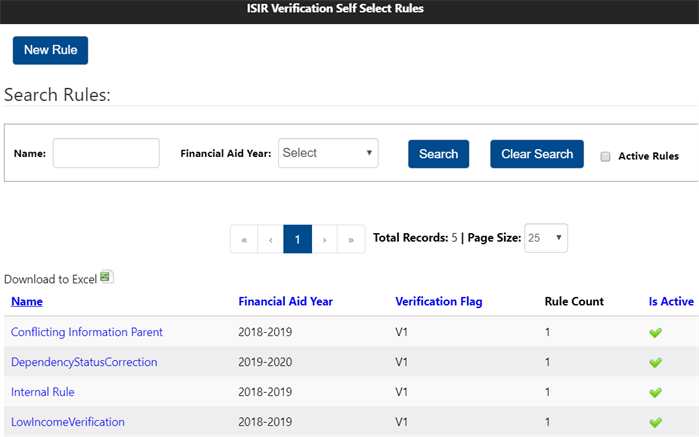
Navigate to Administrators > Requirement Administration > ISIR Verification Self-Select Rules.
-
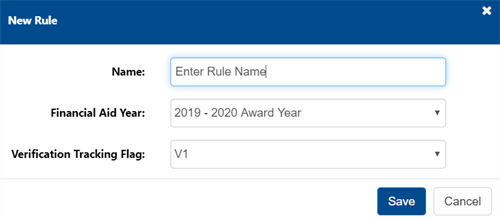
Select New Rule button.
-
Enter a Name for the rule, select the Financial Aid Year, and IS for the Verification Tracking Flag.
-
Select Save button.
-
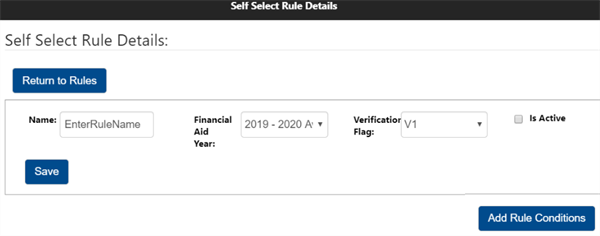
In the Self-Select Rule Details screen, select Add Rule Conditions button to add conditions.
-
Select Add Condition or Add Group (for multiple conditions with Any/All/None selections).

-
Add Condition, then make selections from drop-down lists. Select Save.

-
Add Group, then select Any, All, or None. You can then add multiple conditions or groups.

-
-
After the rule has been created, check the Is Active check box then select the Save button.
Create Required Document Rules
Once Institutional Self-Select rules have been created, document rules can be created to trigger documents for students who meet the self-selection criteria.
Create a Required Document rule to be triggered for IS students:
-
Navigate to Administrators > ISIR Verification Document Requirements.
-
Select the New Requirement button to create a new requirement, or search for and select an existing requirement.
-
In the Associated Rules section of the Required Document Details screen: select the Add Rule button, select Default strategy, and select Add.
-
In the Rule Management screen, select Add Condition or Add Group to start creating the desired rule.
-
Select ISIR > Verification Tracking Flag > (blank) > Equals > IS to include the IS flag in the rule criteria.

-
Add other criteria as needed.
-
Check the Is Active box to make the rule active, then select the Save button to save the new rule.
The FAFSA/ISIR Layout for the award year 2024-25 contains numerous fields with valid content defined as 1=Yes and Blank where False is no longer an option. The Rules UI for these fields provides the following operators:
- Equals False (Blank)
- Not Equals True (Yes)
- Not Equals False (Blank)
- Equals True (Yes)