Enable the Integration
You must perform the following tasks to enable the integration between Anthology Student and Student Verification.
Prerequisites
You must have access to access to Microsoft Azure Portal.
You must be familiar with Background for Integration with Student Verification.
Edit App Settings in Azure Portal
-
In portal.azure.com/#Home, navigate to App Services.
-
Locate and select the {environment-number}-sv-student-to-sv-{environment-code}-fa-1 Function App Service.
For example, 900004-sv-student-to-sv-prod-fa-1.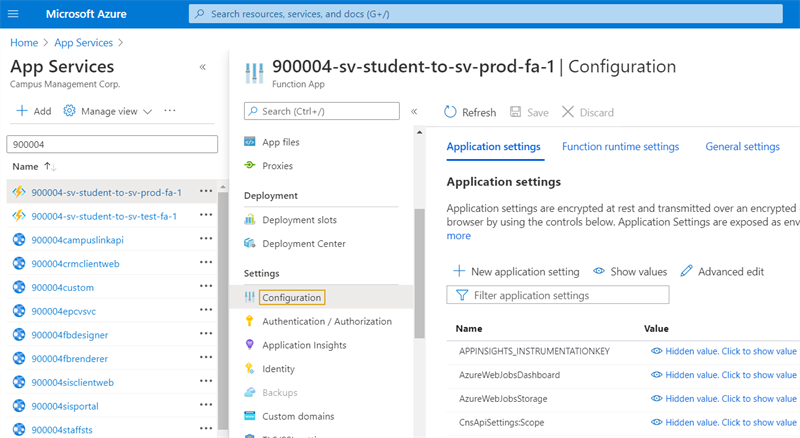
-
Under Settings, select Configuration.
-
Select the Application Settings tab.
-
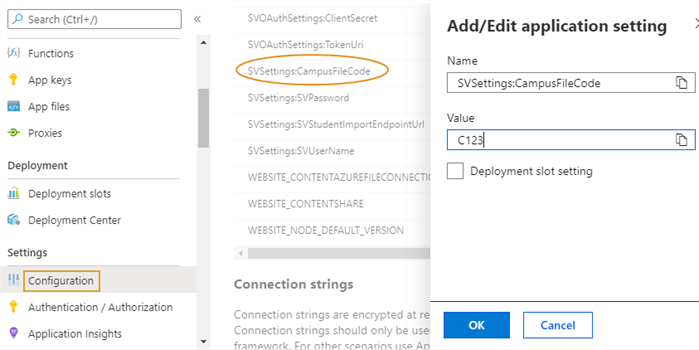
To Add or update the SVSettings:CampusFileCode Application Settings value:
-
Select the SVSettings:CampusFileCode link. The Add/Edit application setting pop-up appears.
-
In the Value field, add the
 Campus File Code.
 -
Select OK.
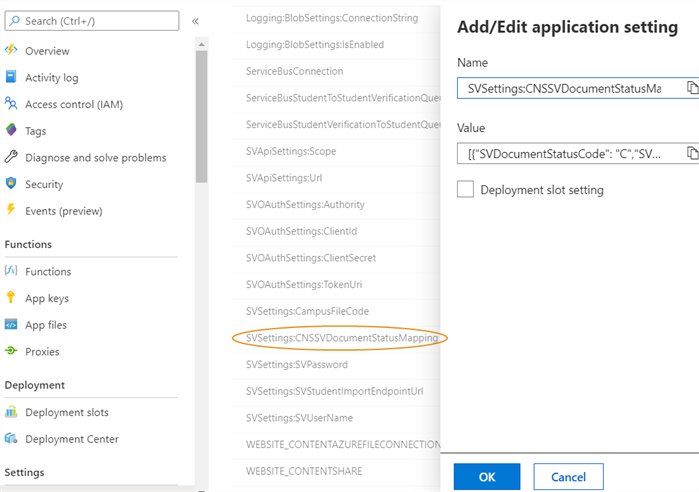
To map the SVSettings:CNSSVDocumentStatusMapping Application Settings value:
In Anthology Student:
-
Navigate to Configuration > Contact Manager > Document Statuses.
-
Select the document status of the document status you want to map.
-
Copy the
CmDocStatusID from the URL of the document status (highlighted in the image below). 
In Azure Portal:
-
Select the SVSettings:CNSSVDocumentStatusMapping link. The Add/Edit application setting pop-up appears.
-
In the Value field, copy the JSON string template below and paste it.
-
Add or update the CmDocStatusID against the CNSDocumentStatusId field value. Ensure the JSON string is in a single line.
JSON String Template for Document Status
[{"SVDocumentStatusCode": "C","SVDocumentStatusDescrip": "Document Approved by Staff or Not Required by Staff","SVSystemDefined": "Yes","CNSDocumentStatusId": 46}]
Example:
The CmDocStatusID is 46. The JSON String displays the CNSDocumentStatusId as 46.
-
Select OK.
-
View Automatically Enabled App Settings in Azure Portal
The Azure DevOps pipeline automatically enables the following App Settings in the Anthology Student Web.config file. You can view these App Settings in the Azure Portal.
App Setting: AzureServiceBus:ServiceBusCommunicationEnabled
-
In portal.azure.com/#Home, navigate to App Services.
-
Locate and select the {environment-number}sisclientweb App Service, for example, 900004sisclientweb.
-
Under Settings, select Configuration.
-
Locate and view AzureServiceBus:ServiceBusCommunicationEnabled App Setting.

App Setting: StudentVerificationIntegrationEnabled
-
In portal.azure.com/#Home, navigate to App Services.
-
Locate and select the {environment-number}sisclientweb App Service, for example, 900004sisclientweb.
-
Under Settings, select Configuration.
-
Locate and view StudentVerificationIntegrationEnabled App Setting.
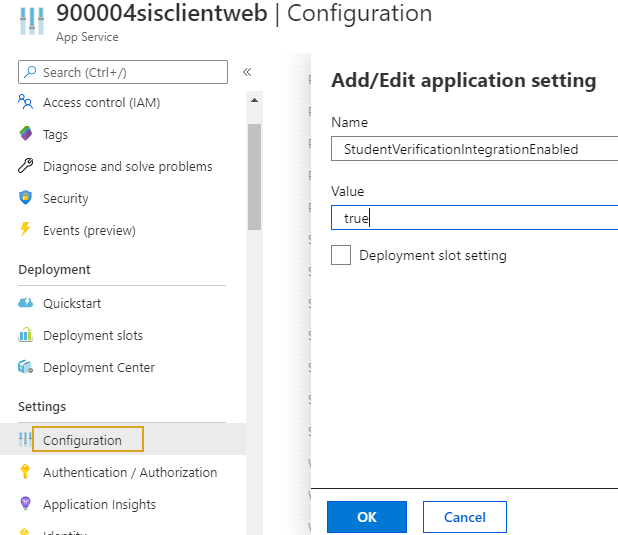
If you want to disable the integration between Anthology Student and Student Verification, set the value for this App Setting to false.
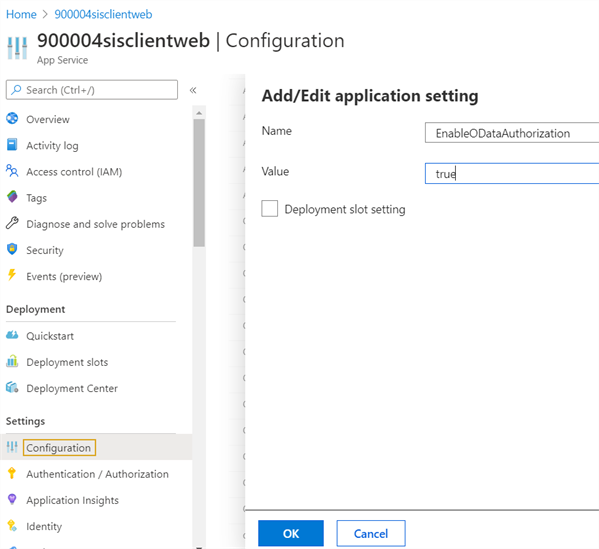
App Setting: EnableODataAuthorization
-
In portal.azure.com/#Home, navigate to App Services.
-
Locate and select the {environment-number}sisclientweb App Service, for example, 900004sisclientweb.
-
Under Settings, select Configuration.
-
Locate and view the EnableODataAuthorization App Setting. By default, this field is set to true for environments higher than Anthology Student version 21.2.