Sandbox to Production
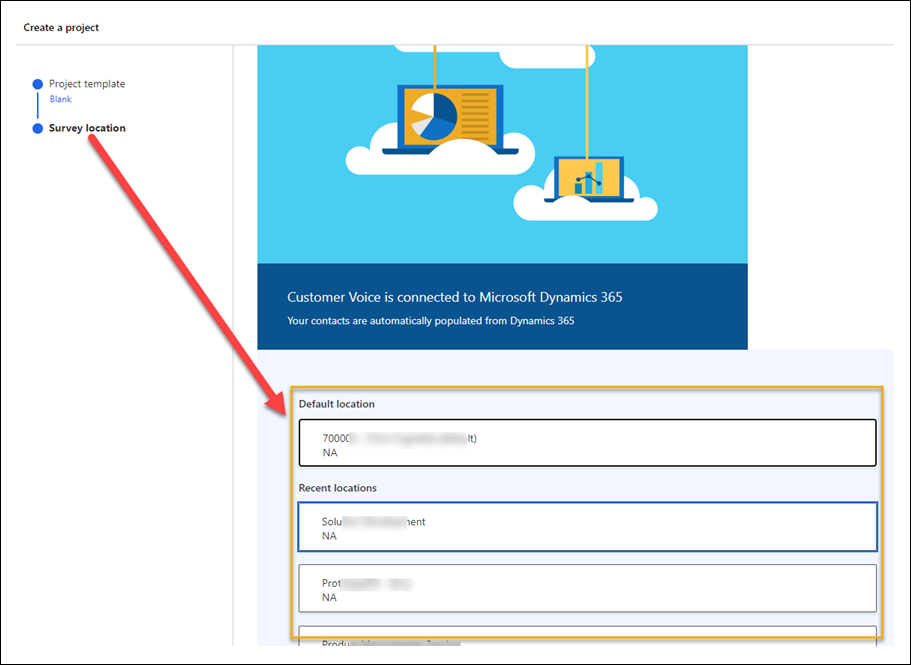
When you create a project, it must be constructed in the sandbox environment.
Select the sandbox environment from the location options. The project must be initially designed and maintained in the sandbox environment.
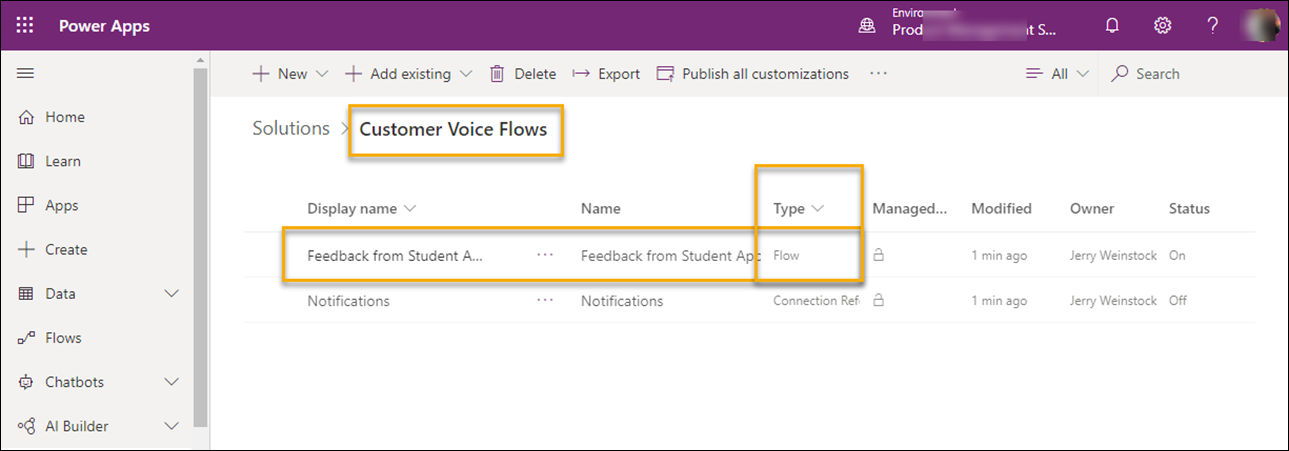
Flows must be built in the portal at https://make.powerapps.com. It would be helpful for your application lifecycle management process that flows for the survey process be stored in their own solution. This would make it easier to manage and not be interdependent on other aspects of the customization process.
Once you have created and tested the flows and the surveys in the sandbox environment, the following manual steps must be followed to move the Project to production.
-
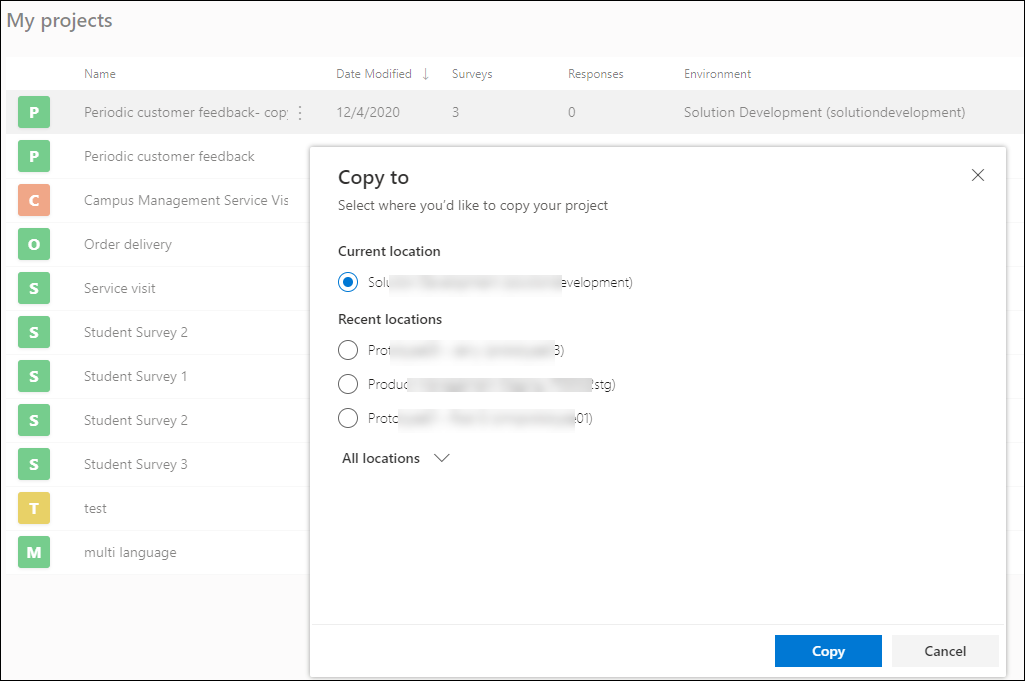
Select the project in the sandbox environment that you are ready to move to the production environment by click on the three … and then select Copy.
-
Select the production environment and then click Copy.
-
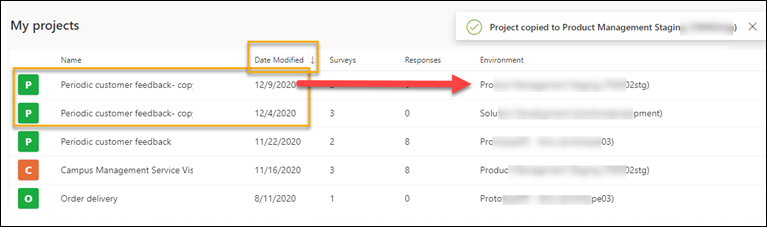
The project and all its surveys and settings will be duplicated and displayed in My projects. You will see from the image below it is not possible to identify the copy from the project name due to a limitation in the column size. Hence, keep the project names short until this bug is fixed by Microsoft. You will be able to identify the project in the production environment by looking for the production environment URL in the last column or the most recent date in the Date Modified column.
-
Build the flows from within the solution in the portal at https://make.powerapps.com. Do not build them from https://powerautomate.microsoft.com. Export the solution from the sandbox as an unmanaged solution.
-
Import the unmanaged solution into the production environment. Working with an unmanaged solution enables changes to be made to flows once they are in the production environment.
-
To edit the flows, go to https://make.powerapps.com, navigate to the solution for the survey flows and open them in the editor.
-
Make any connection changes as required for the CDS trigger and actions.
-
For the Customer Voice actions, open the card and edit the Survey drop-down to select the form that was copied to the production environment. In the example below Student Survey 2 [Prototype03 – J] was copied from the sandbox environment to Student Survey 2 [Prototype01 – R] – the production environment. Customer Voice automatically appends the environment name in the selector to make it easier to differentiate between surveys.

-
Confirm that the correct Email Template is selected, then save the flow and publish the solution.
-
-
This completes the transfer to the production environment. Run a test using a test record in the production environment to confirm that the flow and survey are working as expected.