Adding the Insights Tab to a Custom Contact Form
This topic provides the steps to add the Insights tab of Dynamics 365 Marketing module to a custom Contact form.
Steps to Add the Insights Tab to a Custom Contact Form
Prerequisites
-
Microsoft Dynamics 365 Marketing solution must be installed on the org.
-
Download the InsightTab-SampleXML file.
-
Create an unmanaged solution.
-
Add the custom Contact form to the unmanaged solution and export this solution.
-
Edit the Form XML of the custom Contact form.
-
Copy the <tab> section content from the InsightTab-SampleXML file and add it to the <tabs> section of the Form XML of the custom Contact form as shown below.
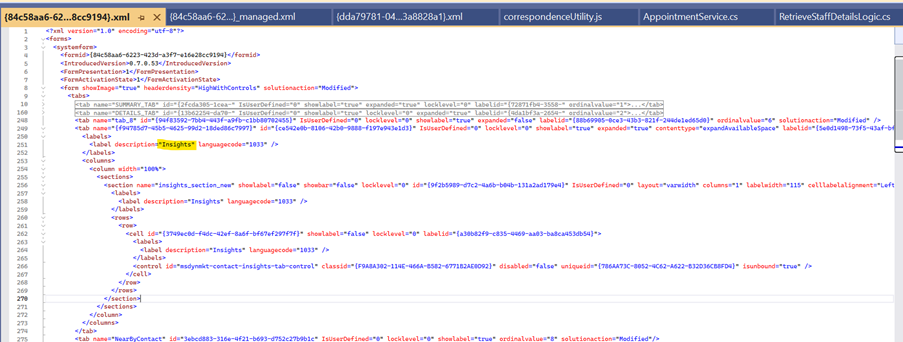
-
Copy the <controlDescription> section content from the InsightTab-SampleXML and add it to the <controlDescriptions> section of the Form XML of the custom Contact form as shown below.
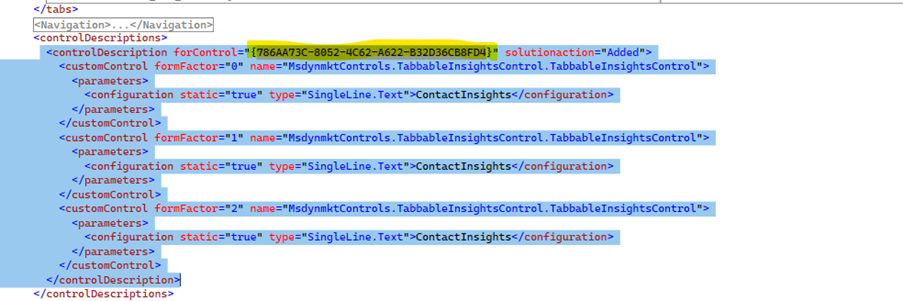
Note
If you are directly editing the main Contact form XML, which is not extended, then remove the solutionaction=”added” attribute in the <tab> and <controlDescription> tags in the sample XML before using the XML code.
-
Save and prepare the solution, and import it back to the required org.
-
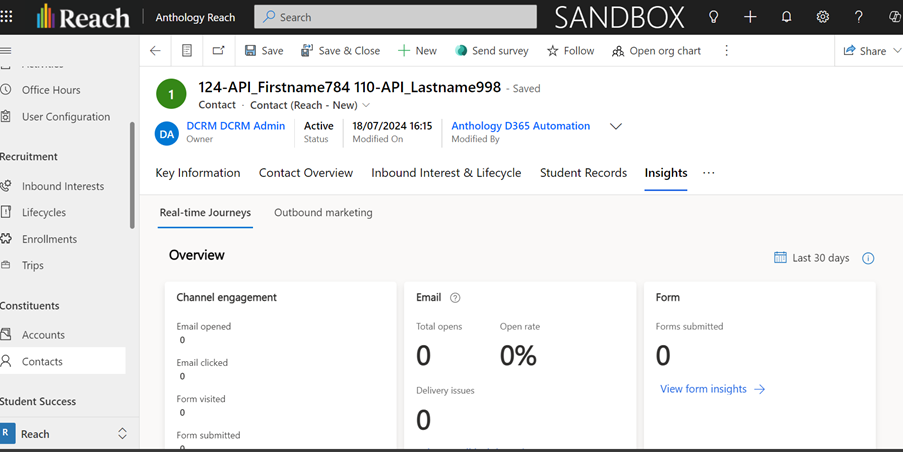
The Insights tab will appear on the custom Contact form as shown below.