Populate Fields in a Forms Builder Form
When web forms are built with Forms Builder 1.x or 2.x, eventing and workflows can be used to gather data and push the data into a multi-step form as it transitions from one step to another. Eventing and workflow make it possible to return information to a user on a Forms Builder web form that is not part of the existing adapter. In this scenario, we will return all of the courses a student is currently registered in.
Scenario
We built a Forms Builder form that allows a student to drop a course. For the first page of the form we wanted to make sure we had correct contact information for the student as dropping a course is a retention red-flag. Once the student verified his or her information, we used a workflow with AddToDictionary<> activity to get the current list of courses that the student was registered in.
Prerequisites
- A Forms Builder form to request admission was created.
- A student has registered into current courses with a Portal account.
Procedure
-
Launch Forms Builder Designer.
-
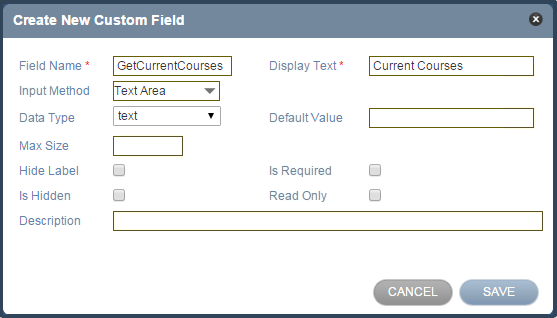
In the Fields tab, select Add New Field. The Create New Custom Field form is displayed.
-
In the Field Name field, type GetCurrentCourses.
-
In the Display Text field, type Current Courses.
-
In the Input Method field, select Text Area.
-
In the Data Type field, select text.
-
Select Save.
-
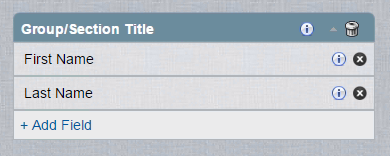
From the Fields tab, search for Name.
-
Drag the First Name and Last Name fields onto the canvas.
-
Select the Save button in the lower left corner.
-
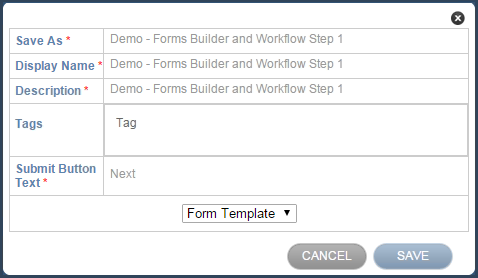
Save as a Form Template named Demo - Forms Builder and Workflow Step 1.
-
Clear the canvas.
-
From the Fields tab, search for courses. The list of fields is filtered showing the custom field you created earlier.
-
Drag the Current Courses field onto the canvas.
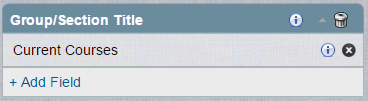
-
Select Save.
-
Save as a Form Template.
-
Clear the canvas.
-
In the Forms and Rules tab, search for demo.
-
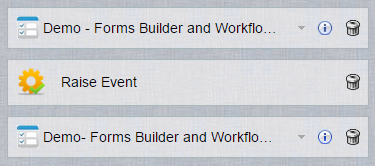
Drag the form template named Demo - Forms Builder and Workflow Step 1 on to the canvas.
-
Select the Rules tab
-
Drag the Raise Event rule under the Demo – Forms Builder and Workflow Step 1 form template.
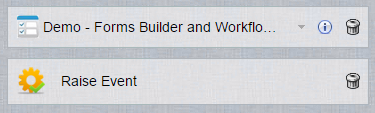
-
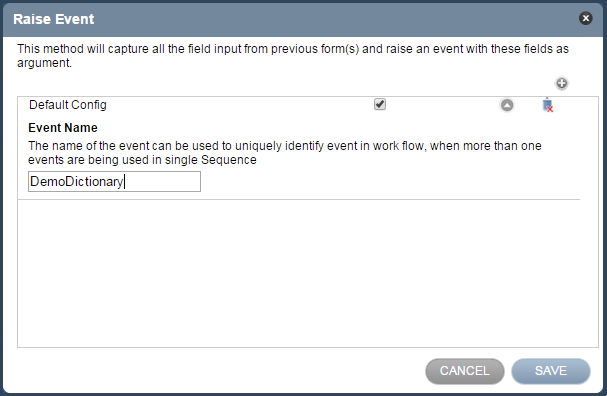
When you drag the Raise Event rule onto the canvas, the default configuration requires that you name the event. This name will initiate the workflow.
Type DemoDictionary in the Event Name field, and select Save.
-
Drag Demo – Forms Builder and Workflow Step 2 on to the canvas under the rule.
-
Select Save.
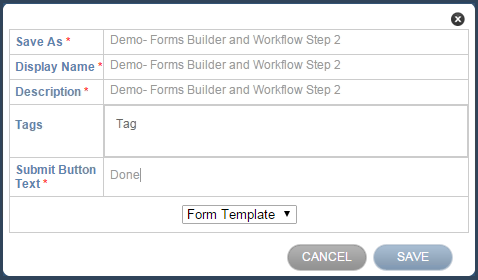
-
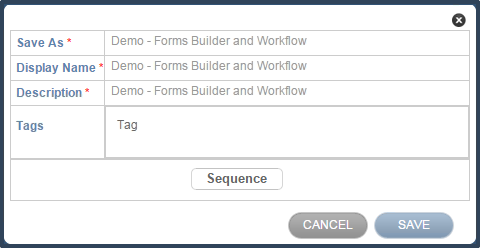
Fill out the Save Sequence form.
-
Select Save.
-
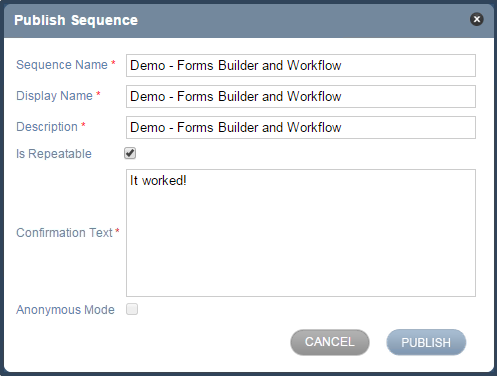
In the upper right hand side, select Publish.
-
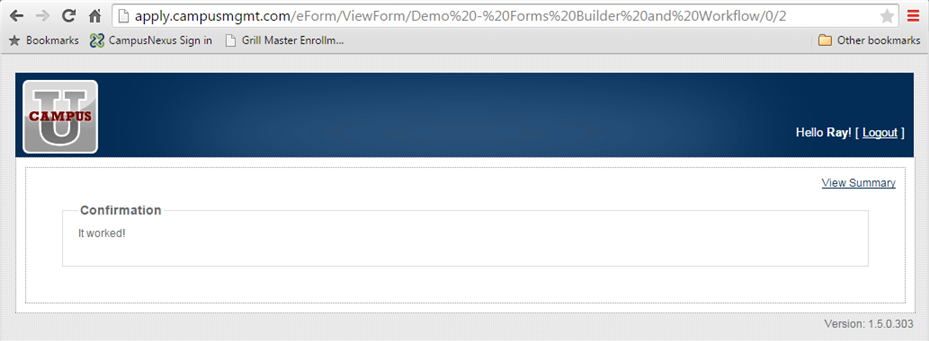
Select the Is Repeatable check box and type It Worked! in the Confirmation Text field.
-
Select Publish.
-
Launch Workflow Designer.
-
On the Home tab, select New Event Workflow.
-
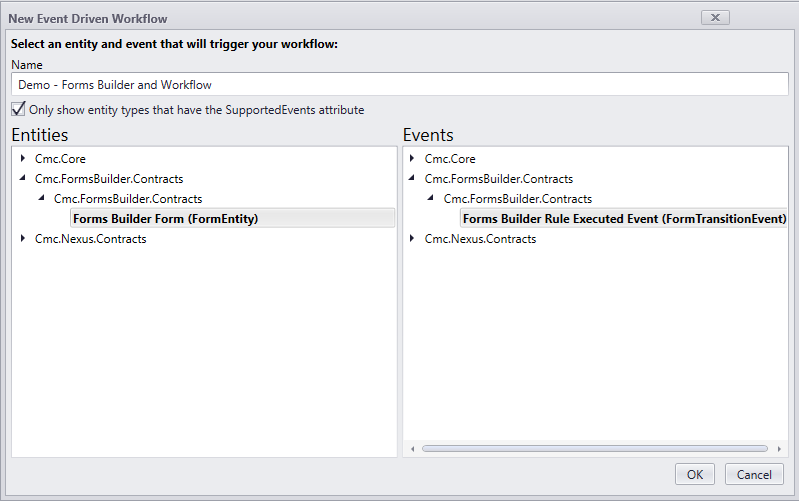
In the Name field, type Demo - Forms Builder and Workflow.
-
In the Entities area, expand Cmc.FormsBuilder.Contracts and select Forms Builder Form (FormEntity).
-
In the Events area, expand Cmc.FormsBuilder.Contracts and select Forms Builder Rule Executed Event (FormTransitionEvent).
-
Select OK.
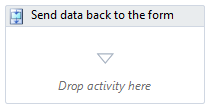
In the Properties pane, change the DisplayName to Send data back to the form.
-
In the Toolbox under Control Flow, find the If activity and drag it into the sequence.
-
In the Properties field, change the DisplayName to Check for Forms Builder Event.
-
In the Condition field, type: entity.EventName = "DemoDictionary"
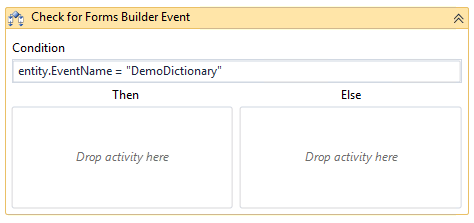
The first variable will hold the field name from the Forms Builder field we created.
-
In the Variables pane, create a variable named FBField.
-
In the Variable type field, select String.
-
The Scope field should be set to Send data back to the form.
-
In the Default field, type "GetCurrentCourses". This is the name of the Forms Builder field exactly as we created it in step 1. Because it is a string, we must put it in quotes.
The next variable will hold the data we will send back to the Forms Builder form. Typically, we would query the information from the database, but for this purpose we will just populate it to simulate the data.
-
In the Variables pane, create a variable named courses.
-
In the Variable type field, select String.
-
The Scope field should be set to Send data back to the form.
-
In the Default field, type "GM101 - Intro to Grilling".

-
In the Toolbox under Cmc.Core.Workflow.Activities, find the Add to Dictionary `2 activity and drag it into Then part of your If activity.
This activity will pass information from the workflow back to a field inside of a Forms Builder form when a form transitions from one step to another.
-
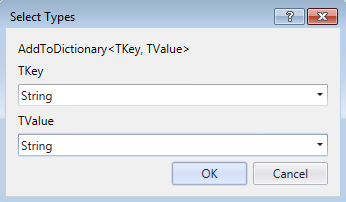
When you drag the Add to Dictionary `2 activity into the Designer pane, you are prompted to set the data type. Forms Builder currently only supports strings.
Select String in the TKey and TValue fields.
-
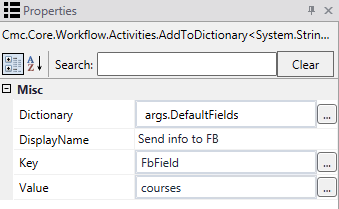
In the Properties pane, set the Dictionary field to args.DefaultFields. This is the argument that is sending the data back to Forms Builder.
-
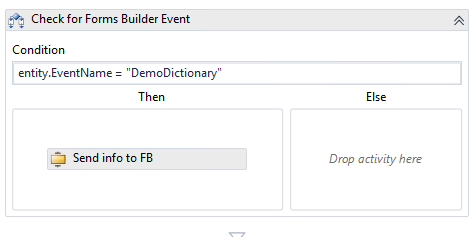
Change the DisplayName to Send info to FB.
-
In the Key field, specify the FbField variable. This is the field name of the custom field we created in step 1.
-
In the Value field, specify the courses variable. The value of this variable will show up on the Forms Builder form.
-
Check your workflow. Scroll through the workflow or use the fit to screen button located at the bottom of the Designer pane to access he whole workflow based on your screen resolution.
-
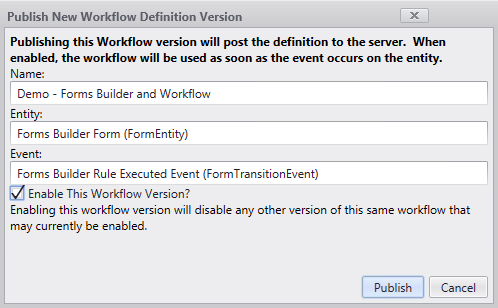
On the Home tab, select Publish. The New Workflow Definition Version window is displayed.
-
Select Enable This Workflow Version
-
Select Publish, then Cancel to close the publisher window.
-
Forms Builder has a link to all of its published sequences, e.g., http://apply.campusmgmt.com/Home/PublishedSequences
On your Published Sequences page, select the Demo - Forms Builder and Workflow sequence and select Open.
-
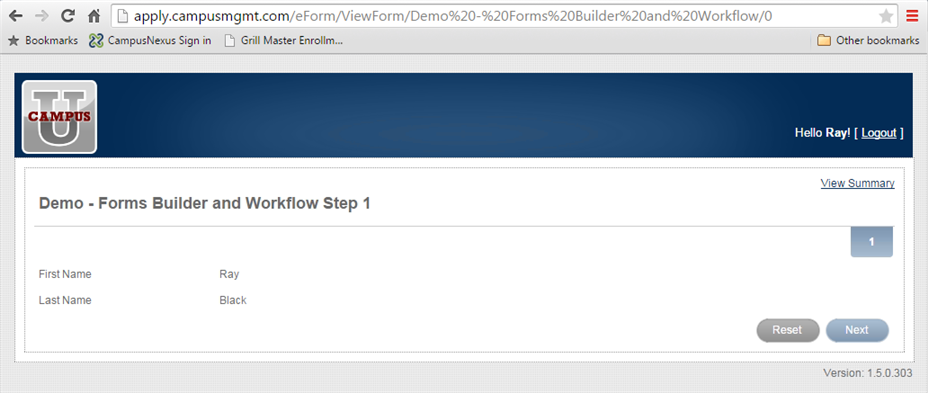
Log in with the student Id. The Demo - Forms Builder and Workflow Step 1 form displays the First Name and Last Name field for the student.
-
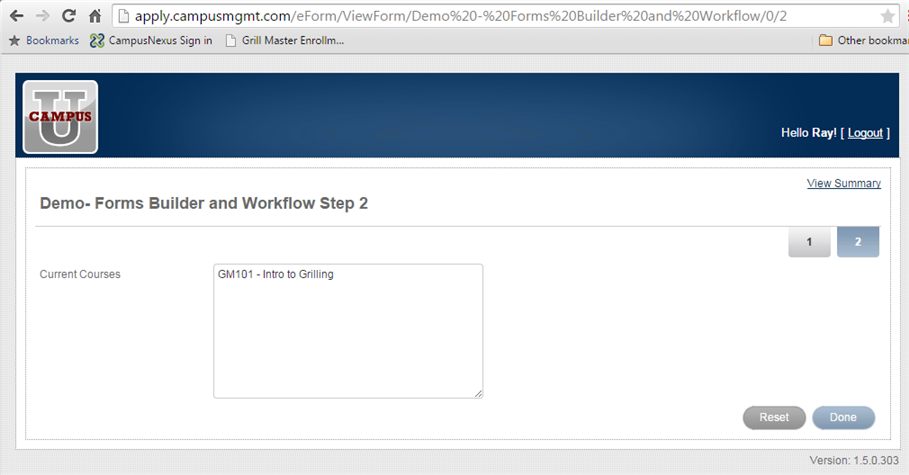
Select Next. The Demo - Forms Builder and Workflow Step 2 form is displayed. The Current Courses field shows the course the student is registered in.
-
Select Done. The Confirmation page is displayed.