Search Agent
You can save your job search criteria in the Student Portal so that you can receive email notifications when jobs that match your job search criteria are added. You can create, modify, or delete up to five job search agents.
Create a Job Search Agent
-
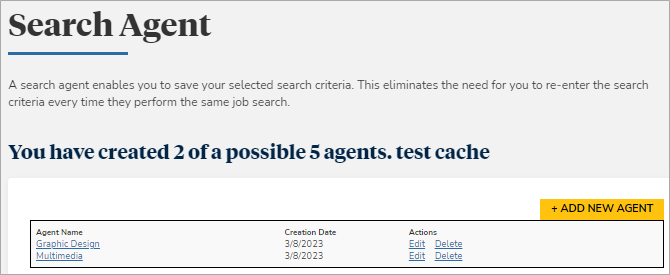
Navigate to My Career > Search Agent. All your existing search agents are displayed.
-
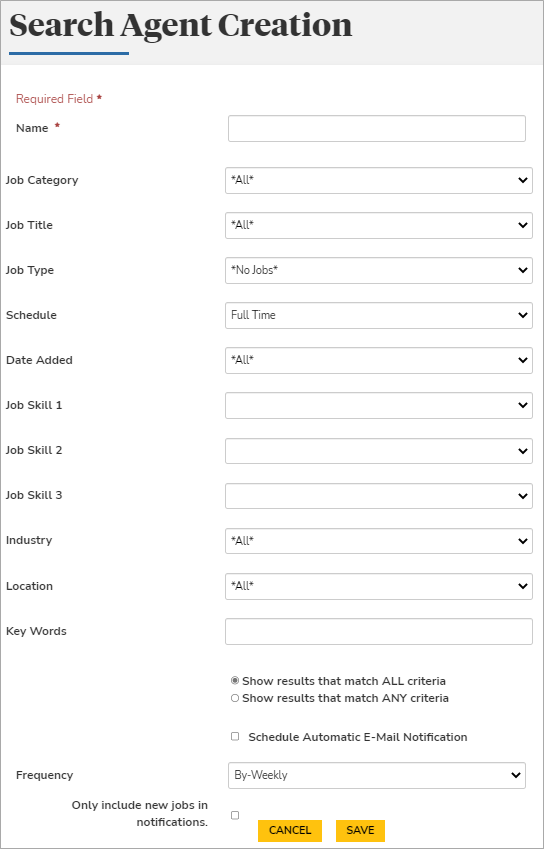
Select Add New Agent. The Search Agent Creation page is displayed.
-
Enter the required details. Items marked with an asterisk are required.
-
Type the name of the job search agent.
-
Specify the job search criteria for the job search agent.
-
SelectShow results that match ALL criteria or Show results that match ANY criteria.
-
Select the Schedule Automatic E-Mail Notification check box to receive email alerts from the job search agent.
-
Select the frequency of the email alerts in the Frequency list.
-
Select the Only include new jobs in notifications check box to receive email alerts only for new job listings.
-
-
Select Save.
Create a Job Search Agent from a Job Search
-
Search jobs relevant to your educational profile. All jobs that match your search criteria are displayed.
-
Select Save as search agent. The page to create the job search agent is displayed.
-
Enter other required details. Items marked with an asterisk are required.
-
Select Save.
The Update Search pop-up window is also displayed on the Results page.
Your current job search criteria are updated in the relevant fields on the page.
Edit a Job Search Agent
-
Select Edit next to a job search agent. Details of the job search agent are displayed in edit mode.
-
Modify the required details.
-
Select Save.
Delete a Job Search Agent
-
Select Delete next to a job search agent.