Enable CAPTCHA
CAPTCHA ("Completely Automated Public Turing test to tell Computers and Humans Apart") is a challenge–response test to determine whether or not the user is human. It protects websites against bots by generating and grading tests that humans can pass but current computer programs cannot. For example, humans can read distorted text, but current computer programs can't.
Portal version 22.0 and later supports the standard Google CAPTCHA functionality:
-
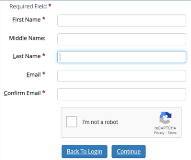
CAPTCHA images are displayed. An audio option is available for accessibility compliance.
-
If the user is unable to solve the CAPTCHA, the user can skip it, and a new CAPTCHA appears.
-
If the user submits incorrect input for the CAPTCHA, a message is displayed, and a new CAPTCHA appears.
-
If the user submits correct input for the CAPTCHA, the process associated with the submission of the web page (e.g., account creation) is completed successfully.
Configure a Google Account
-
Log in to the Google account - https://www.google.com/recaptcha/admin.
-
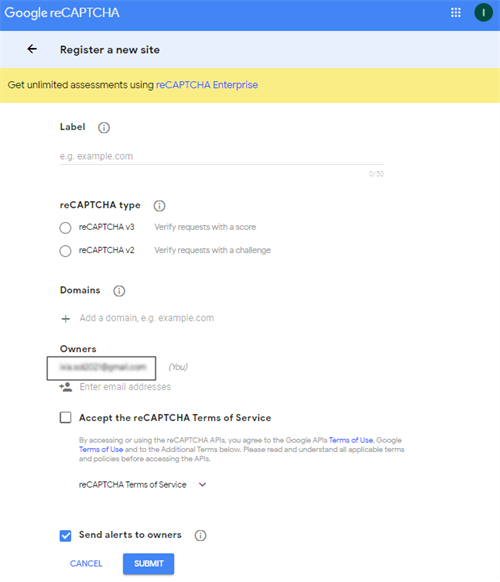
Click on + to register a new site.

-
Provide a Label.
-
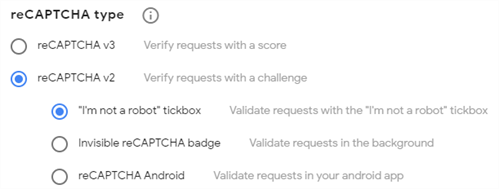
Select reCAPTCHA v2 in reCAPTCHA type. The I'm not a robot check box is selected by default.
-
Add Domains.

Note: You need to add domains for the site domains / URLs where the Captcha is to be enabled. For example, if you want to configure the Student and Applicant account on different domain or site URL, you must add the respective domains in order to have the CAPTCHA enabled for both Student and Applicant account creation.
-
Accept the reCAPTCHA Terms of Service and click the Submit button.
-
Go to setting and expand reCAPTCHA keys section for Site Key and Secret Key.
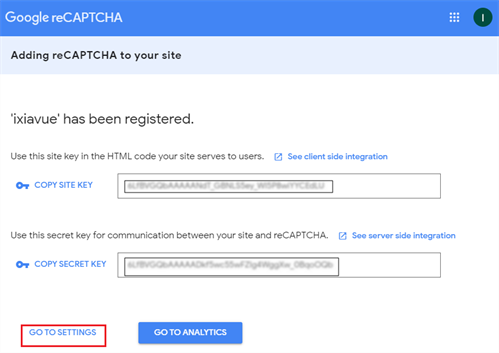
Note: When you click on Go To Settings, it takes you to the Security Preference option which must be selected to Most Secure.
-
Keep the page open, so that you can copy/paste the keys into the Portal Admin Console.
Configure Admin Console with Google Site and Secret Key
-
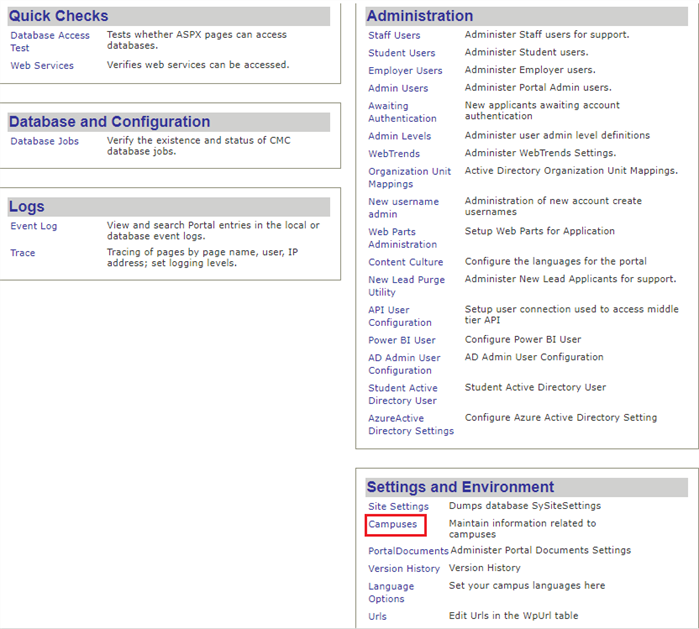
Go to Admin Console > Settings and Environment > Campuses.
-
Select your Campus click the Edit button.
-
Paste the site key and secret key you copied from the Google site into the CAPTCHA Site Key and CAPTCHA Secret Key fields.
-
Click Update to apply the changes to your Portal site.
-
If the Site Key and Secret Key are:
-
Blank, then no CAPTCHA or validation message related to it is displayed on the New Account Creation page
-
Incorrect, an error message is displayed on the New Account Creation page
Note: The behavior of CAPTCHA control is completely handled by the provider Google.
-
Verify CAPTCHA on Create New Account page
You can apply the CAPTCHA for both - Student Portal and Applicant Portal.
-
Launch the Portal site, click the Login button, and click on the Applicant Portal Homepage link.
-
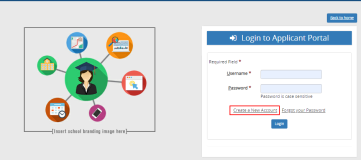
On the Login to Applicant Portal page, click the Create a New Account link.
-
Select the Campus and enter unique data for the new applicant user.
-
Select the I'm not a robot check box. The CAPTCHA is displayed.
-
Solve the CAPTCHA.
-
Click the Continue button. Step 1 of the Online Application form is displayed.

