The topic "Entity and Property Visibility Settings" is not available in Version 3.5.
The topic "Entity and Property Visibility Settings" is not available in Version 3.6.
Entity and Property Visibility Settings
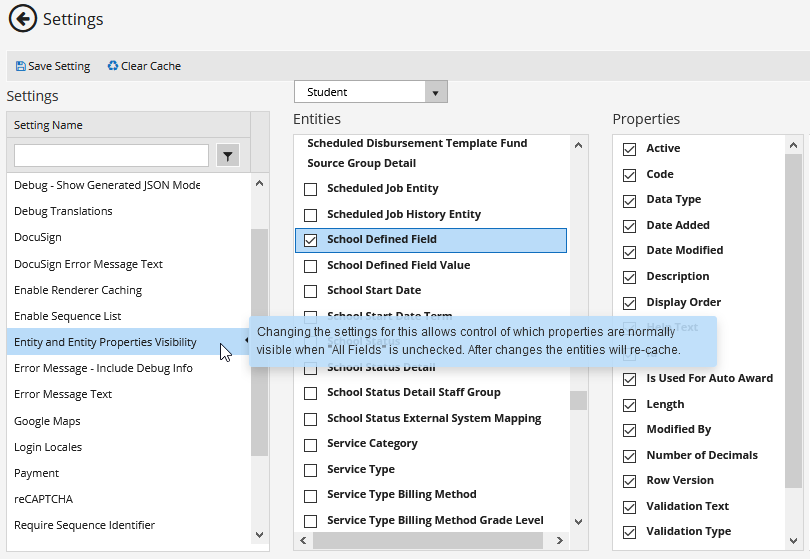
The Entity and Entity Properties Visibility setting enables you to filter entities and entity properties that are exposed in Form Designer when the "Show All Fields" option is cleared.
-
Select the database provider (CRM or Student). The Entities panel is populated. The first time this setting is accessed, it takes a few minutes to update and cache the list of entities.
-
If any new fields have been created in CampusNexus CRM, click the Clear Cache button at the top of the Settings pane in Forms Builder 3.7 and later, and confirm. This will reset the Application Pool for Form Designer and display the newly created fields in the Settings pane.
Notes:
-
If any new School Defined Fields (SDF) have been created in Anthology Student, you need to perform an IIS reset to view the new fields.
-
If you were previously working in Form Designer, you may also have to clear your browser cache to see the new entities/entity properties.
-
-
In the Entities panel, select an entity. The Properties panel is populated with properties for the selected entity. Clear the check box to hide an entity. For each database provider several entities are pre-selected. You can change the settings for the pre-selected entities.
-
In the Properties panel, select the properties you want to expose. Clear the check boxes for properties you want to hide.

Navigation properties are marked with an icon (
 ). To display the navigation properties in Form Designer, the name of the related entity must be selected along with the navigation property.
 When a navigation property is expanded in Form Designer, the fields within a navigation property are displayed.
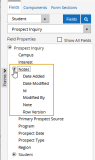
In some cases, the navigation property display name in Form Designer and the property name in the Settings workspace are slightly different (e.g., Program <> Prospect Inquiry Program of Interest).
-
Click Save Setting.
-
Return to Form Designer, select the provider, and verify that the list of exposed entities and properties satisfies your form design needs.