Customizing Columns in a Cross Tab Report
Permissions Required
Manage Analytics - Creating, editing and deleting Cross Tab and Drill Down reports and granting access to other Users while creating or editing Cross Tab or Drill Down reports.
While creating a Cross Tab report, you can define one or more columns, and customize the columns.
To Customize Columns
1. In the Rows and Columns page of the New Talisma Report wizard, click next to the Column box. The Define Custom Columns dialog box is displayed.
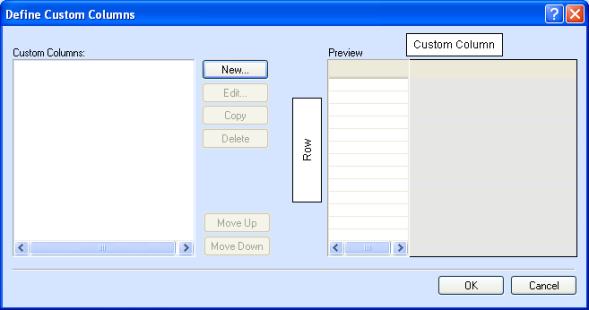
The Define Custom Columns dialog box
2. Click New. The Define Column dialog box is displayed.
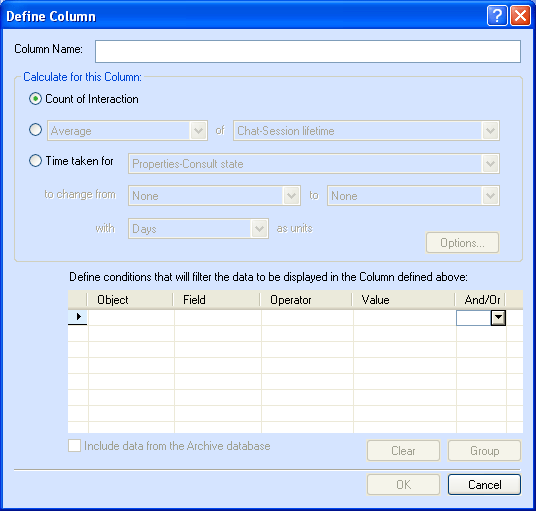
The Define Column dialog box
3. Type a name for the column in the Column Name field.
4. From the Calculate for this Column area, select the appropriate mathematical function.
◦ Select Count of <Object> if you want the column to display the count of the selected base Object.
|
Example You are generating a report on your company's Accounts. Select Count of Account. |
- OR -
◦ Select <Function> of and specify the required function, and the Property for which the function must be calculated and displayed in the column.
|
Example You want to track the average cost of maintaining your Contacts. Select the function Average of Properties-Base Cost. |
- OR -
◦ Select Time taken for and specify the required Properties if you want the column to display the total time taken for an Object's Property to change from one state to another.
|
Example You want information about the number of days a customer service representative needs to resolve an Interaction. Select the function Time Taken for and select Properties-Interaction State to change from Open to Resolved with Days as units. |
5. You can specify Filter conditions in the Define conditions area, if you want specific information to be displayed in the column. You can Group the conditions, if it is required. Click Clear to clear the specified conditions.
6. The Include data from Archive database option is enabled if you selected a Talisma Higher Education Foundation Object, an Interaction, a Campaign, or a <custom object> as the base Object. Select this option if you want the column to display information about the archived base Object.
|
Note You can work with Talisma Higher Education Foundation Objects if your organization has implemented Talisma Higher Education Foundation. |
7. Click OK. The new column is displayed in the Custom Columns area of the Define Custom Columns dialog box.
Repeat Steps 2 through 7 to create additional columns.
8. In the Define Custom Columns dialog box, you can select the required column from the List of Columns, and click:
◦ Edit to modify column details.
◦ Copy to create a copy of the column.
◦ Delete to remove the column.
◦ Move Up or Move Down to change the order of the column.
9. Click OK. The custom columns are created and displayed in the Sample area of the Rows and Columns page of the New Talisma Report wizard.