Configure DocuSign Flows Using Microsoft Power Automate
You can use the information on this page to configure the DocuSign flows required to automate the process of eSignature in Anthology Student for Faculty Workload contract management.
Prerequisites
You must have:
-
Account for DocuSign.
-
Downloaded sample Microsoft Power Automate DocuSign solution for eSignature from GitHub(https://github.com/anthology-inc/faculty-workload-mgmt-flows) > 1.8/DocuSign folder > Power Automate Flows)
DocuSign Flows for eSignature
The following flows are required to automate the approval process in Anthology Student:
| Flow Name | Description |
|---|---|
|
Faculty eSignature Invite With DocuSign |
This flow will be triggered when you select the Send to Faculty button on the Faculty Contract Assignment & eSignature page. (Select the Processes tile > locate Faculty Workload > select Faculty Contract Assignment & eSignature.) The flow integrates with DocuSign to send the eSignature invite to the faculty member. |
|
Faculty eSignature Response With DocuSign |
This flow will be triggered automatically based on the faculty member's eSignature response. |
Procedure to Configure eSignature DocuSign Flows
-
Under Faculty Workload Management solution, select:
-
Faculty eSignature Invite With DocuSign, and
-
Faculty eSignature Response With DocuSign
Microsoft Power Automate opens the selected flow in a new tab/ browser window.
-
-
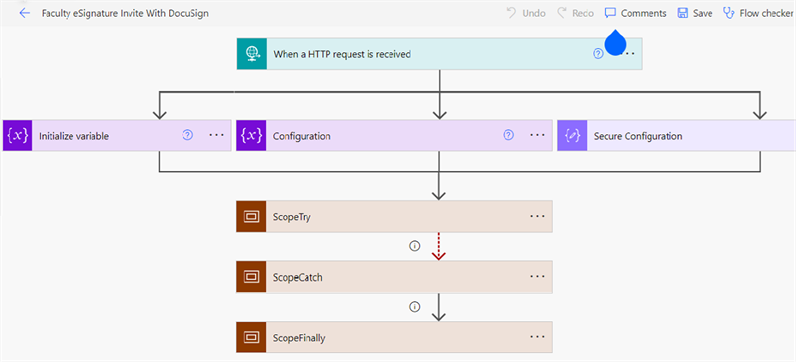
Select the Edit (
 ) button. Microsoft Power Automate opens the selected flow in edit mode.
-
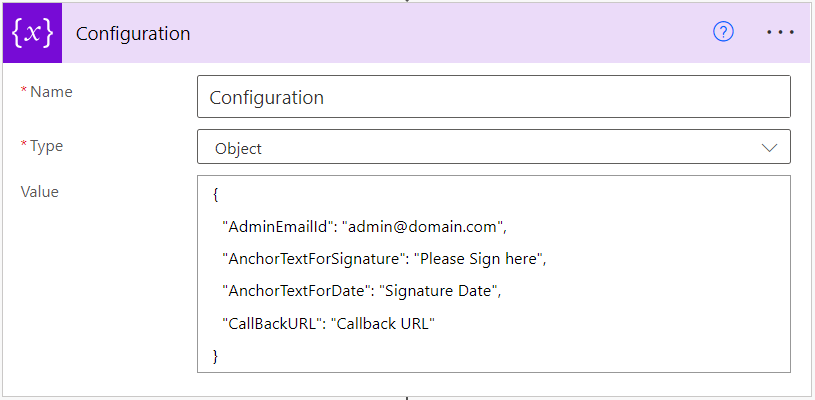
Expand the Configuration action box.
-
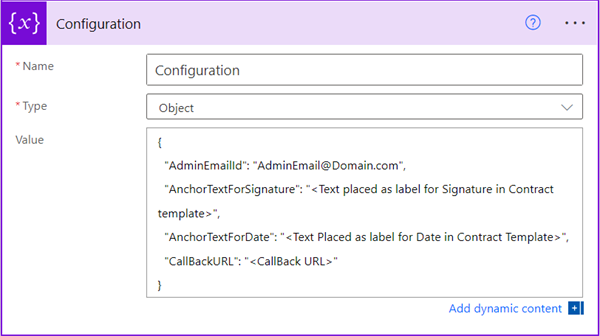
In the Value field, replace the placeholder value with an appropriate value. You can also add multiple email IDs separated with semicolons.
For example:
{"AdminEmailId": "YouremailId-1@yourdomain.com; YouremailId-2@yourdomain.com",
"AnchorTextForSignature": "<Text placed as label for Signature in Contract Template>",
"AnchorTextForDate": "<Text Placed as label for Date in Contract Template>",
"CallBackURL": "<CallBack URL>"
}
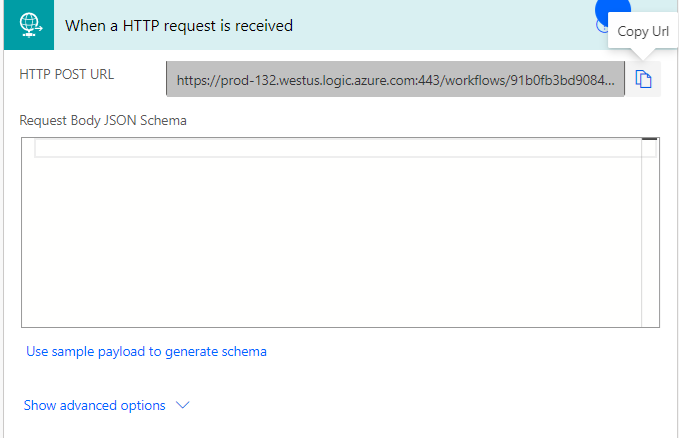
Fields Actions AdminEmailId Specify the email Ids of the administrators who would receive flow success and failure notifications. CallBackURL The Callback URL is taken from the Faculty eSignature Response With SignNow flow.
AnchorTextForSignature Specify the text to be placed as a label for Signature field in the Contract Template. Example Configuration:
Example Contract Template:

AnchorTextForDate
Specify the text to be placed as a label for Date field in Contract Template -
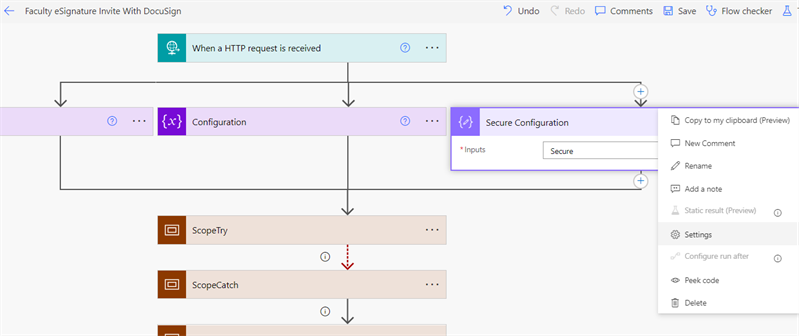
Expand the Secure Configuration action box. Hover over the 3 dots on the Secure configuration block and select Settings.
-
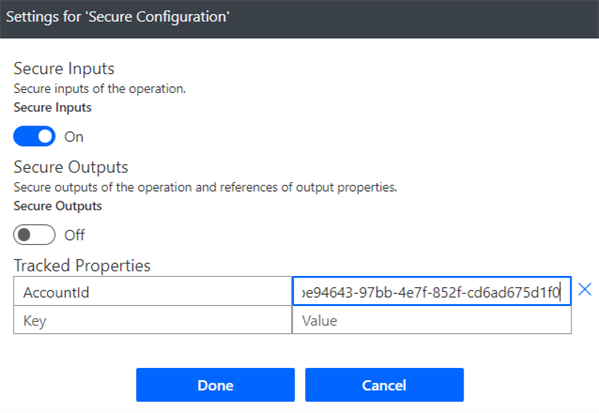
Configure the AccountId value in Tracked Properties.
- Select the Save button. Microsoft Power Automate saves the flow changes.
To learn about app settings and the usage, refer to https://developers.docusign.com/platform/configure-app/
